

In the context of CMMs, "cantilever-type" refers to a cantilever beam structure. It's like a diving board in a swimming pool, where one end is fixed to a supporting structure, and the opposite end protrudes outward. This structure allows for comfortable access to the workpiece from three sides, making it a preferred choice in scenarios where ease of operation is a priority.
Here, we introduce various cantilever-type CMMs offered by different manufacturers. If you're considering implementing a cantilever-type CMM, this will be an excellent resource to explore your options.
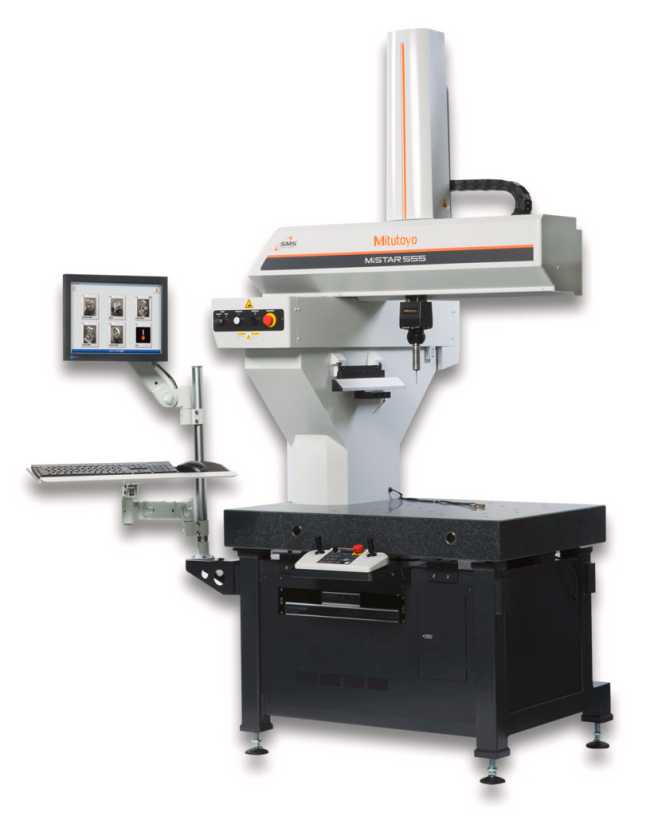
MiSTAR 555, a coordinate measuring machine by Mitutoyo, is designed to perform high-precision measurements in challenging environments. It operates accurately within a temperature range of 10°C to 40°C, without the need for temperature acclimatization, making it a versatile choice for various environments. Equipped with an environment-resistant type absolute scale and an airless linear guide, it maintains long-term maintenance-free performance even in areas with oil mist.
With a three-sided open structure, it offers a large measurement range of 570mm (X) x 500mm (Y) x 500mm (Z) and stands out for its ease of use. The standard Quick Launcher enables easy execution of part programs. Utilizing a touch panel monitor, anyone can operate it easily, starting measurements immediately without positioning the workpiece.
Notably, MiSTAR 555 supports efficient and defect-reducing automated control. It collects and stores operational data and various other information in real-time, achieving "non-stop equipment" functionality. It collects and stores measurement data on a server, preventing the production of defective products through quality visualization. The MiCAT Planner software automatically generates the shortest possible measurement programs, ensuring efficient measurements.
The concept behind the MiSTAR 555 is "a measuring machine that can be installed anywhere." WIth its broad temperature range and environmental resistance, it ensures high-precision measurements near production lines or machining equipment. Its maximum drive acceleration of 2660mm/s² and high-speed measurement capabilities make it suitable for harsh production environments, making it possible to take measurements during the manufacturing process.
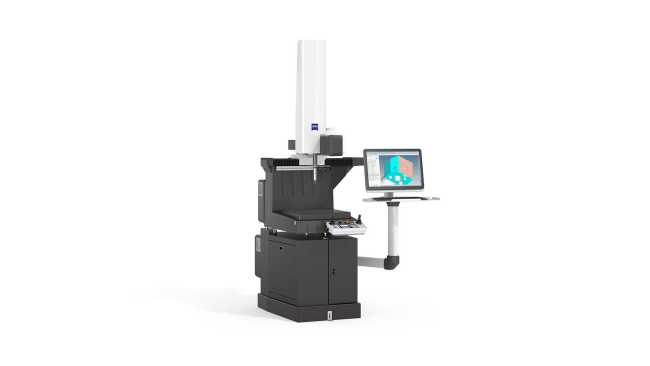
ZEISS DuraMax is a user-friendly CMM known for its compact yet highly accurate measurements. Its small footprint allows easy integration into existing factory layouts without the need for space alterations. It also stands out for not requiring air supply. Only needing a single power source and 0.85㎡ of space, the DuraMax is particularly suitable for manufacturing sites.
Equipped with the VAST XXT scanning probe as standard, it can perform high-precision scanning measurements of contours and complex shapes. The data collected from scanning measurements can be combined to evaluate geometric tolerances and deviations such as circularity and flatness. It provides stable measurement data in a short time and is easily programmable for quick modifications.
Additionally, ZEISS DuraMax excels in energy efficiency, contributing to CO2 emission reduction due to not requiring an air supply compressor. As it does not require a dedicated measurement room, it significantly reduces equipment and running costs.
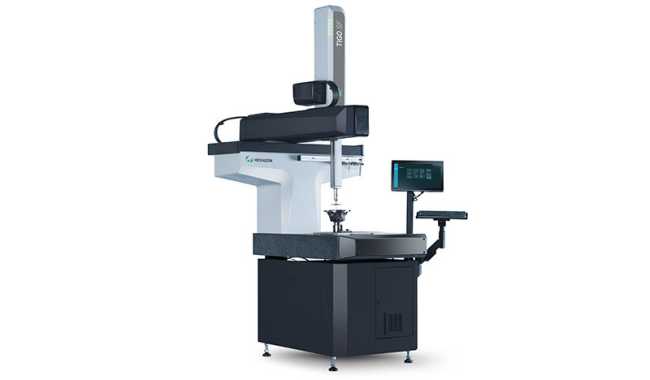
TIGO SF, designed specifically for manufacturing environments, features a robust and sturdy structure. It exhibits durability against oil, mist, vibrations, and temperature changes, ensuring high-precision inspections in harsh conditions.
With a work area of 500 x 580 x 500mm (X/Y/Z), TIGO SF has an integrated controller and PC, and its monitor and keyboard are mounted on a flexible arm. Its compact design allows for easy movement with hand lifts or forklifts.
Suitable especially for measuring medium and small-sized parts on-site, its design and functionality have garnered high praise in the manufacturing industry.
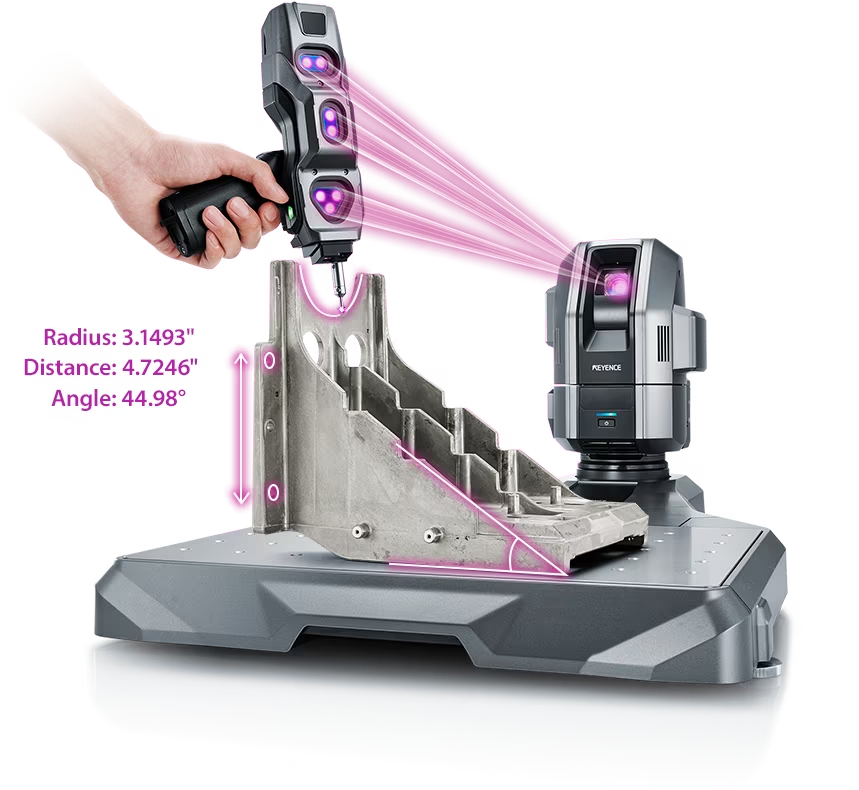
Source: KEYENCE Website(https://www.keyence.com/products/measure-sys/cmm/xm/index_pr.jsp)
This CMM has a caliper-like feel, enabling even beginners to perform high-precision measurements. It can be carried without the need for temperature control, allowing for immediate measurements at any desired location and time. As it doesn't require a large installation space, it's a CMM with a low entry barrier.
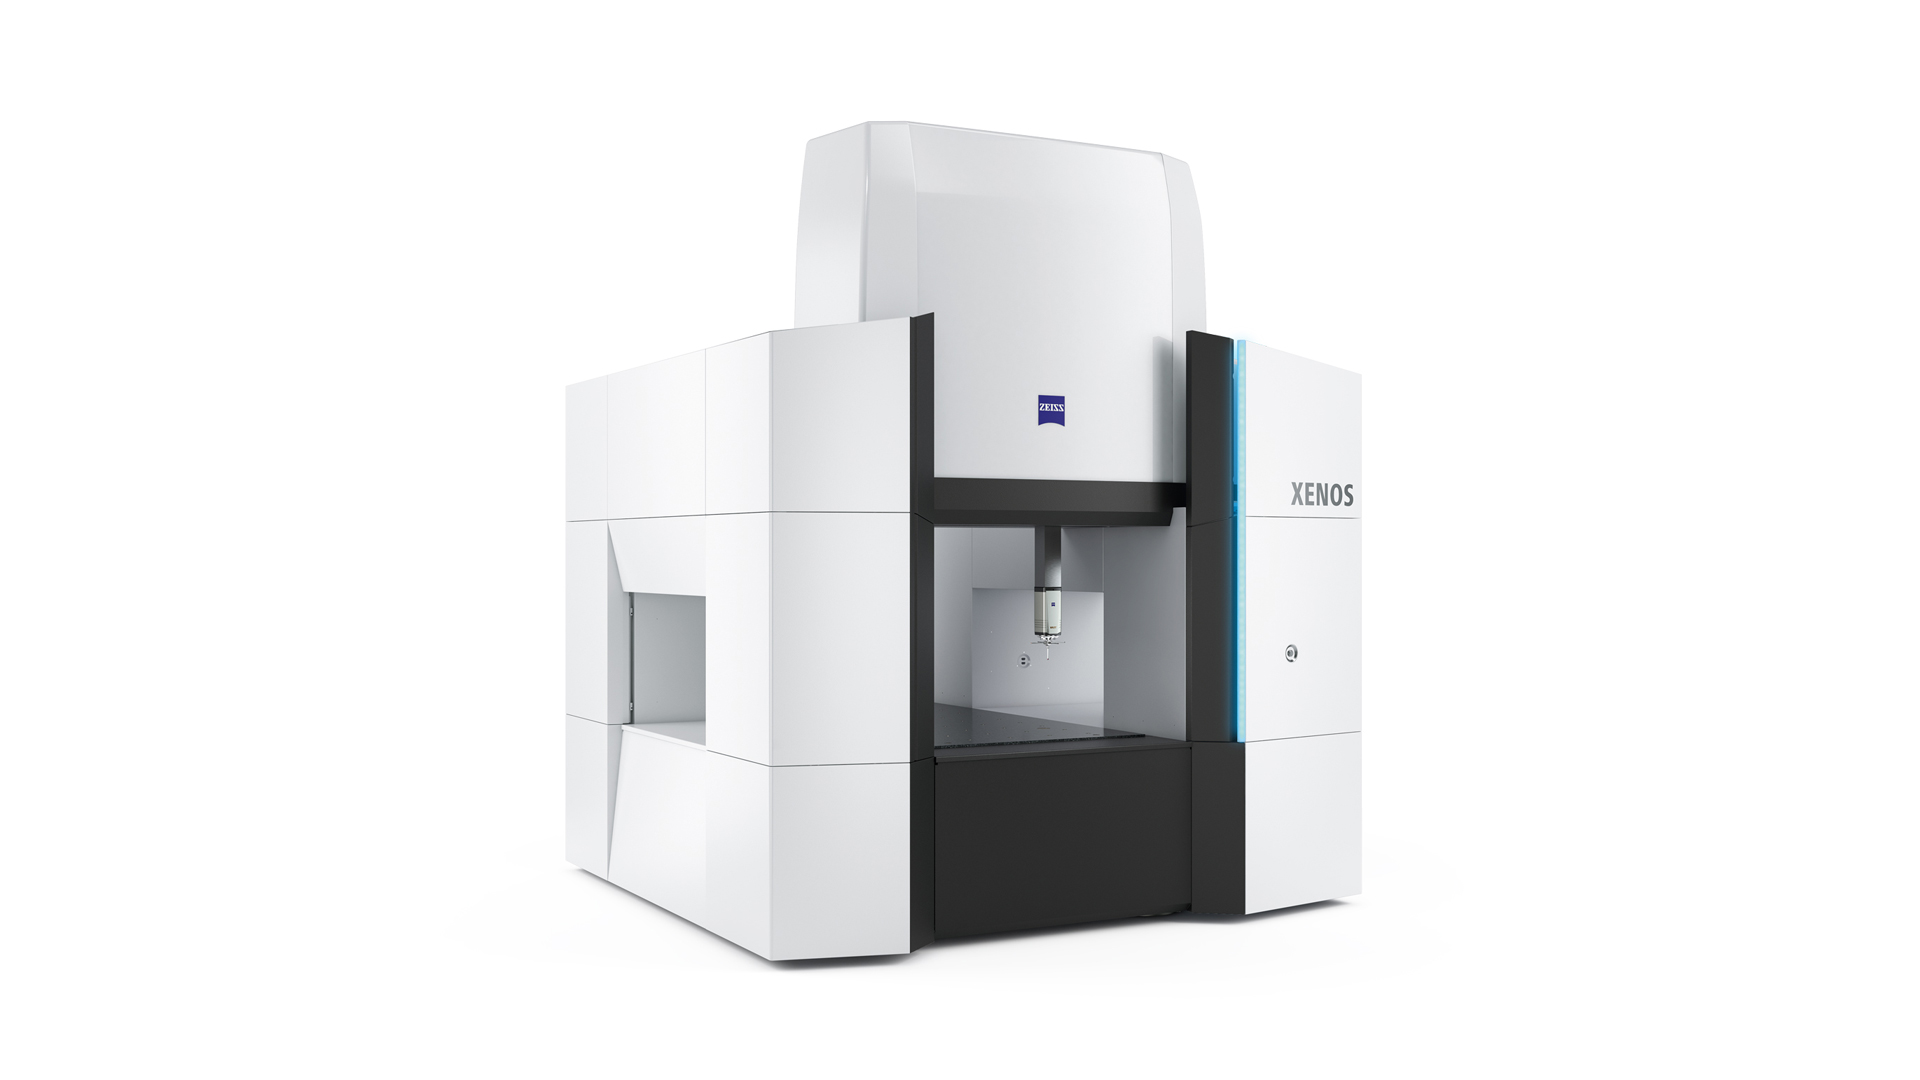
Source: Carl Zeiss Website(https://www.zeiss.com/metrology/products/systems/cmm.html)
Utilizing linear drive on all axes, this CMM boasts high precision with a maximum permissible length measurement error of 0.3+L/1000μm, repeatability of ±0.2μm, and resolution of 0.001μm. The reduced occurrence of errors allows for a decrease in the need for remeasurement.
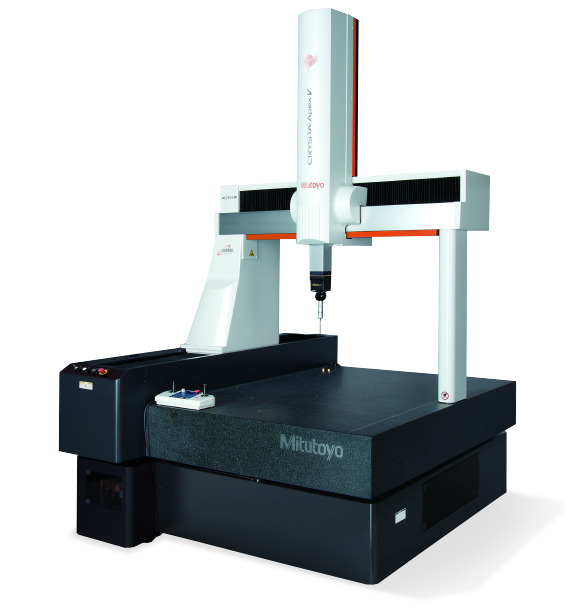
Source: Mitutoyo Website(https://www.mitutoyo.com/products/coordinate-measuring-machines/)
A CNC CMM that was first developed in 1976.
It features applications that respond to the demand for "Smart Factories" by allowing monitoring of operational status and maintenance management of the machine through the network.
Reasons for Selection