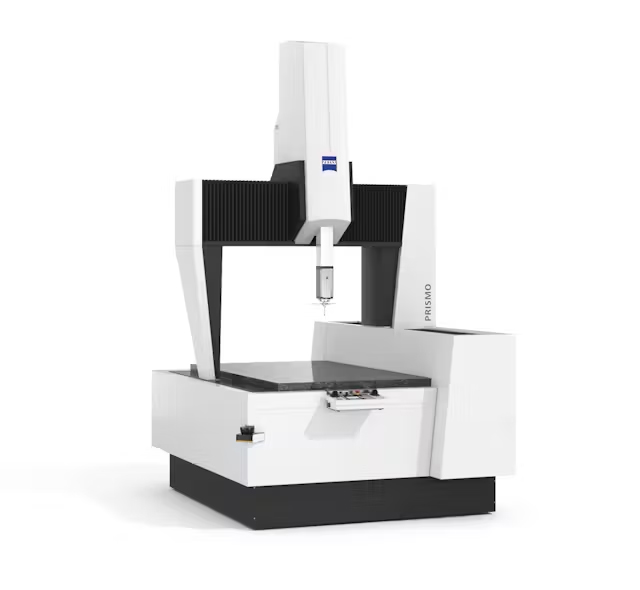

Here, we explain the features of ZEISS PRISMO (bridge-type), designed with both high precision and user-friendly specifications in mind. We also show some real-world application examples and scenarios where it can be effectively utilized.

The ZEISS PRISMO series of coordinate measuring machines consists of four models (standard, fortis, verity, ultra). The flagship model, ZEISS PRISMO (standard), is an all-around precision measuring machine boasting an accuracy of 0.9+0.9+L/350μm.
While all models share the basic features, the fortis model is less affected by temperature variations, the verity model can handle complex shapes, and the ultra model achieves the highest precision at 0.5+L/500μm. The ability to choose the optimal model based on application and environment is a notable feature of the ZEISS PRISMO series.
The ZEISS PRISMO series is equipped with an acceleration mode that addresses the need for cost and time reduction in quality inspection. This mode allows the acceleration of the measurement process while maintaining high precision, enabling significant cost savings. The acceleration mode of ZEISS PRISMO 7/12/7 fortis is utilized in the aerospace industry.
The acceleration mode consists of a ZEISS VAST rotary table axis (ZVRA), a ZEISS VAST rotary table (ZVR), and a dedicated application. By configuring the rotary table axis while maintaining accuracy, high-speed movement of the rotary table enables speedy and accurate measurements.
Flexibility is a key feature of ZEISS PRISMO. The CMM allows for the combination of various components. Performance accelerators can be added to boost productivity and can be chosen according to on-site requirements.
Options such as the ZEISS VAST rotary table axis, which maintains high precision when the CMM is in acceleration mode, the ZEISS VAST Navigator, which automatically sets the optimal scanning speed, and the ZEISS CALYPSO VAST Probe, which reduces the time for single-point measurements, further enhance agility and productivity.
In recent years, the aerospace industry has demanded higher measurement accuracies. Starrag, a Swiss company, introduced the ZEISS PRISMO fortis with acceleration mode. In the field of measurement technology, increasing accuracy often comes at the expense of speed. However, ZEISS PRISMO demonstrated the opposite.
The ZEISS acceleration mode package for aerospace applications combines two rotary table measurement options to achieve remarkable performance. In Starrag's case, measurement program time was reduced by 74% with no changes in accuracy, leading to improved productivity.
Yusan Precision Co., Ltd. in Okayama Prefecture, Japan, has introduced Carl Zeiss products such as PRISMO, Duramax, and O-INSPECT in the measurement room of its second factory to ensure accurate measurements. The high measurement accuracy and reliability of the ZEISS PRISMO make it a trusted reference machine for measurements.
The ZEISS PRISMO is used as a reference machine for measurement, and coordination with other measuring machines is done to ensure that there are no dimensional errors, regardless of which measuring machine is used. By encouraging partner companies to adopt Carl Zeiss measuring machines, they can provide high-quality products.
The ZEISS PRISMO's modular design offers high flexibility, making it suitable for various environments. With a focus on maintaining high precision while speeding up the measurement process, ZEISS PRISMO is well-suited for environments where speed is crucial.
Featuring four models, including the basic ZEISS PRISMO, each model is designed for specific applications, allowing users to choose based on their needs. The proven track record of ZEISS PRISMO in the aerospace industry, where high precision is paramount, further demonstrates its capabilities beyond just speed.

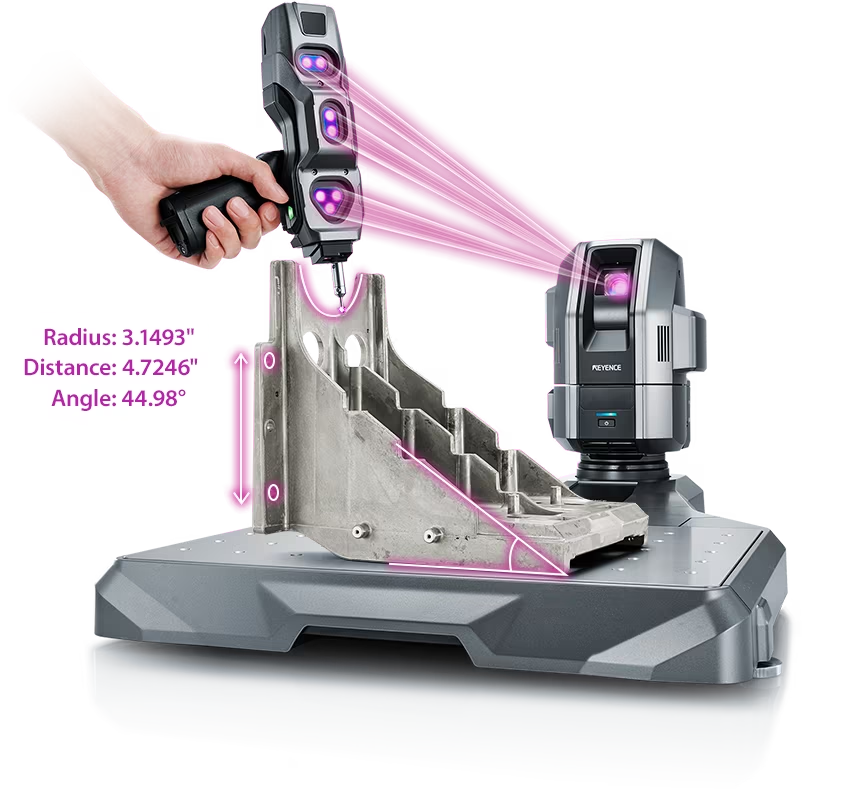
Source: KEYENCE Website(https://www.keyence.com/products/measure-sys/cmm/xm/index_pr.jsp)
This CMM has a caliper-like feel, enabling even beginners to perform high-precision measurements. It can be carried without the need for temperature control, allowing for immediate measurements at any desired location and time. As it doesn't require a large installation space, it's a CMM with a low entry barrier.

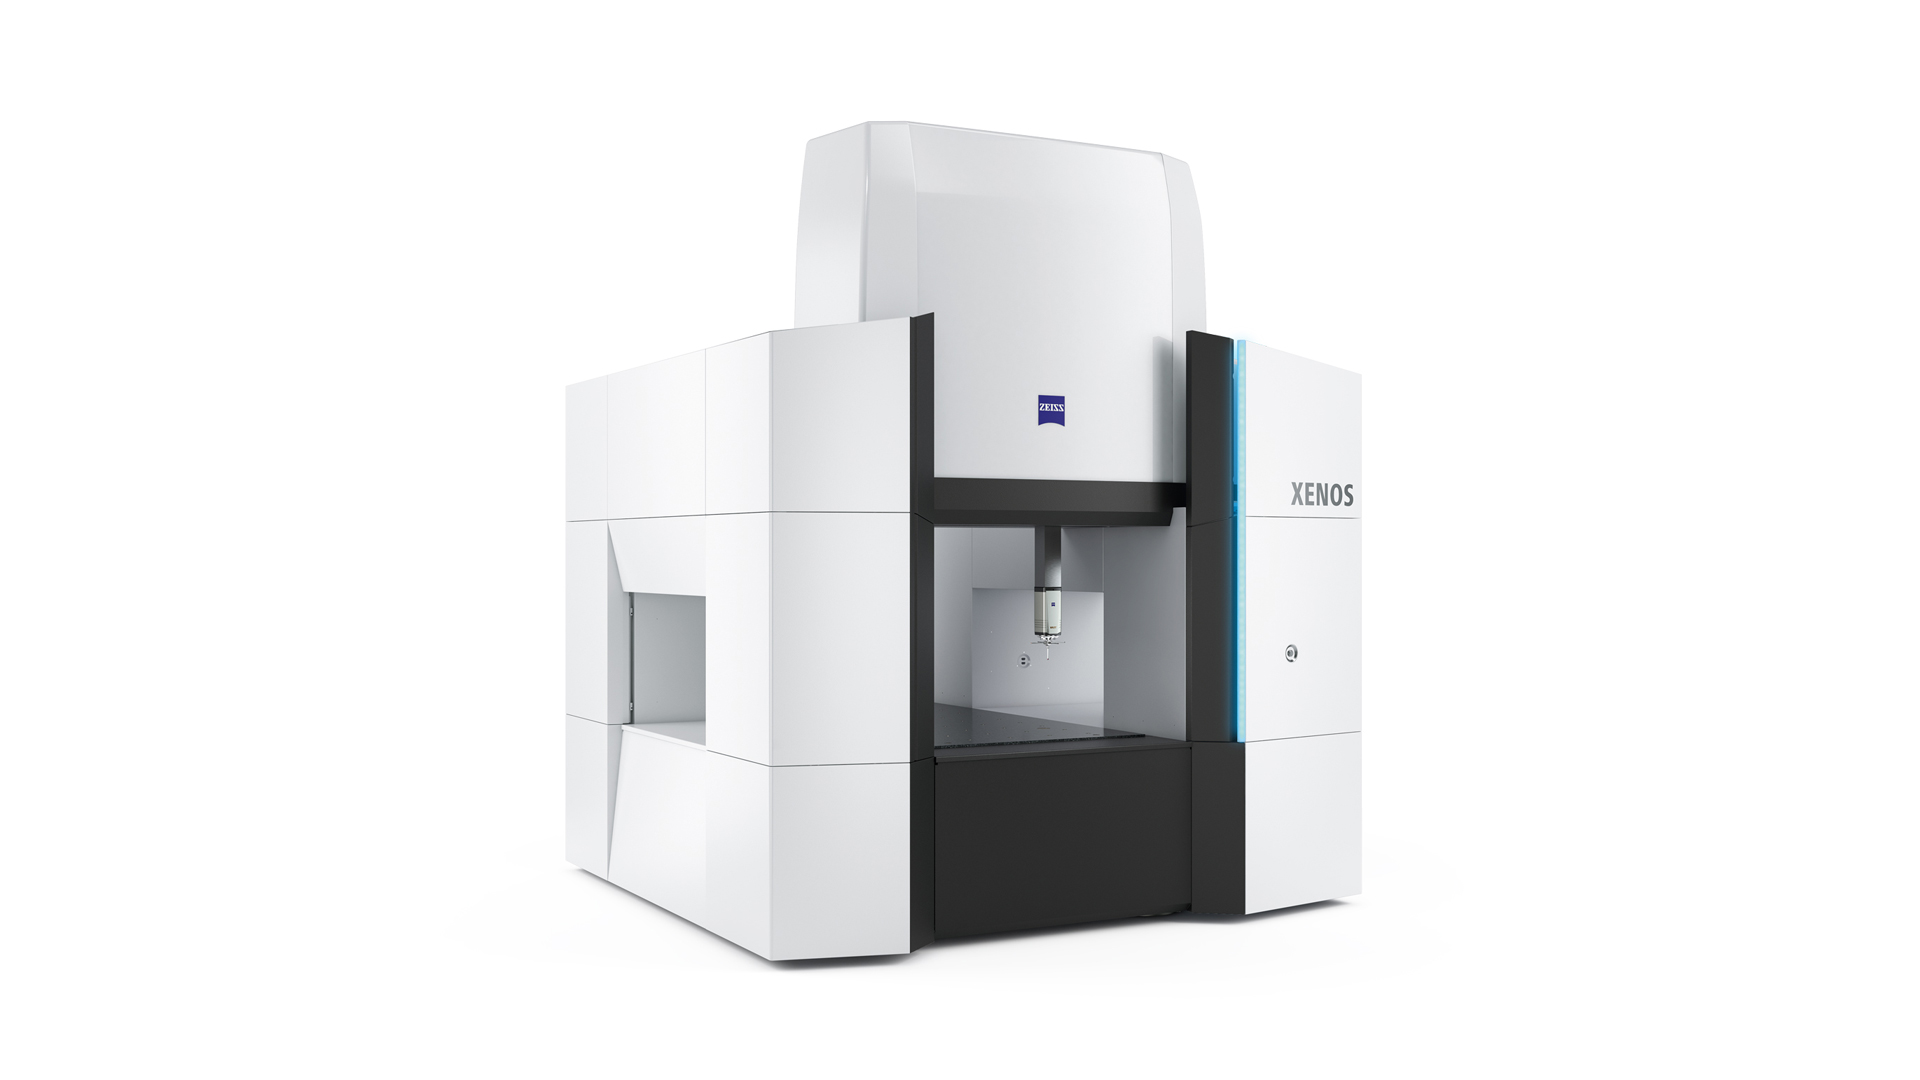
Source: Carl Zeiss Website(https://www.zeiss.com/metrology/products/systems/cmm.html)
Utilizing linear drive on all axes, this CMM boasts high precision with a maximum permissible length measurement error of 0.3+L/1000μm, repeatability of ±0.2μm, and resolution of 0.001μm. The reduced occurrence of errors allows for a decrease in the need for remeasurement.

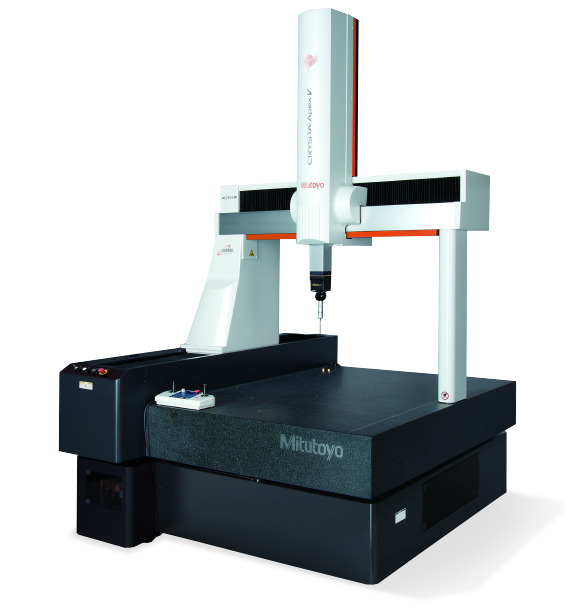
Source: Mitutoyo Website(https://www.mitutoyo.com/products/coordinate-measuring-machines/)
A CNC CMM that was first developed in 1976.
It features applications that respond to the demand for "Smart Factories" by allowing monitoring of operational status and maintenance management of the machine through the network.
Reasons for Selection