
On this page, you can find detailed information on the MCAx S, an arm-type CMM produced by Nikon. You can read about the product's main features and outstanding functions as well as concrete use cases.

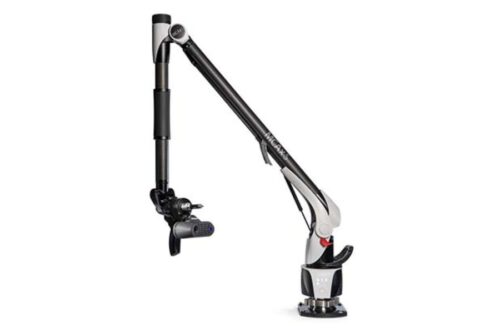
The MCAx S is an articulated-arm CMM produced by the Japanese optical equipment manufacturer Nikon. The arm comes in sizes ranging from 2.0 to 4.5 meters and can be chosen according to on-site requirements. With its 7-axis drive, it can handle complex and large-scale shape measurements.
The arm accommodates free movement in various directions, enabling measurements of internal parts, steps, gaps, and more. It comes in three performance levels (S, S+, S++), allowing users to build the optimal system based on the measured objects and required accuracy.
One of the MCAx S's key highlights is its compact and versatile nature. It has a quick startup, allowing measurements to start immediately after turning on the switch. Common adapters are available, reducing the time required for mounting the equipment.
Mounting options include bolt-down magnetic or vacuum bases for table attachment and compatibility with tripods or stands. The CMM is capable of wireless measurement through battery operation and Wi-Fi connectivity, providing flexibility in various setups without cable concerns.
Supporting multi-probe functionality, the system automatically switches between contact and non-contact probes, enhancing work efficiency. By checking the scan status displayed on the screen, work can be completed more efficiently with fewer repetitions, ultimately increasing measurement speed.
When combined with the ModelMaker H120 laser scanner, the MCAx S is capable of ultra-fast, high-resolution 3D scanning. The system adheres to ISO 10360-12 standards, ensuring accuracy across different on-site environments, making it capable of maintaining high-level 3D measurements.
No specific examples or use cases were found on the official product page.
MCAx S is an arm-type CMM designed for a wide range of applications. It can be utilized for measurements of metal components, press-molded parts, plastic molded products, and more.
Being an arm-type and thus easily movable, the device is highly flexible, allowing the measurement tool to be brought to the target object instead of the other way around. With an arm size of up to 4.5 meters, it is also capable of performing measurements of larger components and objects.
The Nikon MCAx S catalog contains an image of a worker conducting measurements on car doors. Unlike bridge-type CMMs, the arm of the measuring machine can be brought close to the target object for measurement, rather than placing the object on a measuring table or stage.
Due to the compact and maneuverable nature of the 7-axis-driven small arm, MCAx S is suitable for environments with limited space. The measuring range is around 4 meters.
While it may not be ideal for measuring extremely large parts, the MCAx S is well-suited for medium to small-sized components. Because the construction of the arm differs depending on the desired accuracy, it is recommended to check requirements regarding on-site environment and measurement targets with the manufacturer beforehand.

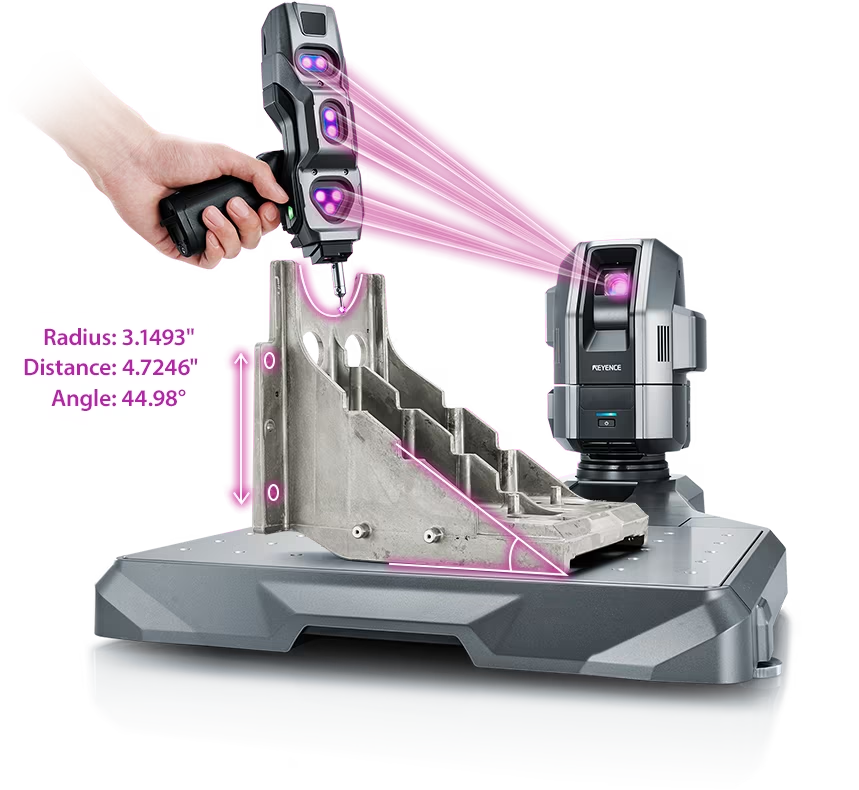
Source: KEYENCE Website(https://www.keyence.com/products/measure-sys/cmm/xm/index_pr.jsp)
This CMM has a caliper-like feel, enabling even beginners to perform high-precision measurements. It can be carried without the need for temperature control, allowing for immediate measurements at any desired location and time. As it doesn't require a large installation space, it's a CMM with a low entry barrier.

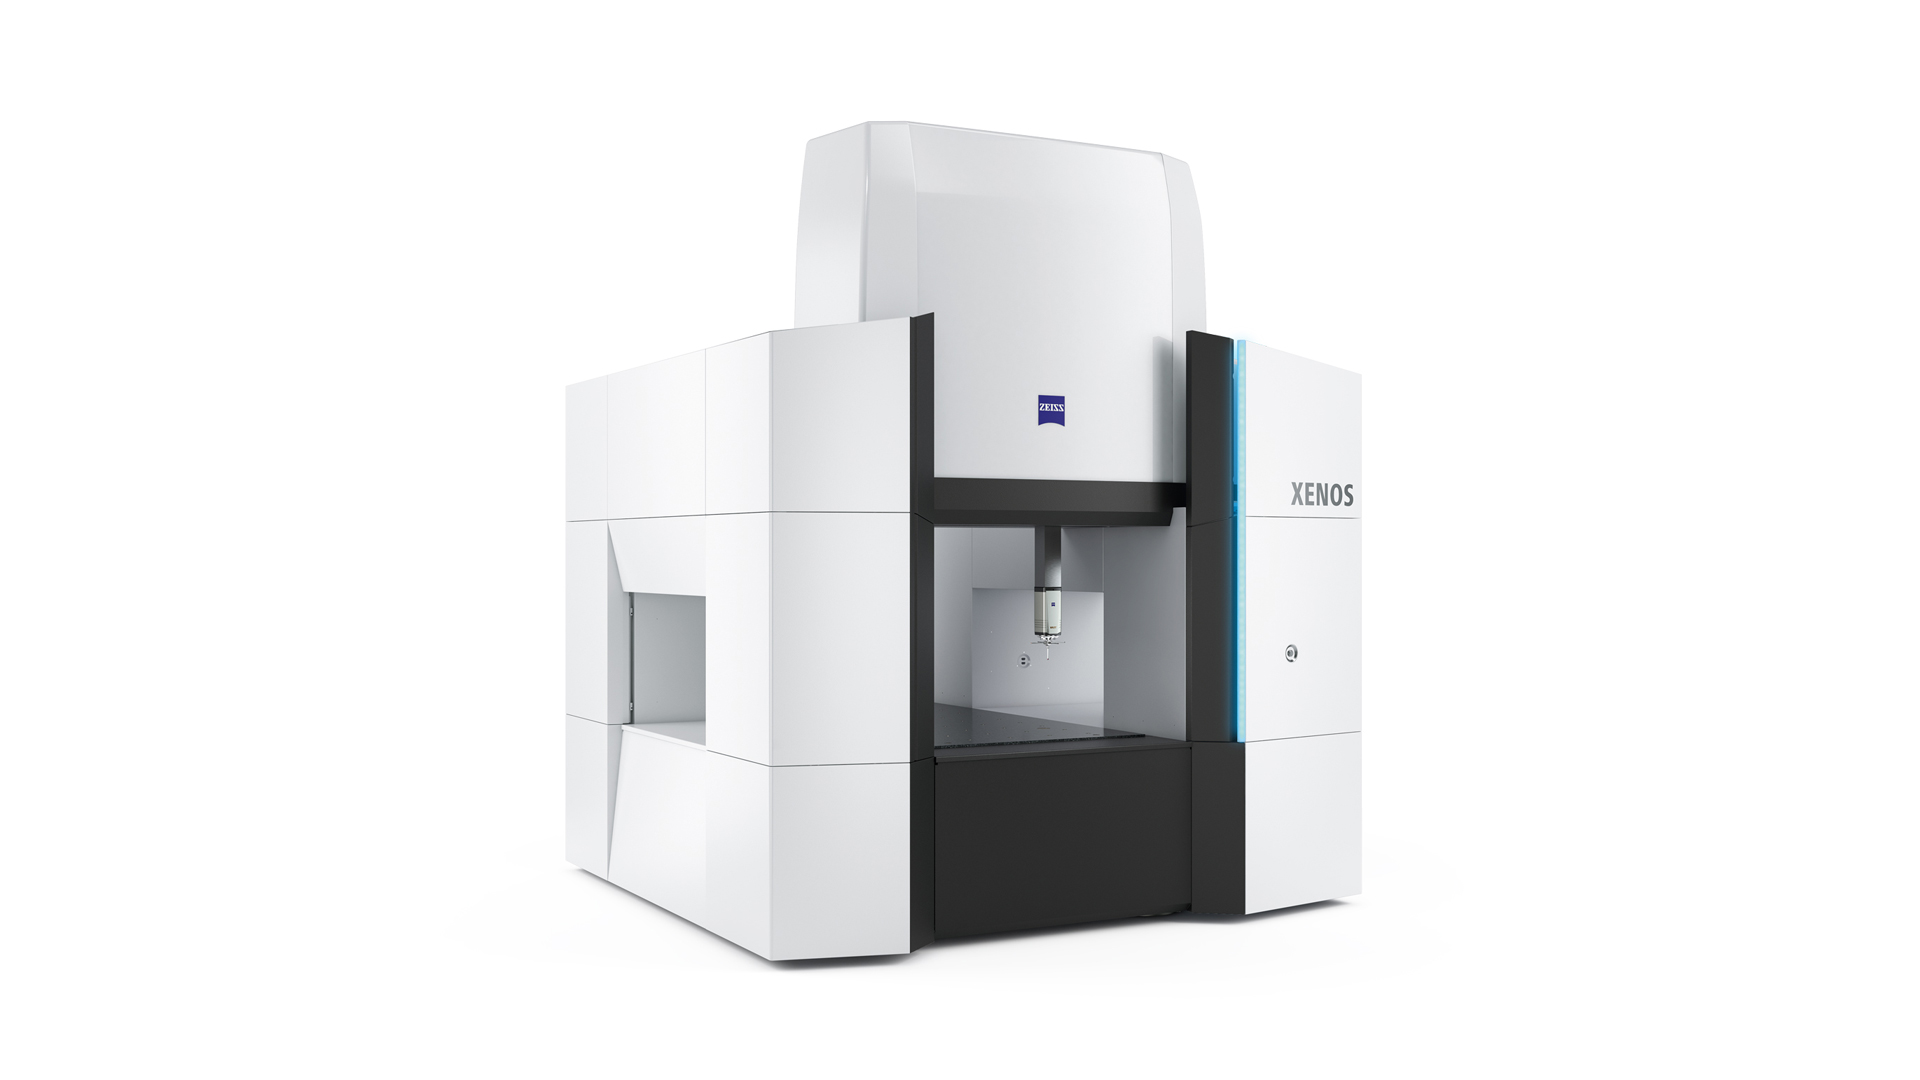
Source: Carl Zeiss Website(https://www.zeiss.com/metrology/products/systems/cmm.html)
Utilizing linear drive on all axes, this CMM boasts high precision with a maximum permissible length measurement error of 0.3+L/1000μm, repeatability of ±0.2μm, and resolution of 0.001μm. The reduced occurrence of errors allows for a decrease in the need for remeasurement.

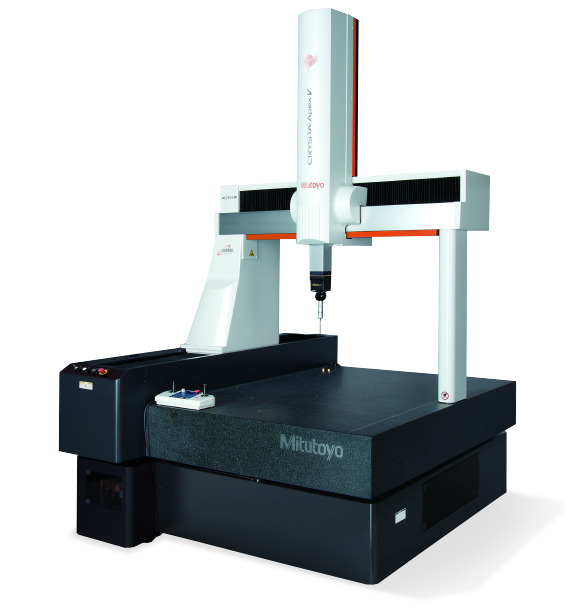
Source: Mitutoyo Website(https://www.mitutoyo.com/products/coordinate-measuring-machines/)
A CNC CMM that was first developed in 1976.
It features applications that respond to the demand for "Smart Factories" by allowing monitoring of operational status and maintenance management of the machine through the network.
Reasons for Selection