
CMMs come in various shapes and types of construction, each suited for specific measurement tasks and environments. Here, we provide detailed explanations of different types of CMMs, including the bridge-type, arm-type, ganry-type, cantilever-type, and handheld-type models.
The bridge-type CMM, as its name suggests, has a structure that resembles a bridge or gate when viewed from the front. This shape provides a stable structure, enabling high-precision measurements.
The greatest advantage of bridge-type CMMs is their high precision and stability. Their robust structure offers extremely accurate measurements and stability, which is crucial for products requiring precise measurements. Moreover, many manufacturers offer a variety of bridge-type CMMs, allowing businesses to choose the model that best suits their needs. These CMMs are also known for their durability and reliability, providing consistent, high-quality performance over time.
A significant disadvantage of bridge-type CMMs is the high cost of implementation. Because of their relatively large size, they require a substantial investment, which can be a considerable burden, especially for small and medium-sized enterprises. They also require a large space for installation, and a specially designed, temperature-controlled room to minimize the impact of thermal expansion. Additionally, their probes typically move in only three axes, limiting measurement flexibility.
Bridge-type CMMs are ideal for manufacturing sites where high-precision measurements are crucial. They are particularly suitable for inspecting and measuring optical components like medical devices and lenses. Their heat-resistant and vibration-resistant structures provide stable measurement conditions, making them apt for inspecting and measuring parts where high precision is demanded. They contribute to improving product quality and play a vital role in manufacturing products that require high accuracy.
Arm-type CMMs are widely adopted in the manufacturing industry due to their flexibility and portability. This type of CMM features a structure with multiple hinge and swivel joints, allowing for multi-directional approach to the measurement object. This enables highly flexible measurements.
The main advantages of arm-type CMMs lie in their mobility and versatility. They are lightweight and easy to transport, allowing measurements to be conducted alongside the assembly line in manufacturing settings. They can measure objects of sizes and shapes that bridge-type CMMs cannot handle. Additionally, they are cost-effective and do not require much space, making them suitable for small-scale work environments and companies looking to minimize costs.
Arm-type CMMs also have some disadvantages. Their range of motion is limited, which can make measuring large or complex objects challenging. The precision of measurements may be inferior to bridge-type CMMs due to potential twisting or bending of the arm links. Skill and experience are required to manipulate the arm without affecting measurement accuracy. The weight of the arm can also cause operator fatigue during prolonged use.
Arm-type CMMs are particularly well-suited for part inspection and quality control in manufacturing environments. Their maneuverability and portability allow them to be flexibly moved according to the workspace. They are a cost-effective measuring solution, especially in environments where installing a bridge-type CMM would require significant space and investment. Therefore, they are highly recommended for smaller factories, sites where implementing a bridge-type CMM is challenging or as an alternative to handheld tools.
Gantry-type CMMs are set up directly on the floor, on top of a foundation. Because they don't require lifting the object onto a table, making them ideal for measuring large and heavy parts.
Gantry-type CMMs facilitate the inspection of large or heavy objects with ease. They allow for easy loading and unloading of parts while providing high-precision measurements.
Gantry-type CMMs have their drawbacks, including high installation costs. They lack portability and may require assembly and disassembly, or dropping the workpiece into the structure. Additionally, they require setup for each part to be measured. Operating these machines can be complex, necessitating training for measurement staff in programming and operation.
Gantry-type CMMs are well-suited for inspecting large parts in production areas or measurement rooms. Because they are setup directly on the floor, they reqyure a stable foundation. Due to the significant investment involved, careful consideration is essential when selecting a gantry-type CMM model for your needs.
Cantilever-type CMMs feature a measurement head attached to one side of a rigid base. Compared to bridge-type CMMs, they are known for their high operability.
Cantilever-type CMMs are well-suited for precise measurement of relatively small parts in manufacturing settings. Their structure allows access from three sides. This offers a significant advantage, making it more comfortable for the operator to handle the machine.
Implementing a cantilever-type CMM can be costly. As they are stationary, it is necessary to bring objects to the machine for measurement. They are also sensitive to vibrations, which means they are typically used in dedicated measurement labs. Operation also requires a certain proficiency in programming.
Cantilever-type CMMs are ideal for measuring small objects or parts. Due to the requirement of a measurement lab and the potentially high cost of implementation, careful consideration should be given to the application and budget when purchasing a cantilever-type CMM.
Handheld-ype CMMs are innovative tools designed to meet the measurement needs of the manufacturing industry. These CMMs perform measurements by touching a handheld probe to the object, making them versatile and easy to handle.
The biggest advantage of handheld CMMs is their portability and convenience. Lightweight and transportable, they can be used on workbenches, floors, and even directly on machine tools, allowing measurements in various locations. This facilitates immediate on-site measurements and makes it possible to perform quality checks during the manufacturing process.
Handheld models with high environmental resistance do not require a dedicated measuring room, making them usable in a wider range of settings. Additionally, they generally have a lower cost of implementation and require minimal maintenance due to a lack of moving parts.
Models with navigation features are designed to enable beginners to perform precise measurements easily, enhancing the consistency of results. Even operators with limited experience can achieve stable measurement outcomes.
Some handheld CMMs may require programming for each measurement. However, recent models come equipped with beginner-friendly navigation settings that help reduce variability in measurement outcomes.
Handheld-type CMMs are especially suitable for small to medium-sized enterprises that cannot afford the space or high costs associated with larger CMMs like bridge-types. They are also ideal for companies that use CMMs for specific measurement tasks. The intuitive operability and portability make them an effective tool for enhancing flexibility and efficiency in measurement tasks in the manufacturing indsustry.
The choice of a CMM model varies depending on the specific applications of a business. This site provides a curated selection of recommended CMMs for different applications. Be sure to check it out to find the best CMM for your needs.

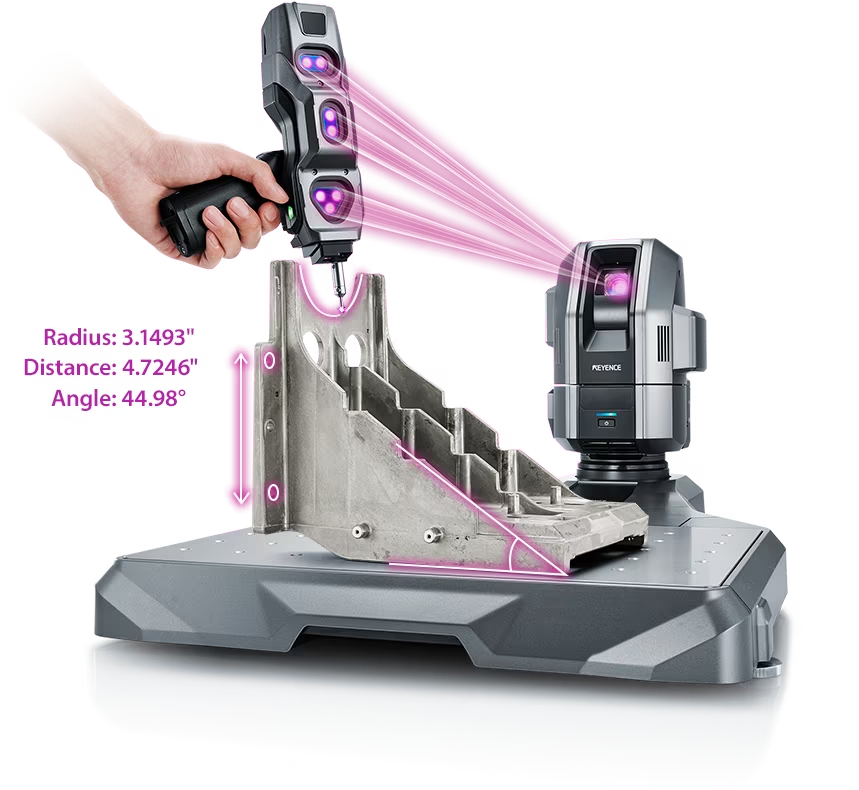
Source: KEYENCE Website(https://www.keyence.com/products/measure-sys/cmm/xm/index_pr.jsp)
This CMM has a caliper-like feel, enabling even beginners to perform high-precision measurements. It can be carried without the need for temperature control, allowing for immediate measurements at any desired location and time. As it doesn't require a large installation space, it's a CMM with a low entry barrier.

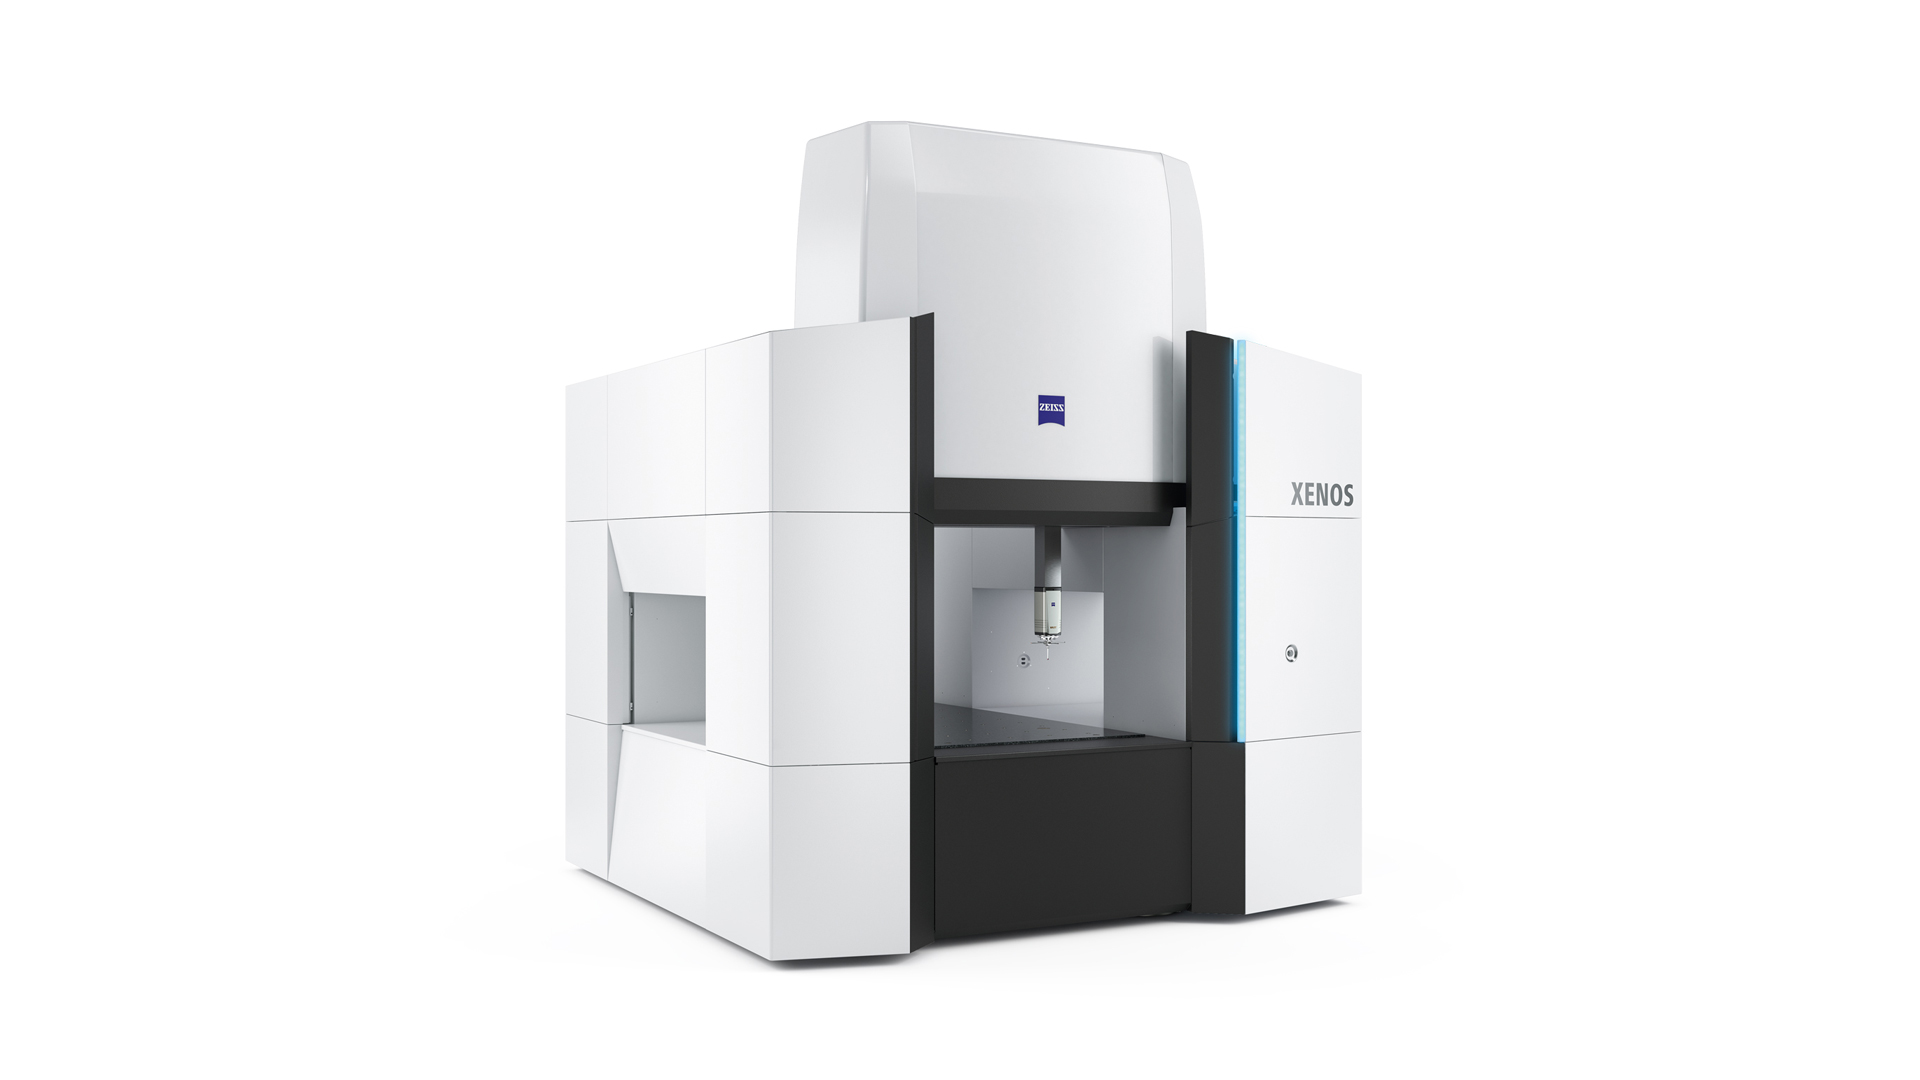
Source: Carl Zeiss Website(https://www.zeiss.com/metrology/products/systems/cmm.html)
Utilizing linear drive on all axes, this CMM boasts high precision with a maximum permissible length measurement error of 0.3+L/1000μm, repeatability of ±0.2μm, and resolution of 0.001μm. The reduced occurrence of errors allows for a decrease in the need for remeasurement.

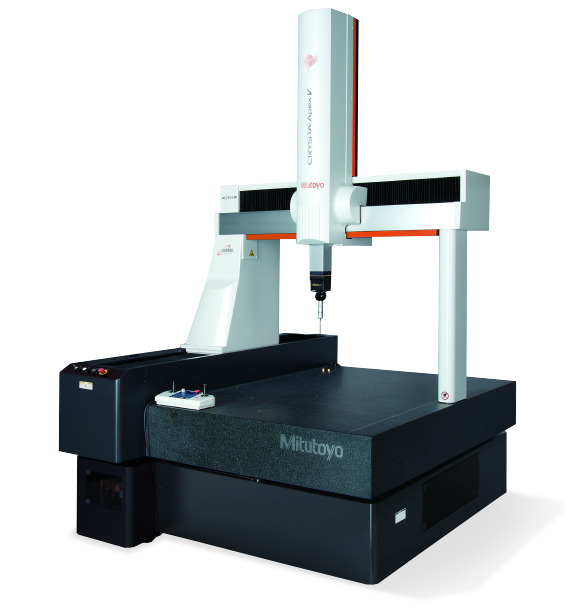
Source: Mitutoyo Website(https://www.mitutoyo.com/products/coordinate-measuring-machines/)
A CNC CMM that was first developed in 1976.
It features applications that respond to the demand for "Smart Factories" by allowing monitoring of operational status and maintenance management of the machine through the network.
Reasons for Selection