

Bridge-type CMMs are the most common form of CMM. However, while they offer high measurement accuracy, bridge-types can be difficult to master and face some challenges, such as:
As a result, handling such machines often requires a specialist with expertise and a thorough understanding of the operating procedures.
However, recently, user-friendly CMMs designed for beginners have been introduced by various manufacturers. Here, we will introduce the features and specifications of CMMs suitable for beginners.
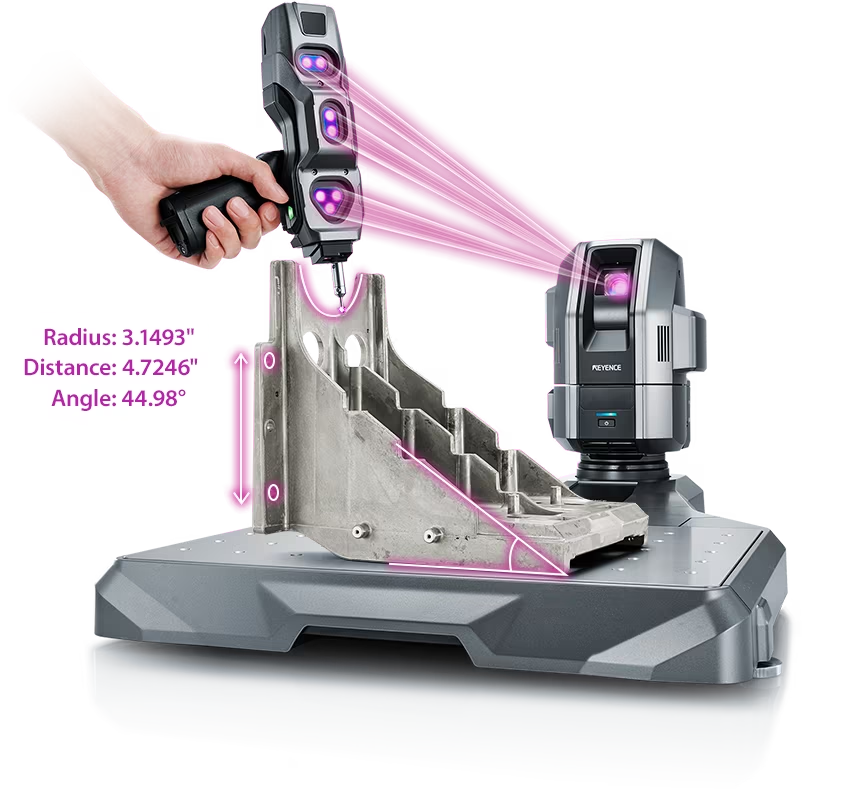
Simply touch the handheld probe on the target! This CMM offers high-precision measurements and can be used intuitively like a vernier caliper.
With a free-angle probe, measurements are possible in any orientation as long as the probe is within the camera's field of view. Additionally, the camera part can be detached from the stage, allowing measurements with the work on the floor or on a fixed workpiece on a machining tool. This flexibility enables versatile use according to the scene.
Equipped with a tutorial function featuring image-based instructions, it allows operation without the need for a manual. Moreover, it has a navigation function that guides you through the same location and steps of a previously executed operation, making repeated measurements easy.
Because it is not restricted to specific installation locations or users, the XM series is an easily deployable CMM with low introduction barrier and.
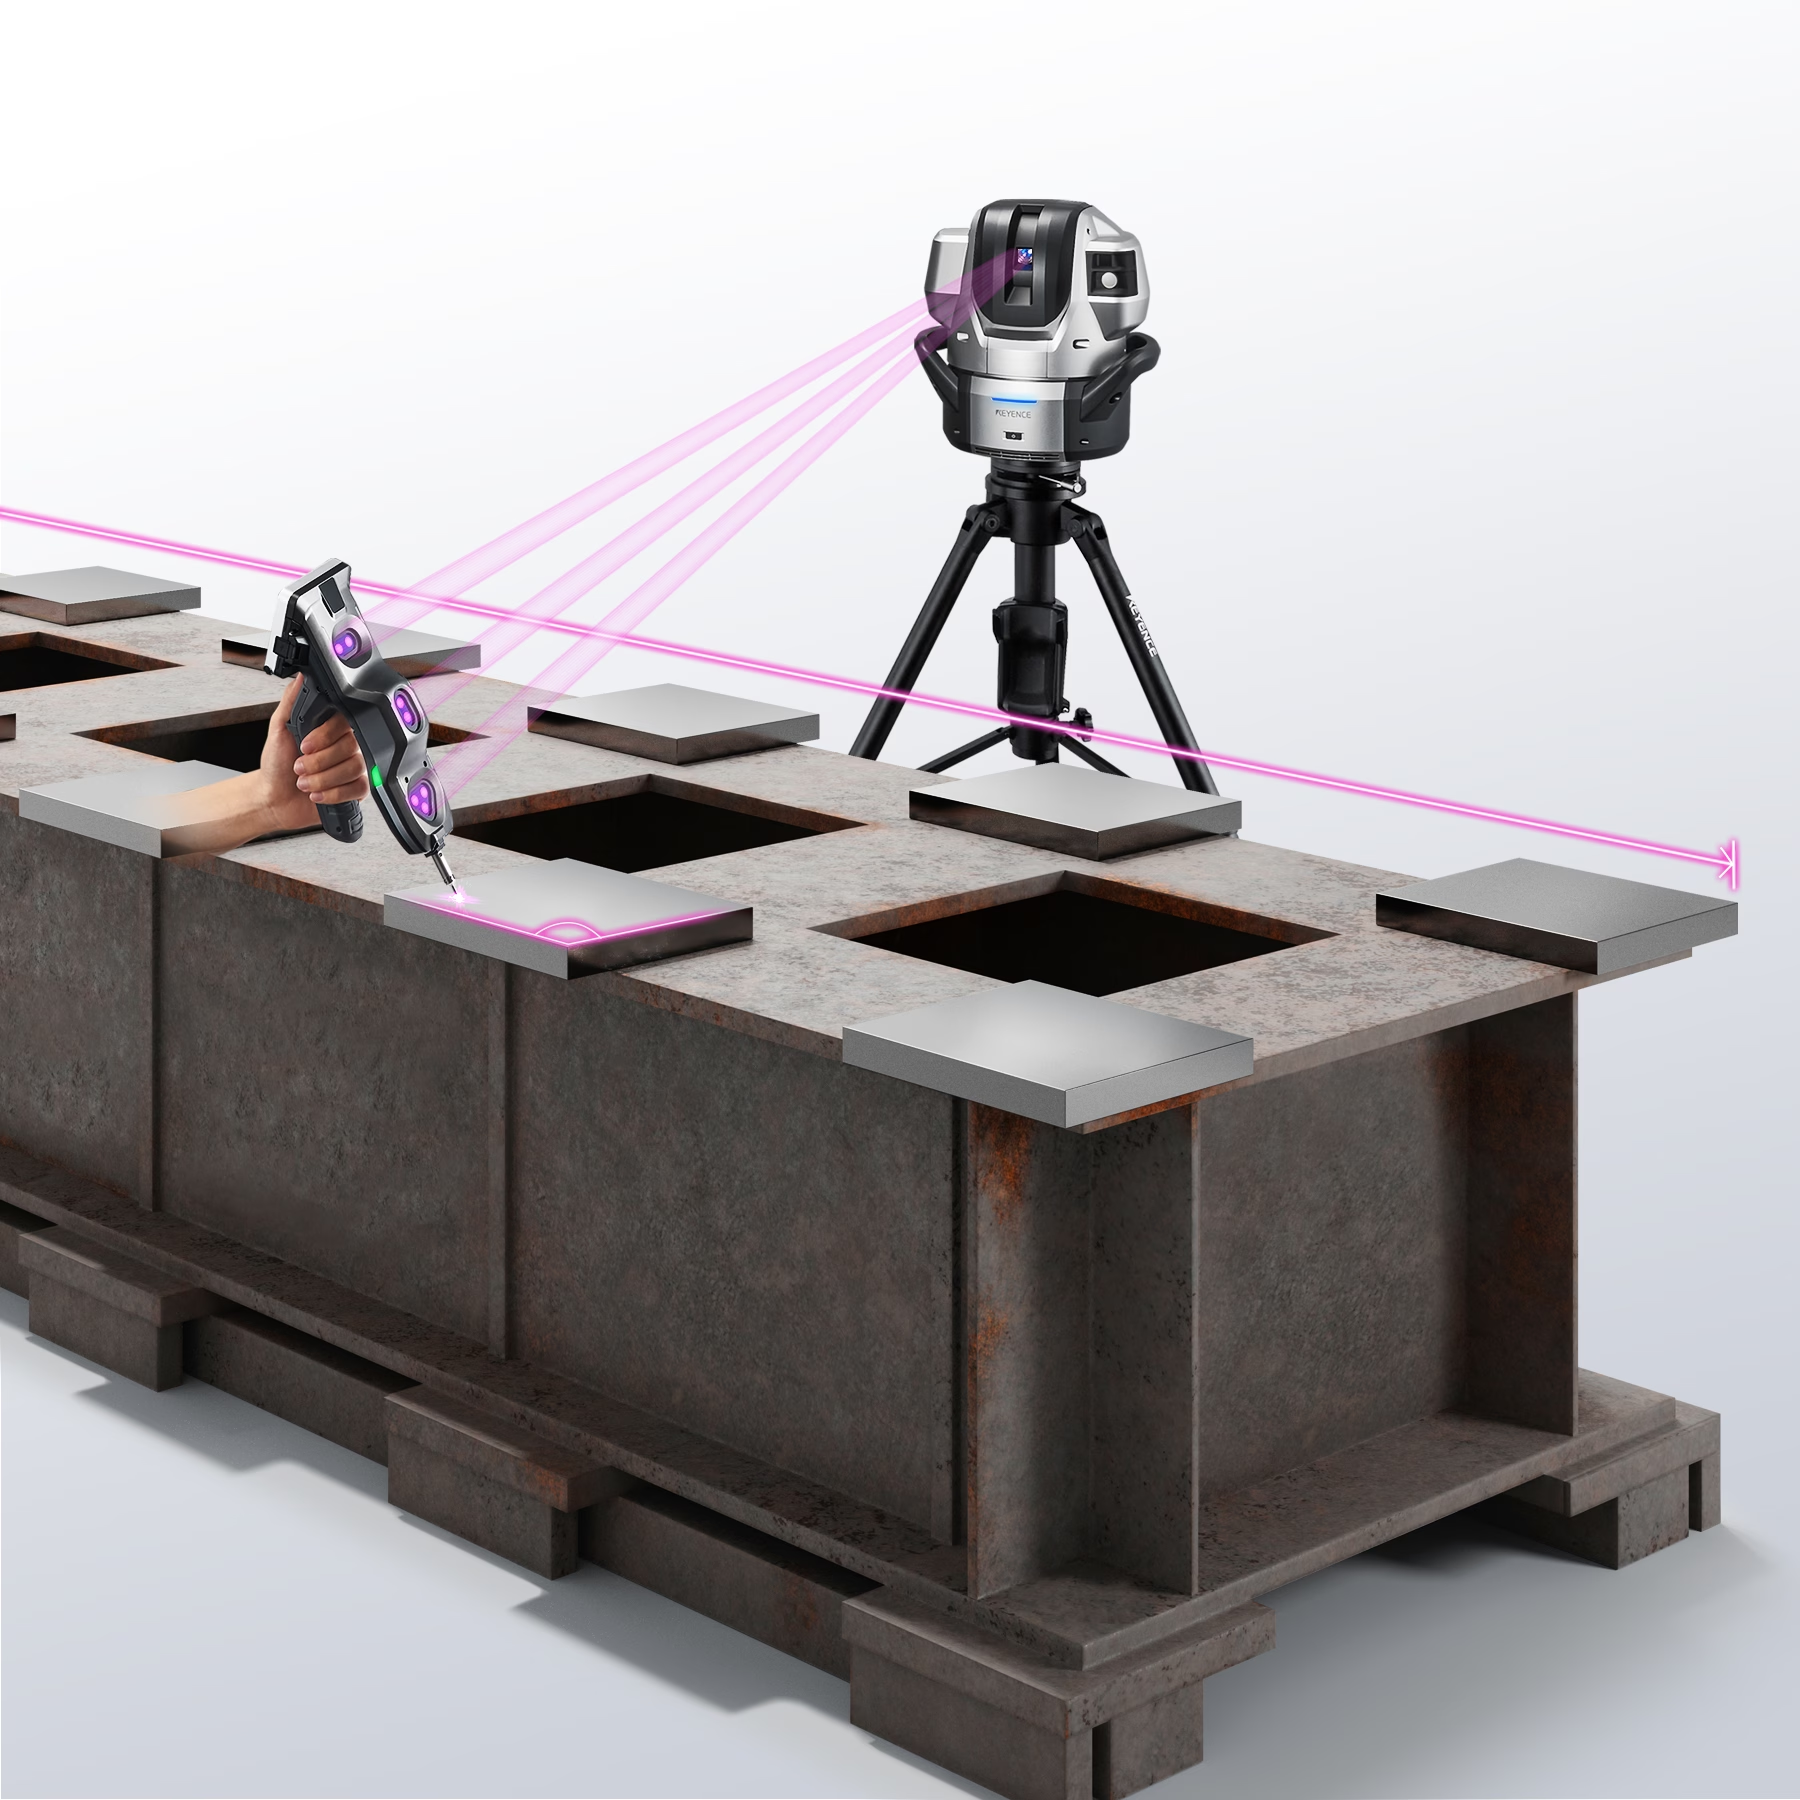
A portable CMM suitable for measuring large workpieces, with a maximum size of up to 25m. Setup is as simple as connecting two cables. The operation involves selecting measurement elements on the monitor, placing the probe on the target object, and pressing a button, requiring no high proficiency level like traditional bridge-type CMMs.
The camera on the main unit constantly tracks the position and orientation of the handheld probe. This allows measurement of large-sized workpieces by a single person without moving the target. With a wireless probe, measurements can be taken from various angles, enabling stress-free approach to complex three-dimensional shapes.
The WM series features two types of probe, a contact probe and a laser scan probe. Combining them allows easy realization of both dimensional and shape measurements. It can handle a wide range of measurement scenarios, from dimensional and strain measurements of can-type products, adjustment of equipment and post-assembly measurements, shape measurement of pressed products, confirmation of casting replacement, on-site surveys, to sketching maintenance parts.
When using a CMM, it is crucial to have a highly reliable measurement environment. Temperature variations can cause workpieces to expand or contract, and there is a possibility of airborne dust entering. Therefore, a measurement room that is strictly temperature-controlled and mindful of cleanliness is necessary for accurate measurements. The recommended temperature, set by JIS as the standard environment, is 20°C.
Three-dimensional measurements are expressed in terms of height, width, and depth. Depending on the orientation and placement of the object being measured, it's important to be aware that the directions of each axis may differ from those of the measuring instrument. To ensure accurate measurement, it is necessary to set up the coordinate axis using the workpiece coordinate system.
For measurements in three-dimensional space, a projection surface is required to determine how a shape is positioned. Elements such as lines, surfaces, circles, points, cylinders, and cones fall into this category. By projecting these elements onto a flat surface, accurate measurements can be obtained.
A probe comes with an attached stylus, generall spherical in shape. When the probe makes contact with the object being measured, the contact point hits the surface of the sphere. It is necessary to consider the length of the radius from the surface to the center of the sphere, and the correction is done using a so-called dummy point. The correction amount is determined by this dummy point.
When using a CMM, it is essential to meticulously maintain the measurement environment and perform complex setup for each measurement. Therefore, the operation of CMMS requires specialized knowledge and personnel familiar with the operating procedures. This poses a challenge as operations can become highly dependent on the skills of individual workers.
CMMs can not be immediately used by everyone, everywhere. Because of this, some companies are struggling with problems such as measurement room wait times, or large workloads being placed on workers with the necessary skills.
When selecting a beginner-friendly CMM, it is crucial to look for options with high operability that allow for inttuitive use and with a vernier caliper-like feel. Versatility is also important. A highly versatile CMM allows for different installation methods, enabling the measurement of large objects placed on the ground without the need for a measurement room, or on-machine measurements while the object is still on a machine tool.
When considering available options, it is recommended to choose a CMM with a friendly interface and easy-to-use navigation settings. KEYENCE CMMs that are introduced in this site do not require special environment and operator’s skill. They are recommended as a Beginner-friendly CMM. Please feel free to use it as a reference.

Source: KEYENCE Website(https://www.keyence.com/products/measure-sys/cmm/xm/index_pr.jsp)
This CMM has a caliper-like feel, enabling even beginners to perform high-precision measurements. It can be carried without the need for temperature control, allowing for immediate measurements at any desired location and time. As it doesn't require a large installation space, it's a CMM with a low entry barrier.
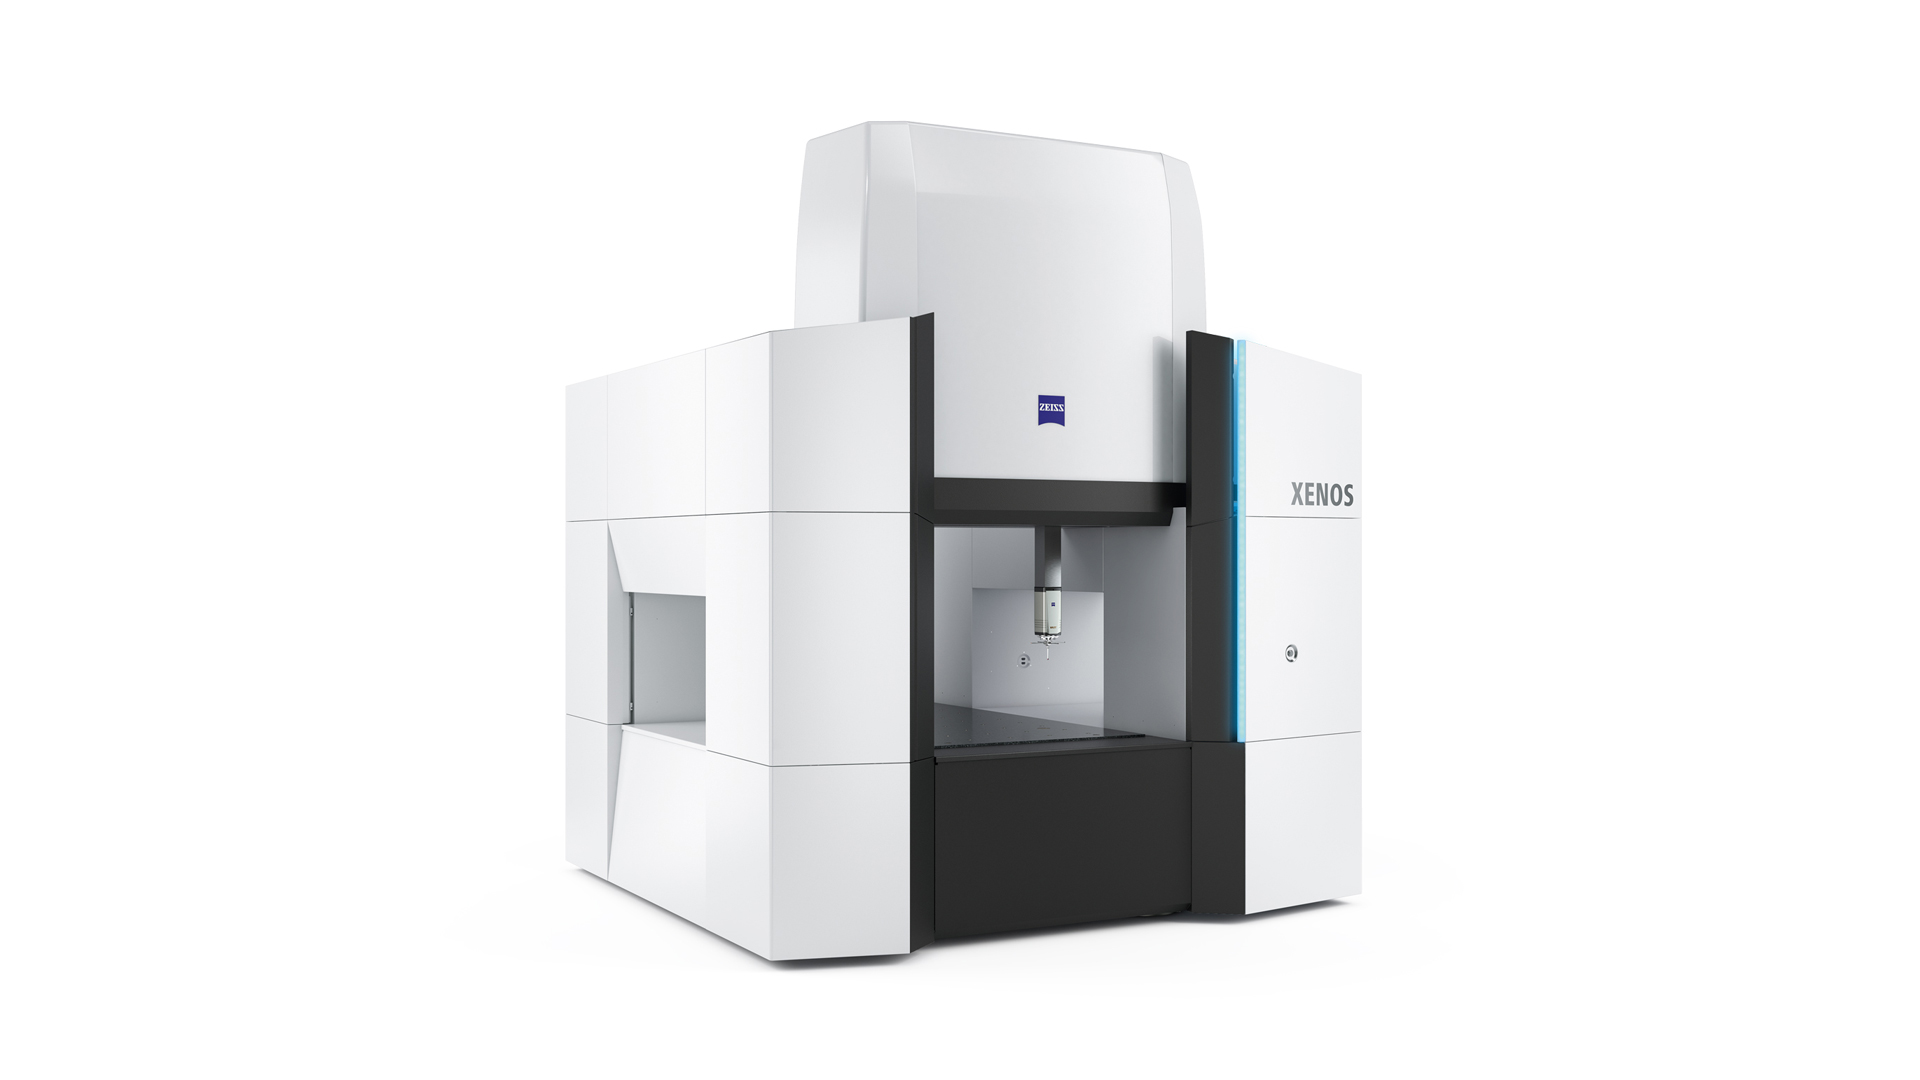
Source: Carl Zeiss Website(https://www.zeiss.com/metrology/products/systems/cmm.html)
Utilizing linear drive on all axes, this CMM boasts high precision with a maximum permissible length measurement error of 0.3+L/1000μm, repeatability of ±0.2μm, and resolution of 0.001μm. The reduced occurrence of errors allows for a decrease in the need for remeasurement.
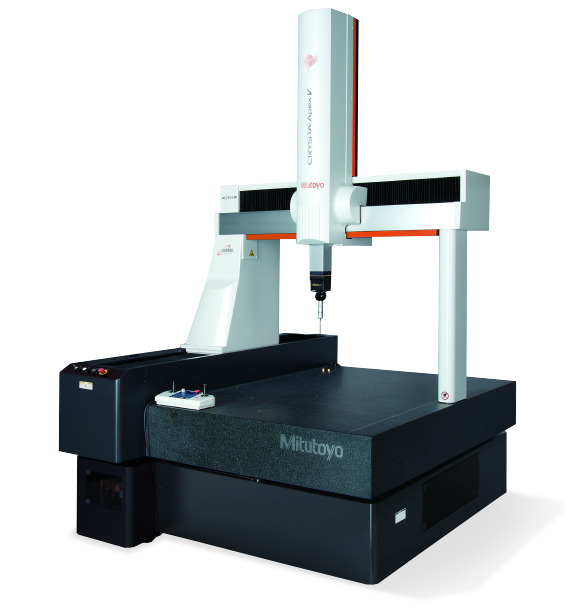
Source: Mitutoyo Website(https://www.mitutoyo.com/products/coordinate-measuring-machines/)
A CNC CMM that was first developed in 1976.
It features applications that respond to the demand for "Smart Factories" by allowing monitoring of operational status and maintenance management of the machine through the network.
Reasons for Selection