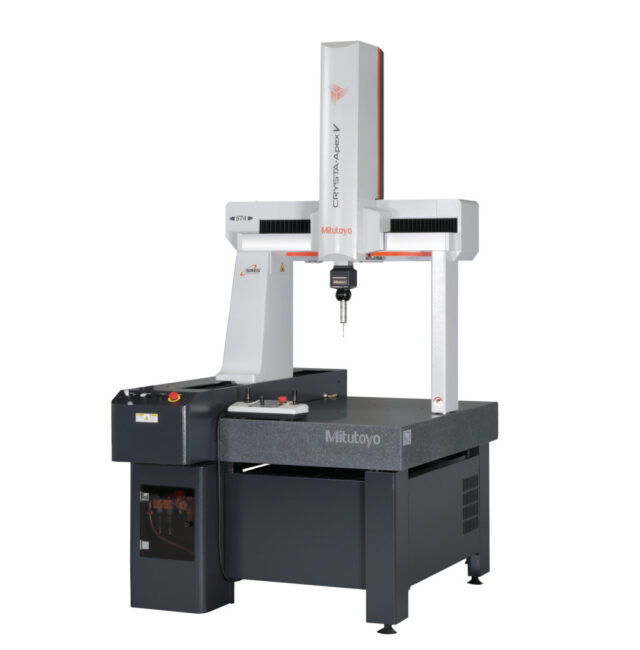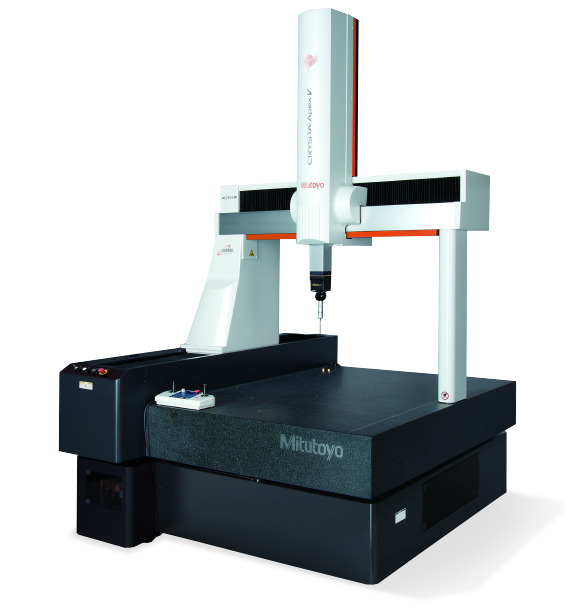

On this page, you can find information on the features of Mitutoyo's bridge-type CMM "CRYSTA-Apex". If you're interested in how the machine utilized in different situations, you can also read about real-world use cases, and recommended use scenarios.

CRYSTA-Apex (V Series) offers models covering both small- and large-sized measurements. It boasts a maximum drive speed of 519mm/s and a maximum drive acceleration of 2309mm/s2, which enables it to perform measurements at a higher rate than other CNC CMMs, regardless of the workpiece size or shape.
With a maximum measurement speed of 8mm/s, it can handle complex shapes with curved surfaces. It allows the specification of measurement paths, enabling trajectory control according to the path defined by the operator. Additionally, it maintains high speed and accuracy by correcting errors such as Abbe errors caused by the deformation of the measurement machine.
Traditional measurement machines are strongly influenced by temperature, requiring installation in a constant temperature room or other dedicated measurement rooms to ensure accuracy. However, CRYSTA-Apex features a temperature compensation function, ensuring accuracy within a temperature range of 16-26℃.
CRYSTA-Apex measures the temperature of the measurement object and the measurement machine, and then outputs the measurement results converted at 20℃. Thanks to these excellent control features, it guarantees a maximum permissible length measurement error of 1.7μm for the first term.
Probes are indispensable for CMMs, and CRYSTA-Apex supports various types of probes. For example, it allows measurements with non-contact probes for impellers, or scanning probes for precise mold surfaces and cross-sectional measurements of separators.
CRYSTA-Apex offers a variety of probes, including a small, high-accuracy scanning probe (SP25M), a small touch-trigger probe (TP20/TP200), and an the MRT240 Rotary Table (optional) for measuring rotating objects.
In motor manufacturing, the processing and assembly accuracy of motor cores play a crucial role. In this particular case, non-contact solutions using laser displacement meters and image measuring machines were used to perform measurements for these products. However, these measurement methods faced some challenges due to variations in products and errors caused by the gloss of hairpins.
Switching from non-contact to contact measurement using CRYSTA-Apex resolved these issues. The CRYSTA-Apex enabled high-accuracy measurements unaffected by surface textures and gloss, eliminating measurement defects due to edge detection failures.
A company developing carbon composite products faced challenges in shape measurements using a 3-axis control probe due to the high design flexibility of their products. To address this issue and expand its business, the company introduced the CRYSTA Apex S 9108, which features a 5-axis control scanning head.
By utilizing both the existing CRYSTA Apex S 122010 and the new CRYSTA Apex S 9108, the company could perform measurements of complex shapes. This two-machine system not only expanded the capability for complex shape measurements but also improved quality control capabilities.
The CRYSTA-Apex series is characterized by its ability to perform high-speed and high-accuracy measurements without being affected by temperature conditions. The rich options and accessories, including different probe types, allow for flexible system configurations tailored to specific environments, making it a noteworthy choice.
The CRYSTA-Apex series it is well-suited for manufacturing and processing environments where high-accuracy measurements are required, even in challenging conditions. Because it can maintain accuracy while enabling high-speed measurements also contributes to efficiency improvements in environments where measurements of complex shapes used to be time-consuming.

Source: KEYENCE Website(https://www.keyence.com/products/measure-sys/cmm/xm/index_pr.jsp)
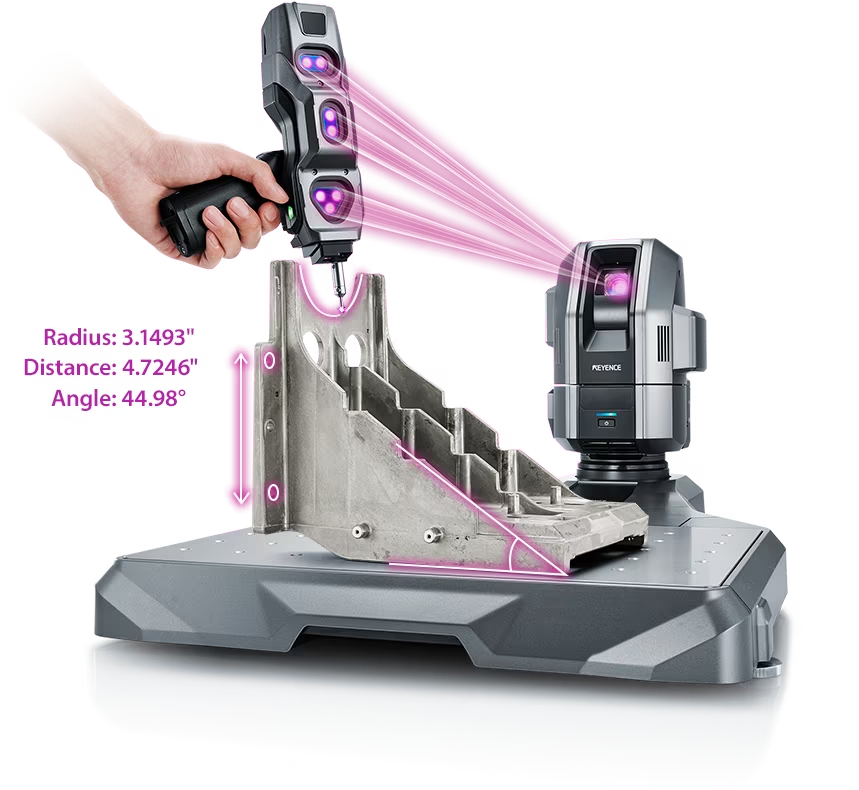
This CMM has a caliper-like feel, enabling even beginners to perform high-precision measurements. It can be carried without the need for temperature control, allowing for immediate measurements at any desired location and time. As it doesn't require a large installation space, it's a CMM with a low entry barrier.

Source: Carl Zeiss Website(https://www.zeiss.com/metrology/products/systems/cmm.html)
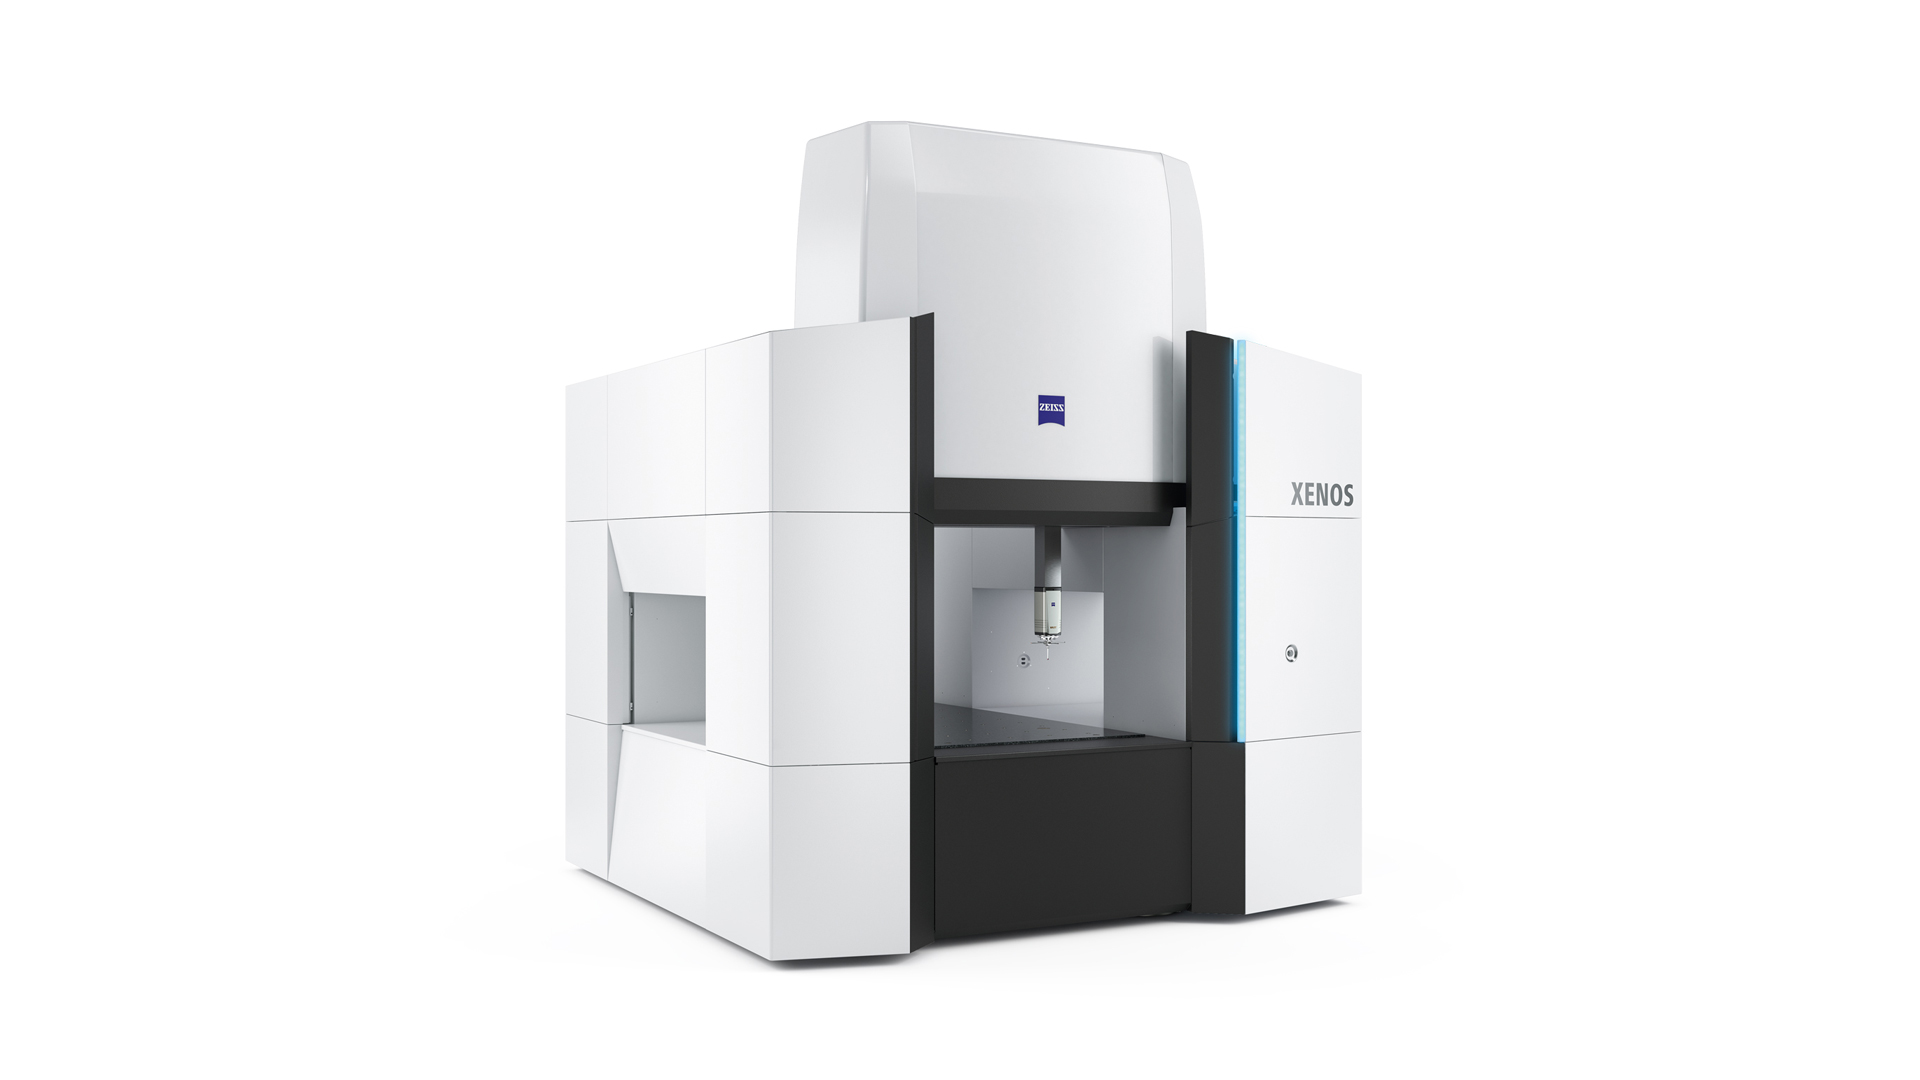
Utilizing linear drive on all axes, this CMM boasts high precision with a maximum permissible length measurement error of 0.3+L/1000μm, repeatability of ±0.2μm, and resolution of 0.001μm. The reduced occurrence of errors allows for a decrease in the need for remeasurement.

Source: Mitutoyo Website(https://www.mitutoyo.com/products/coordinate-measuring-machines/)
A CNC CMM that was first developed in 1976.
It features applications that respond to the demand for "Smart Factories" by allowing monitoring of operational status and maintenance management of the machine through the network.
Reasons for Selection