
Based on their operating methods, CMMs can be divided into two types: Manual and CNC (Computer Numerical Control). In this section, we provide a detailed explanation of the operating methods of CMMs.
CMMs were first developed in the 1960s in the UK. In Japan, Tokyo Seimitsu began manufacturing them in 1969. In 1973, CMMs capable of automatic measurement and scanning emerged, and in 2005, CMMs equipped with X-ray CT devices were introduced.
The operating methods of CMMs are broadly categorized into manual (hand-operated) and CNC (Computer Numerical Control) methods. The manual-method CMMs require the operator to directly move the measuring probe for measurements. On the other hand, the CNC-method CMMs use advanced technology that automates measurements through computer control. The adoption of CNC methods has led to increased efficiency and improved accuracy in measurement tasks.
CMMs have evolved to enable more precise and complex measurements, thanks to advanced data processing capabilities and automation technologies. Additionally, the development of multi-sensor technology has allowed for the combination of various types of sensors, catering to a wide range of measurement needs.
CMMs come with two types of operating method: manual, where the operator controls the measuring machine by hand, and CNC (Computer Numerical Control), which involves automated operation. In CNC methods, software is programmed beforehand, and the machine performs measurements according to that programming.
The primary difference between manual and automated measurements lies in the potential for errors and variations in quality due to individual measuring techniques. Manual measurements rely on the skill and precision of the operator, which can lead to variability in results. In contrast, CNC methods offer consistent and repeatable measurements by eliminating human error, thus ensuring uniformity in quality.
Manual-method CMMs involve measurement staff using a controller to operate the tool head for measuring the target object. CNC methods require programming, making it necessary for staff to familiarize themselves with the operations. Manual-method CMMs, on the other hand, can be used more intuitively. Here, we will discuss the advantages, disadvantages, and applications of manual method CMMs.
The primary advantage of manual-method CMMs is their relatively lower cost of implementation compared to CNC methods. There is no need for preparation time to program the software before performing the measurements. If the staff is already accustomed to manual-method CMMs, there's no need to learn new CNC operation techniques. The ability to manually and freely reposition and exchange measurement objects makes it suitable for three-dimensional measurements in low-volume production.
Since manual-method CMMs rely on measurements performed by staff, there can be some degree of variability in mwasuring quality. This method also requires more time and effort from the measurement staff, which can be particularly burdensome during high-volume production.
Manual-method CMMs are well-suited for three-dimensional measurements in multi-variety and low-volume production. In production environments where the types of objects being measured vary greatly, the flexibility and adaptability of manual operation are beneficial.
CNC (Computer Numerical Control) method CMMs operate the tool head through computer control. Paths are created using software, and the data is sent to the CMM, which then moves the tool head accordingly. Incorporating IT technologies to enhance CMM accuracy, the CNC method is useful in environments focused on mass production of a limited variety of products. Here, we will discuss the advantages, disadvantages, and applications of CNC method CMMs.
Unlike manual measurements, CNC-method CMMs provide stable quality. While manual measurements can vary based on the operator's skill level, CNC-method CMMs perform measurements precisely as programmed, enabling consistent high-precision measurements.
CNC-method CMMs are ideal for mass production of a limited variety of products. They reduce the time and effort required by measurement staff, thus shortening the measurement time per product and improving productivity. During CNC dimensional measurement, the machine only needs to be monitored, allowing measurement staff to undertake other tasks, which can lead to a reduction in labor costs.
CNC-method CMMs tend to be expensive due to the computer and software required for numerical control. When considering the implementation of a CNC-method CMM, it is necessary to weigh the initial investment against the potential reduction in operating costs and depreciation expenses.
The need for programming software before measurement is also a point to consider. Using CNC-type CMMs streamlines the measurement process, but also requires preparation time before measurement can begin. Additionally, time may be needed for staff to acquire the necessary programming skills.
The CNC method is suitable for production environments that focus on mass production of a limited variety of products. This is because programming the software with information about multiple products can be time-consuming. Furthermore, due to the high cost of implementing CNC models, it's important to assess the cost-effectiveness of the investment.
Here, we will explore the benefits of automating measurement machines.
Using manual-method CMMs can lead to measurement errors due to varying levels of staff expertise. By implementing CNC-method CMMs, which perform measurements according to programmed software, individual errors by measurement staff can be minimized. Automation of measurement machines can reduce variations in measurement quality, leading to the consistent production of high-precision products.
Manual measurement methods can be time-consuming and labor-intensive, especially when exchanging the objects being measured. However, with CNC methods, the time and effort required to exchange measurement objects can be significantly reduced.
Manual measurement methods can be so time-consuming that it may not be feasible to perform full-quantity inspections due to insufficient labor hours. CNC-method CMMs enable the automation of the measurement process, making it easier to conduct full-quantity inspections.
The choice of a CMM model varies depending on the specific applications of a business. This site provides a curated selection of recommended CMMs for different applications. Be sure to check it out to find the best CMM for your needs.

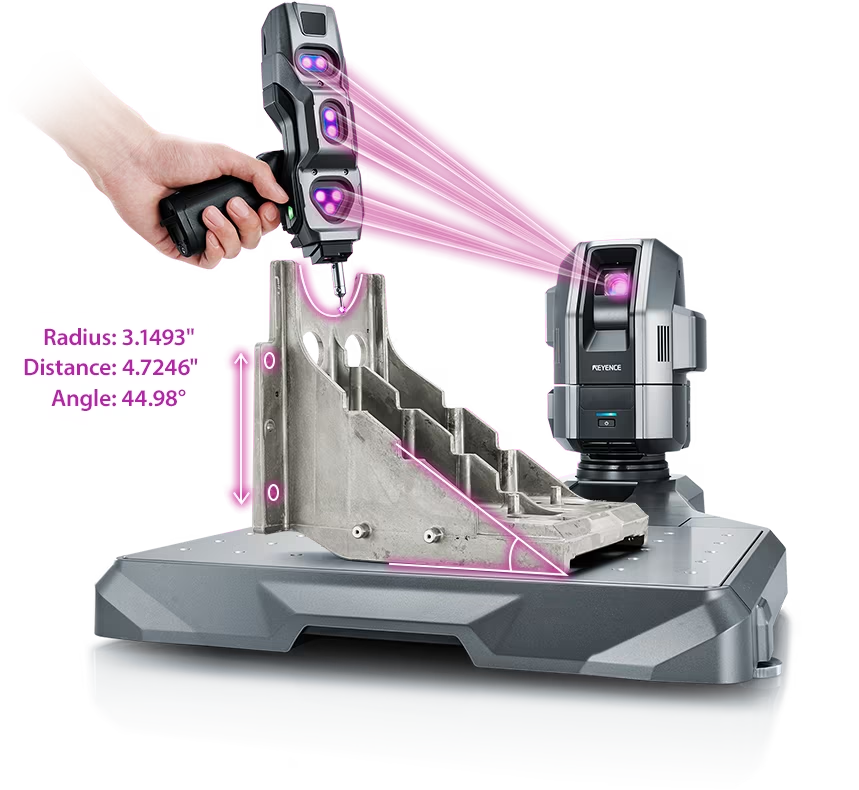
Source: KEYENCE Website(https://www.keyence.com/products/measure-sys/cmm/xm/index_pr.jsp)
This CMM has a caliper-like feel, enabling even beginners to perform high-precision measurements. It can be carried without the need for temperature control, allowing for immediate measurements at any desired location and time. As it doesn't require a large installation space, it's a CMM with a low entry barrier.

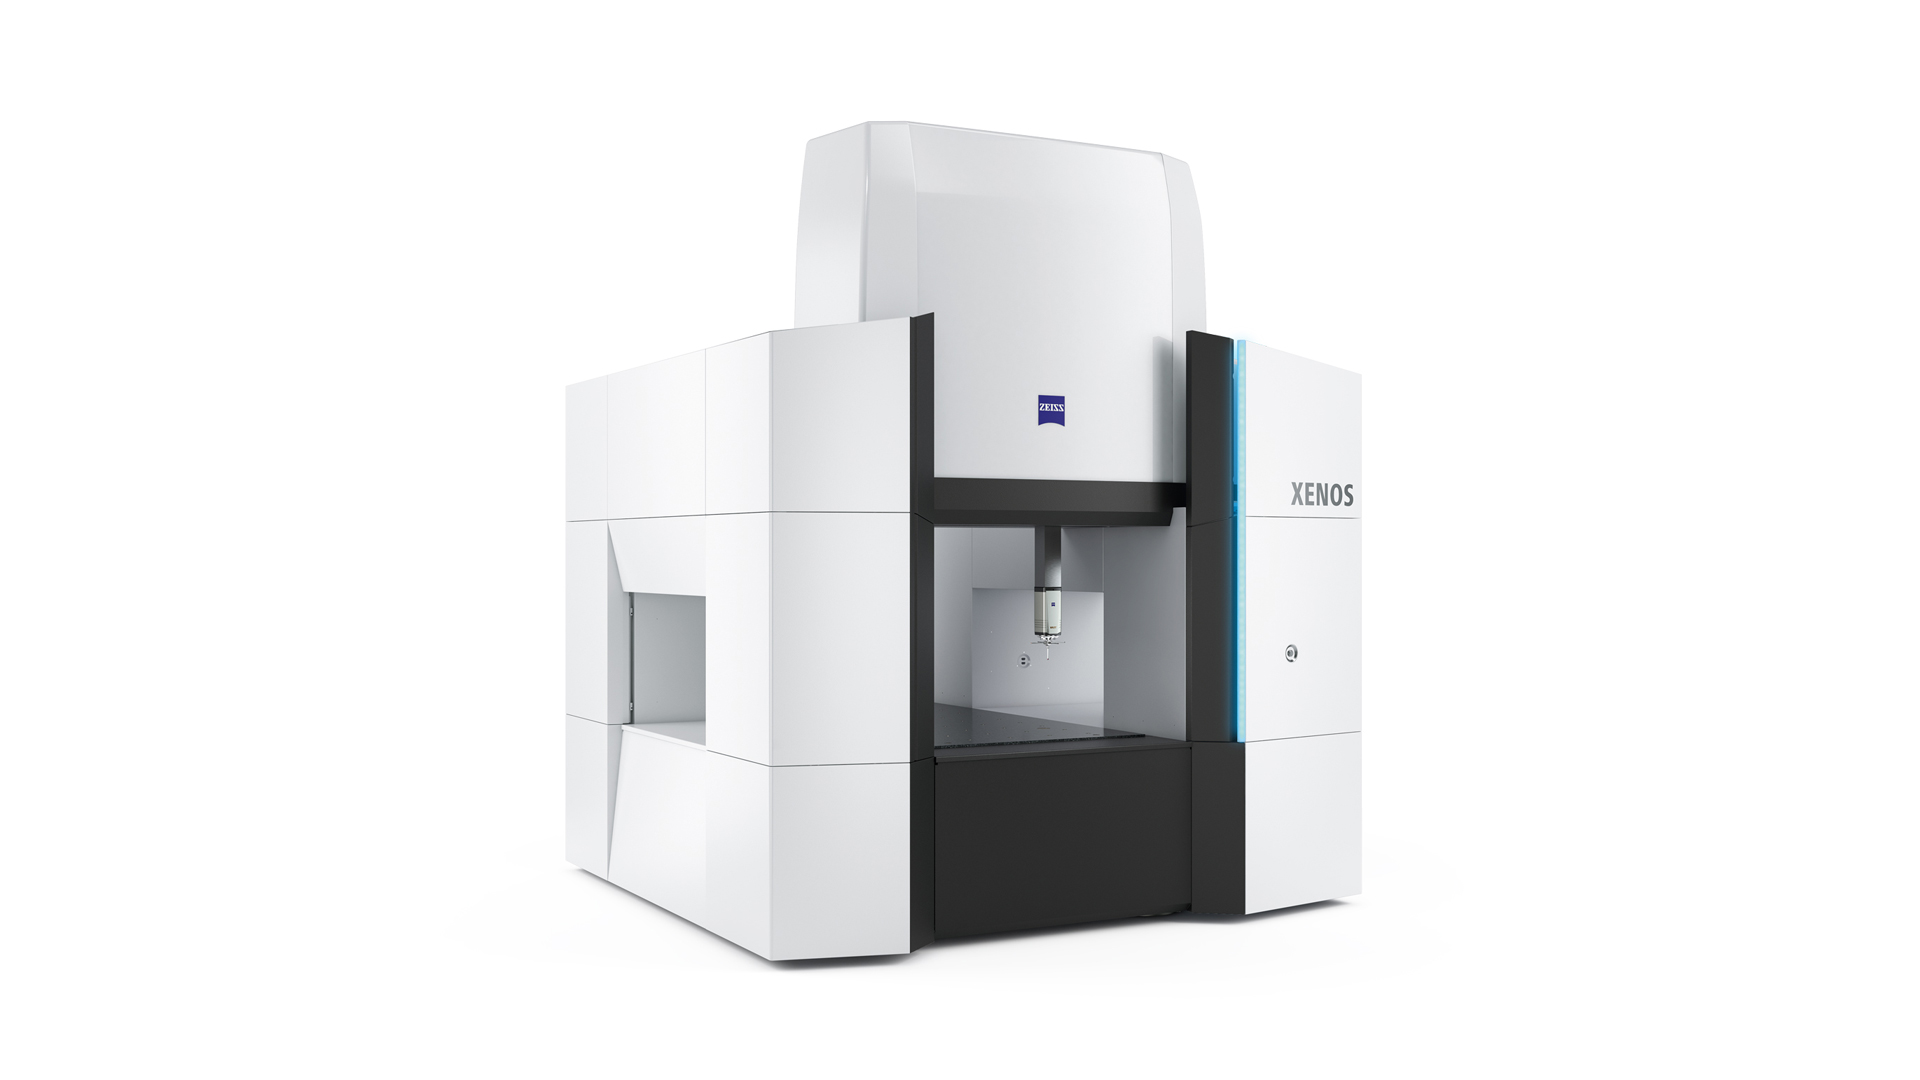
Source: Carl Zeiss Website(https://www.zeiss.com/metrology/products/systems/cmm.html)
Utilizing linear drive on all axes, this CMM boasts high precision with a maximum permissible length measurement error of 0.3+L/1000μm, repeatability of ±0.2μm, and resolution of 0.001μm. The reduced occurrence of errors allows for a decrease in the need for remeasurement.

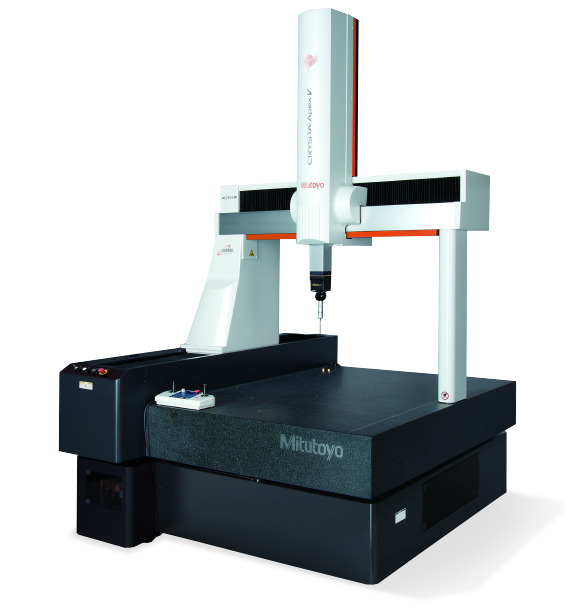
Source: Mitutoyo Website(https://www.mitutoyo.com/products/coordinate-measuring-machines/)
A CNC CMM that was first developed in 1976.
It features applications that respond to the demand for "Smart Factories" by allowing monitoring of operational status and maintenance management of the machine through the network.
Reasons for Selection