
CMMs typically perform three-dimensional coordinate and dimensional measurements by contacting an object with a spherical stylus, known as a probe. While there are measurement methods that do not involve physical contact, such as video measuring devices and 3D scanners, most CMMs perform contact type measurement.
In this section, we explain the contact method of CMMs, including how it works, its advantages and disadvantages. We also touch upon the non-contact method, providing a comprehensive understanding of both approaches.
Generally, CMM are contact type devices equipped with touch probes. Contact type CMMs are known for their high precision and come in various sizes. While manual operation models exist, there is an increasing trend towards machines capable of programmed measurements. Here, we will discuss the mechanism, applications, advantages, and disadvantages of contact type measuring machines.
In CMM measurements, the machine records the center coordinates of the sphere at the tip of the probe when it touches the object. Elements are calculated based on this collection of coordinates. The number of points required depends on the element to be measured. For example, a minimum of two points is needed for a line, three for a plane or a circle, and four for a sphere. Positional relationships between these elements are also computed.
Unlike vernier calipers, which measure individual elements, CMMs can measure complex three-dimensional shapes with precision by calculating elements from the measured points.
Contact method CMMs can quickly perform three-dimensional measurements by touching multiple contact points. This method has been widely used since the inception of CMMs, leading to extensive implementation experience.
One drawback of contact type CMMs (excluding handheld-types) is their large size. Also, since measurement involves directly pressing the stylus onto the object, it is unsuitable for measuring soft materials. Additionally, the implementation of contact type CMMs requires consideration of initial costs, space for installation, and operational expenses like probe replacement.
Contact type CMMs are valuable for high-precision measurements in R&D and manufacturing settings. They are particularly sought after in industries like automotive and aerospace, where high precision is essential. With ongoing technological advancements and the increasing need for high-precision components, the demand for contact method CMMs is expected to grow in manufacturing sectors.
Non-contact type measurement machines measure three-dimensional coordinates and dimensions by projecting lasers or patterns onto an object. Since there's no need for physical contact with the object, measurements of soft materials are possible. Here, we discuss the mechanism, applications, advantages, and disadvantages of non-contact measurement machines.
Non-contact measurement machines use lasers or light to read three-dimensional coordinates and accumulate data. During scanning, they generate large amounts of point or voxel data.
The main advantage of non-contact measurement machines is their ability to quickly acquire a large volume of measurement data without physically touching the object or part.
Non-contact measurement machines have some limitations. They may not be able to measure objects that cannot reflect light due to their shape or material. Also, their measurement range is relatively narrow compared to contact type machines.
Non-contact measurement machines are suitable for scenarios where even minor scratches on the object are unacceptable. Recent advancements in lens precision, sensor capabilities, and software convenience have increased their demand in high-precision required environments.
Some non-contact type CMMs use sound waves or electromagnetic waves for measurement, but most of them utilize light reflection. Types of non-contact measurement include the following methods: Optical radar method, active stereo method, optical interferometry, lens focusing method, and passive stereo method. Brief explanations of these methods are provided below.
The optical radar method is used to measure objects with minimal light absorption and scattering. It cannot be used on transparent objects. Its measurement accuracy is within a few centimeters, and the range is up to several meters.
The active stereo method is suitable for objects that are not mirror-like or transparent. Its measurement accuracy ranges from tens of micrometers to a few centimeters, and the measurement range is from a few centimeters to several meters.
Optical interferometry is used on objects with high reflectivity and small surface irregularities. Its measurement accuracy is sub-nanometer, and the measurement range is a few micrometers.
The lens focusing method is suitable for non-mirror-like objects. Its measurement accuracy is a few micrometers, and the measurement range is a few millimeters.
The passive stereo method targets non-flat objects. Its measurement accuracy is a few millimeters, and the range is from a few centimeters to several meters.
Reference: Sevensix Official Site "What is a Contact CMM? – Explaining Features, Applications, and Advantages" (https://www.sevensix.co.jp/useful/3d-measuring-machine_022/#i-8)
Contact type measurement devices measure objects or parts by connecting points with each other, whereas non-contact measurement devices perform measurements without any direct contact with the object or part.
The choice between non-contact and contact methods typically depends on the application of the measurement object. Contact method models are used for relatively simple shapes, while non-contact method models are suited for complex shapes or free-form surfaces.
The appropriate measurement method is determined based on the type of object being measured and the accessibility of the features to be measured. Consideration of reducing measurement uncertainty is also crucial in selecting the equipment.
If high precision and stable measurements are required, contact method CMMs may be a suitable option. However, when the parts to be measured are at the micro-scale, they become more susceptible to damage. In such cases where contact method measurements are not feasible, non-contact measurement methods can provide a solution.
The choice of a CMM model varies depending on the specific applications of a business. This site provides a curated selection of recommended CMMs for different applications. Be sure to check it out to find the best CMM for your needs.

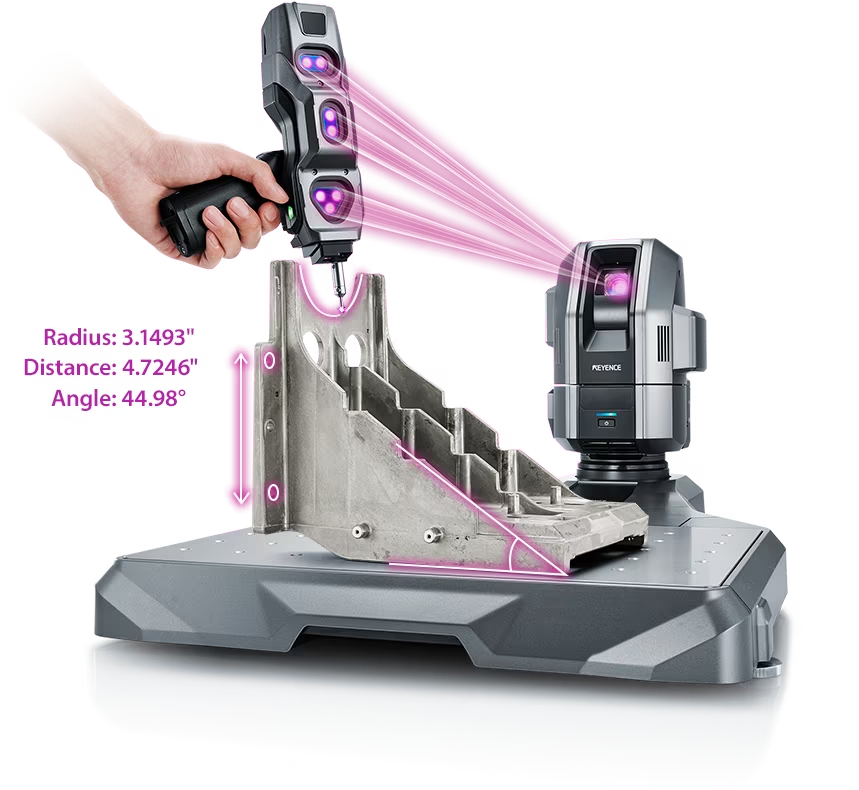
Source: KEYENCE Website(https://www.keyence.com/products/measure-sys/cmm/xm/index_pr.jsp)
This CMM has a caliper-like feel, enabling even beginners to perform high-precision measurements. It can be carried without the need for temperature control, allowing for immediate measurements at any desired location and time. As it doesn't require a large installation space, it's a CMM with a low entry barrier.

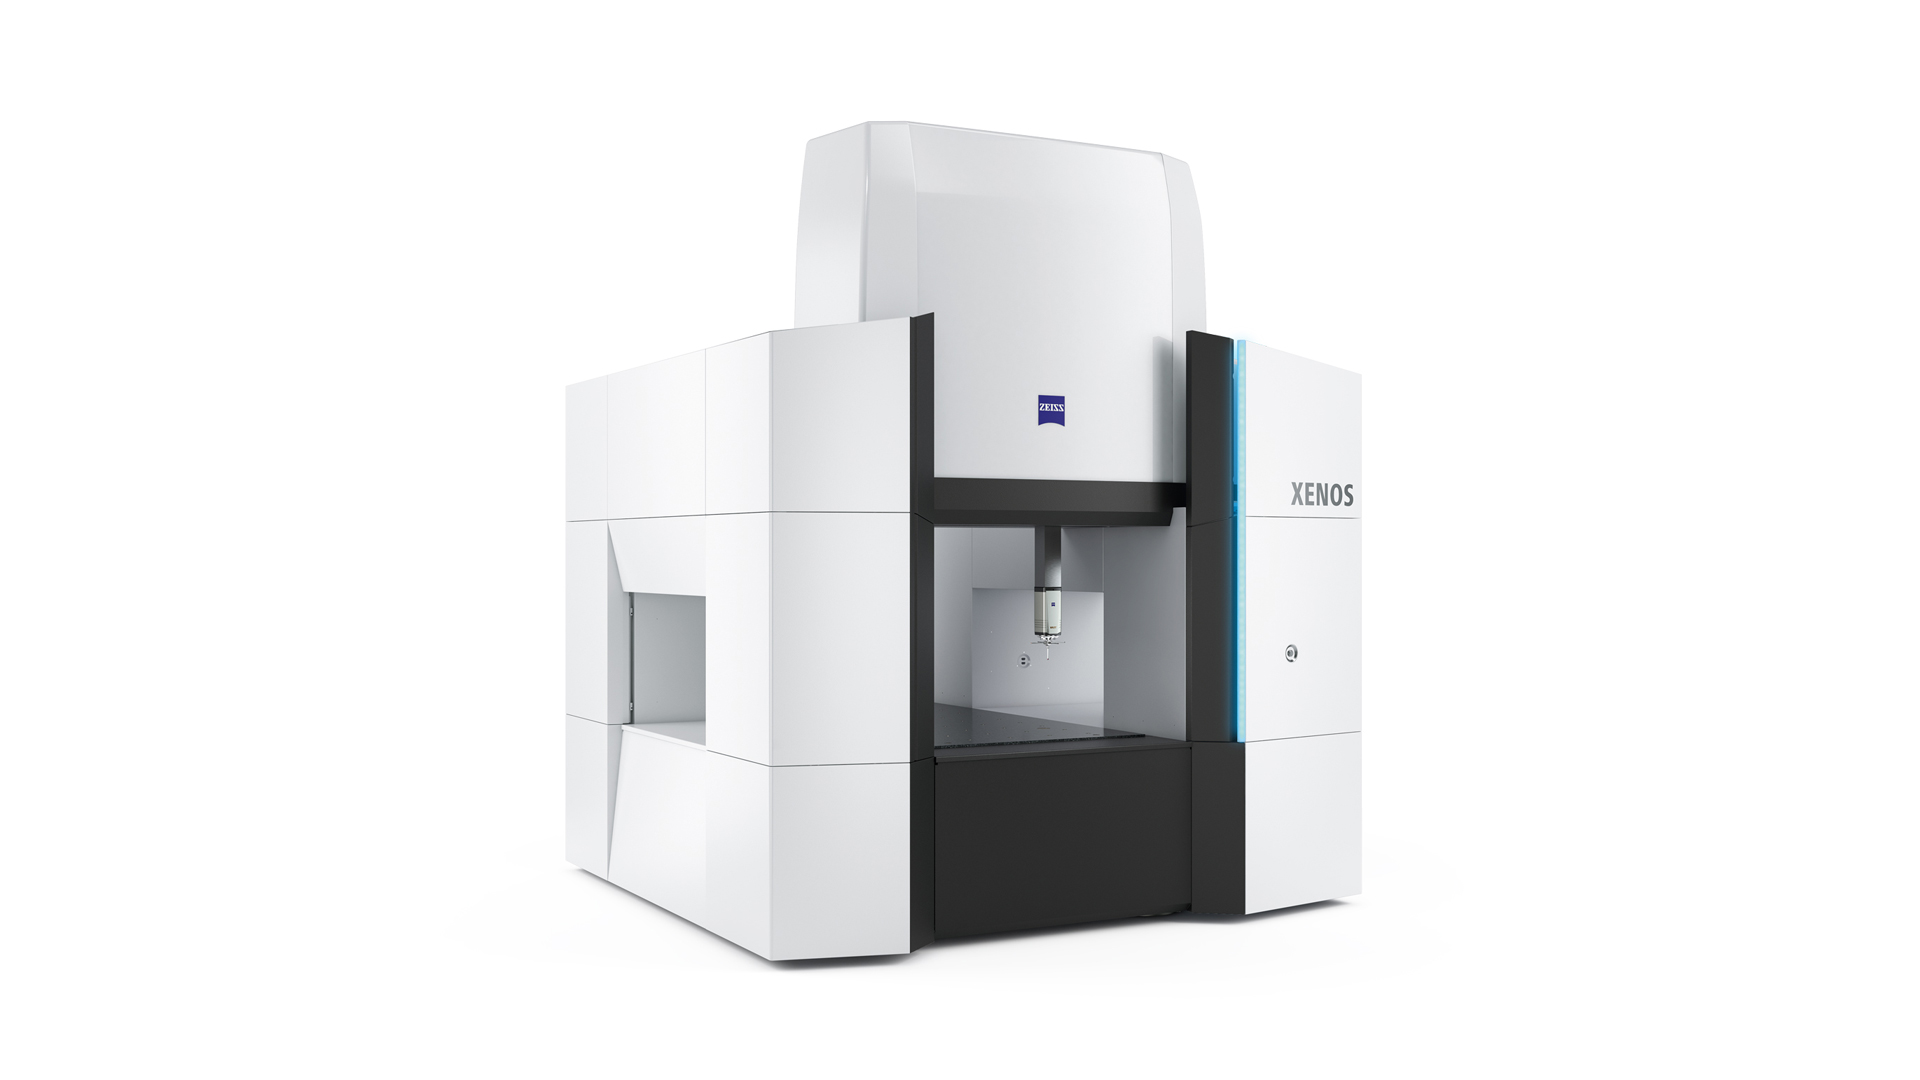
Source: Carl Zeiss Website(https://www.zeiss.com/metrology/products/systems/cmm.html)
Utilizing linear drive on all axes, this CMM boasts high precision with a maximum permissible length measurement error of 0.3+L/1000μm, repeatability of ±0.2μm, and resolution of 0.001μm. The reduced occurrence of errors allows for a decrease in the need for remeasurement.

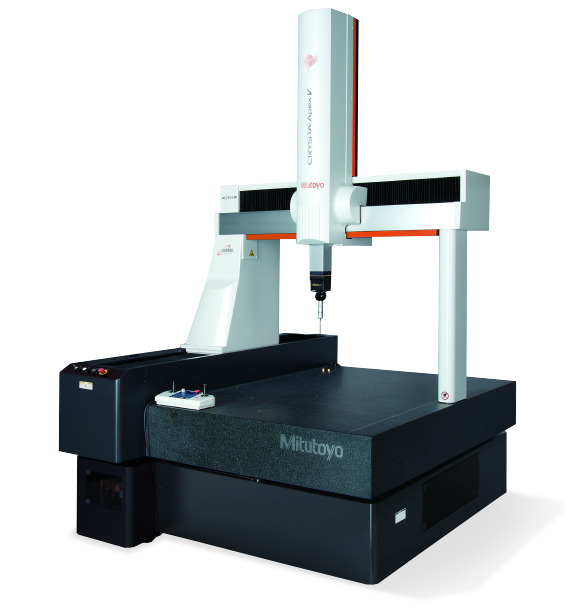
Source: Mitutoyo Website(https://www.mitutoyo.com/products/coordinate-measuring-machines/)
A CNC CMM that was first developed in 1976.
It features applications that respond to the demand for "Smart Factories" by allowing monitoring of operational status and maintenance management of the machine through the network.
Reasons for Selection