
In precision manufacturing, straightness is a fundamental geometric characteristic that directly affects assembly accuracy, motion performance, and product quality. Even slight deviations from straightness can lead to increased friction, uneven wear, or functional failure in mechanical components.
As tolerance requirements become tighter, relying on visual inspection or simple measuring tools is no longer sufficient. Coordinate Measuring Machines (CMMs) provide a reliable and repeatable method for evaluating straightness based on precise three-dimensional data. This article explains the concept of straightness tolerance and outlines how straightness can be accurately measured using a CMM.
Straightness is a geometric tolerance that controls how much a line element or axis is allowed to deviate from an ideal straight line. It is defined in geometric dimensioning and tolerancing (GD&T) standards such as ISO GPS and ASME Y14.5.
Straightness can be applied to two main types of features:
Unlike some other geometric tolerances, straightness does not require a datum reference. The tolerance zone is defined independently and typically consists of two parallel lines (for surface straightness) or a cylindrical zone (for axis straightness).
A CMM measures straightness by collecting coordinate data points along the feature of interest and evaluating their deviation from an ideal straight line. The measurement procedure may vary depending on whether surface straightness or axis straightness is being evaluated, but the basic approach remains the same.
First, specify the feature whose straightness will be evaluated. For surface straightness, this may be a line along a flat or curved surface. For axis straightness, the feature is typically a cylindrical hole or shaft.
The measurement path should reflect the functional requirement of the part. In many cases, multiple line elements are measured along the length of the feature to obtain a representative evaluation.
Using the CMM stylus, collect measurement points along the defined line or feature. Points can be taken either discretely or through scanning, depending on the required accuracy and inspection time.
For surface straightness, probing is performed along the surface at specified intervals. For axis straightness, the CMM measures circular cross-sections at several positions and calculates the derived axis from the collected data.
Once the measurement points have been collected, the CMM software calculates an ideal straight line that best fits the data. The straightness error is defined as the maximum deviation of the measured points from this ideal line within the tolerance zone.
The result is then compared with the specified straightness tolerance to determine whether the feature meets the design requirements.
Measuring straightness with a CMM offers several advantages over traditional inspection methods. High measurement repeatability, objective evaluation, and digital data processing allow for consistent and traceable results.
However, accurate straightness measurement requires careful consideration of several factors:
By selecting an appropriate measurement strategy and maintaining proper measurement conditions, a CMM can provide highly reliable straightness evaluations suitable for both production and quality assurance applications.

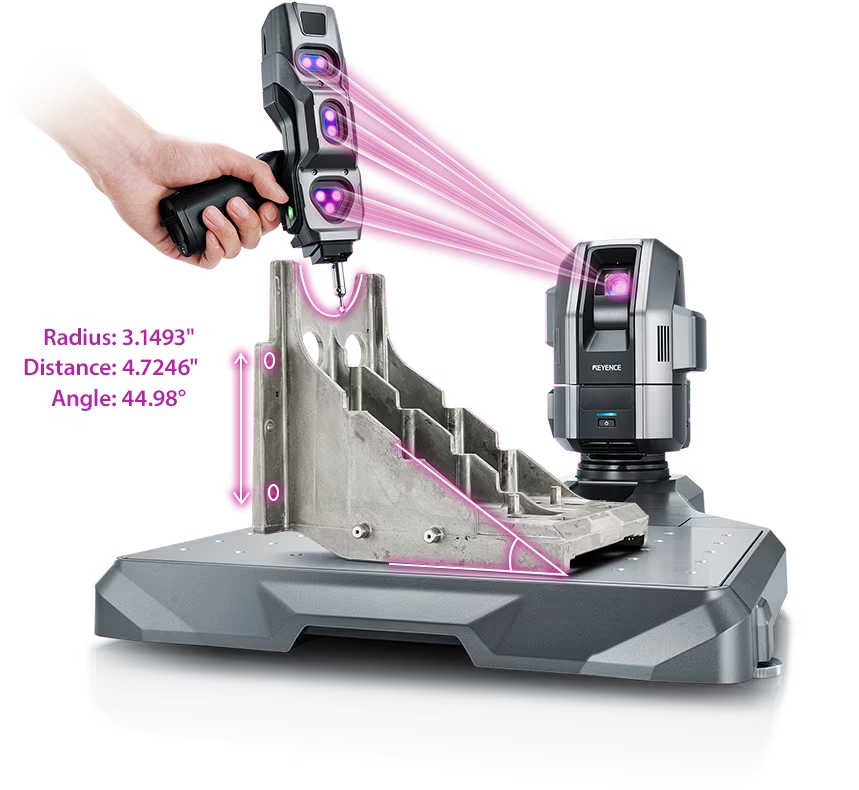
Source: KEYENCE Website(https://www.keyence.com/products/measure-sys/cmm/xm/index_pr.jsp)
This CMM has a caliper-like feel, enabling even beginners to perform high-precision measurements. It can be carried without the need for temperature control, allowing for immediate measurements at any desired location and time. As it doesn't require a large installation space, it's a CMM with a low entry barrier.

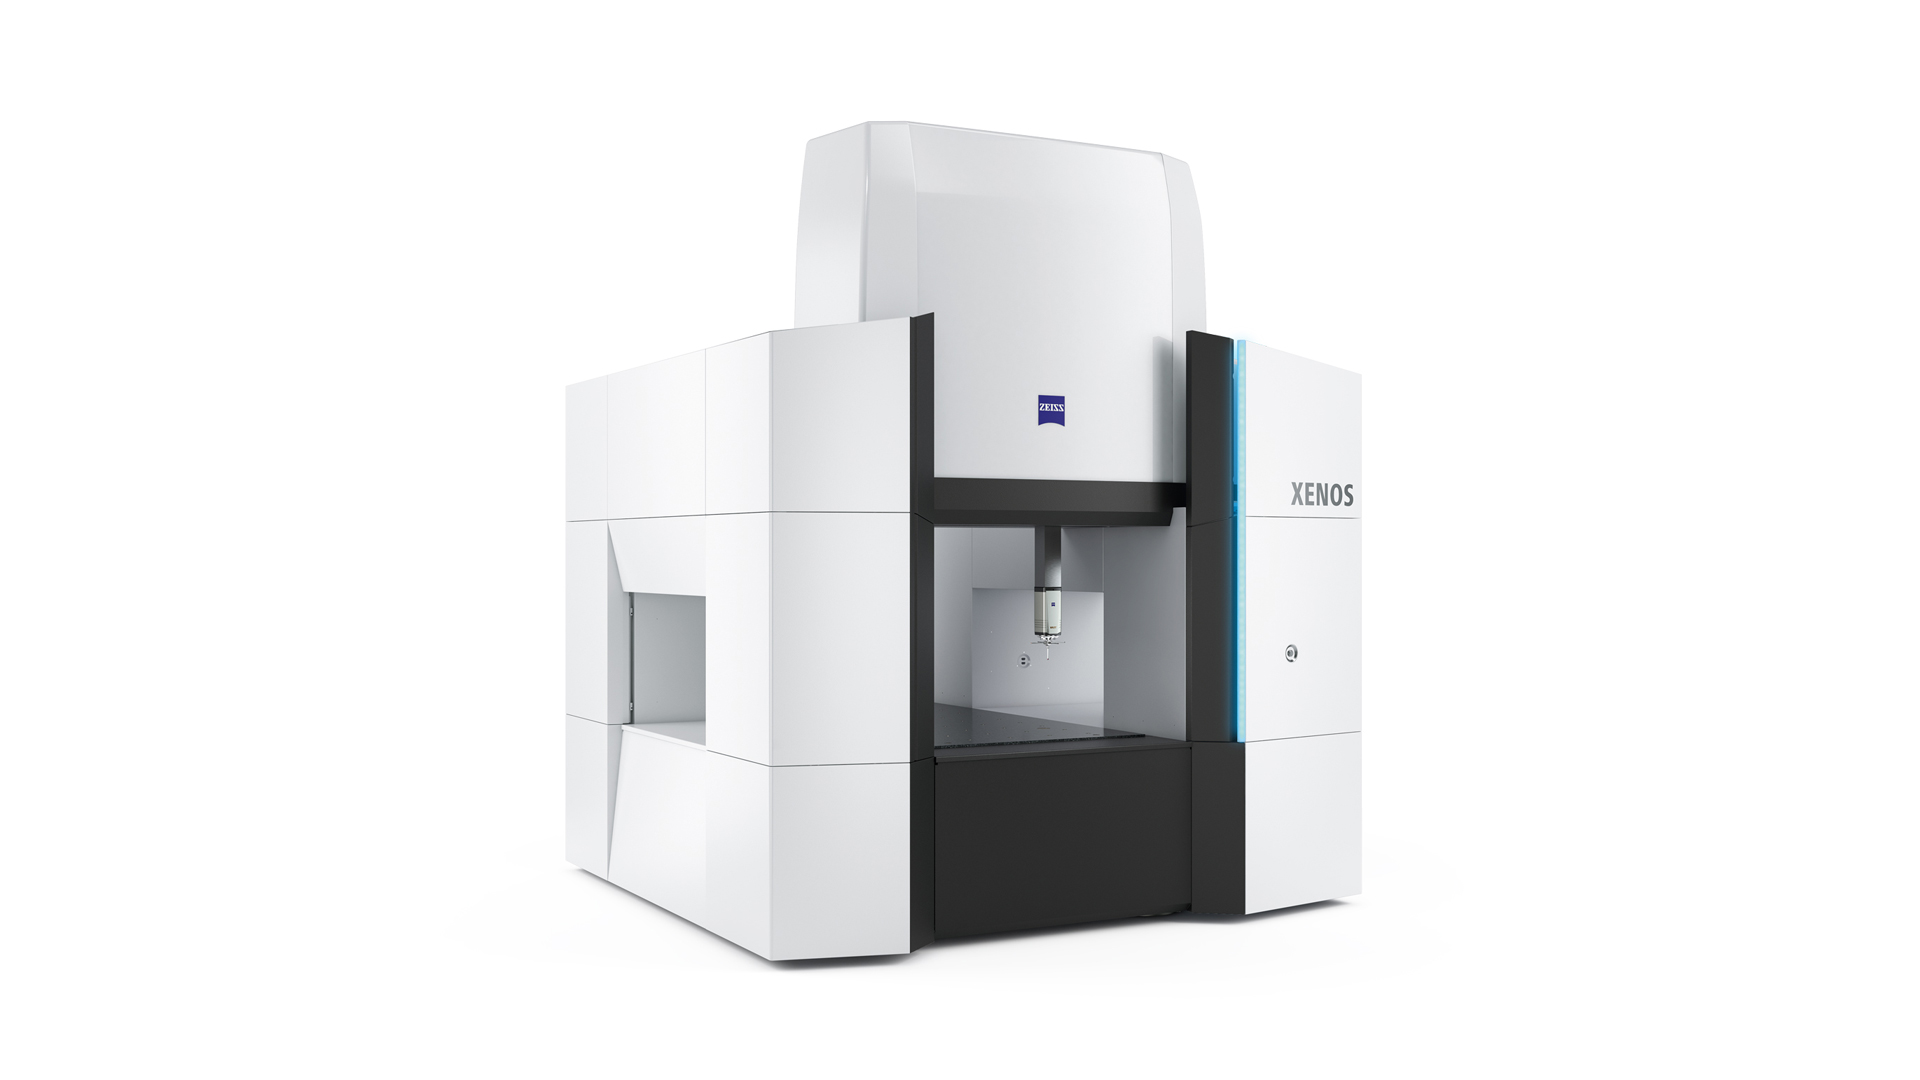
Source: Carl Zeiss Website(https://www.zeiss.com/metrology/products/systems/cmm.html)
Utilizing linear drive on all axes, this CMM boasts high precision with a maximum permissible length measurement error of 0.3+L/1000μm, repeatability of ±0.2μm, and resolution of 0.001μm. The reduced occurrence of errors allows for a decrease in the need for remeasurement.

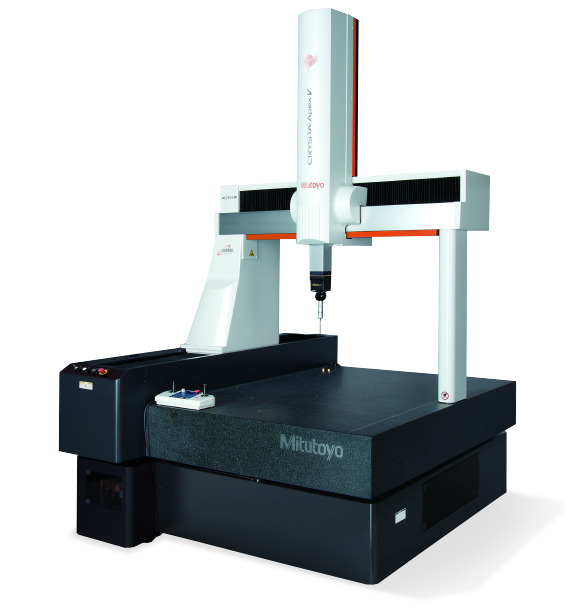
Source: Mitutoyo Website(https://www.mitutoyo.com/products/coordinate-measuring-machines/)
A CNC CMM that was first developed in 1976.
It features applications that respond to the demand for "Smart Factories" by allowing monitoring of operational status and maintenance management of the machine through the network.
Reasons for Selection