
On this page, you can find detailed info on KEYENCE's XM Series, a handheld probe CMM. This summary covers notable features and characteristics of the XM Series, and provides insights into its capabilities. Additionally, you can also read about recommended application scenarios and examples of how this CMM can be effectively utilized.

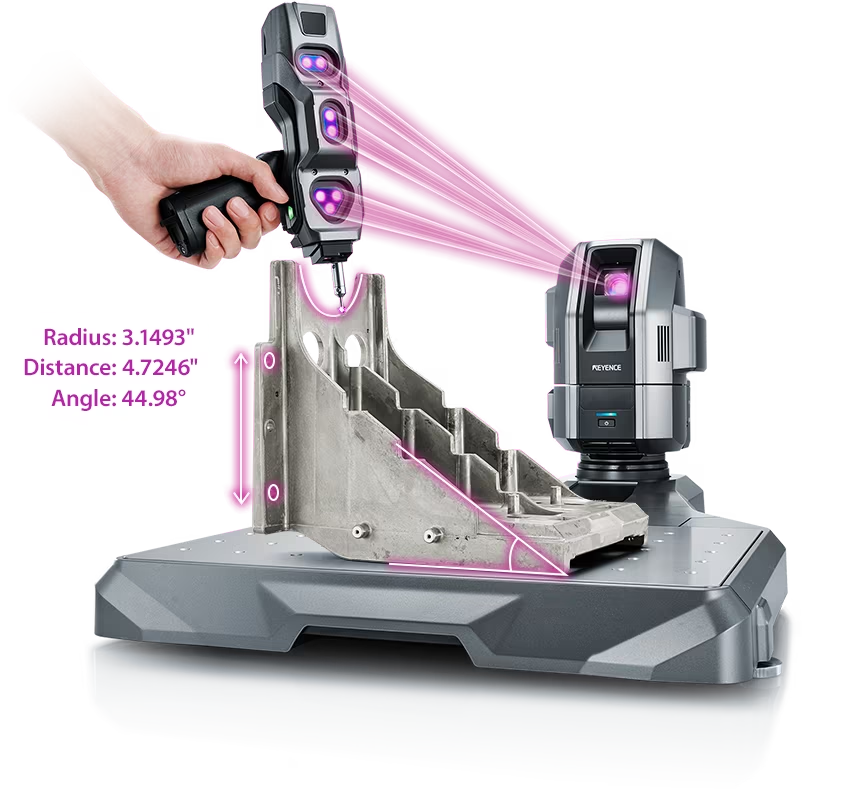
The KEYENCE XM Series CMM features a compact design that doesn't require a specific installation location. This is a significant advantage over bridge-type CMMs that require extensive installation space, making it usable anywhere.
The camera part can be detached from the stage, allowing for versatile use, such as measuring workpieces placed on the floor or conducting on-machine measurements with workpieces fixed to machine tools.
While arm-type CMMs save space, they require proficiency for arm movement and operation. The XM Series addresses such challenges, offering a hybrid design combining the strengths of bridge-type and arm-type machines. It allows immediate use with image navigation to confirm measurement locations.
Hand tools like vernier calipers have the advantage of universal usability. However, analog tools can introduce variability in measurement results, and they struggle with complex shapes. The XM Series combines the intuitive operational feel of vernier calipers with the high precision of CMMs.
Operation involves simply placing the handheld probe on the desired measurement location. The built-in tutorial function (complete with images) allows for operation without referring to manuals. Additionally, there is a navigation function that guides users through previously executed operations at the same location and with the same procedure, enabling even beginners to perform measurements easily by following on-screen instructions.
The XM Series, known for its compactness and user-friendly design, also offers advanced CMM functionalities. It provides a repeatability of ±3μm, consistently capturing targets at the center of the lens, while the reference camera achieves high-precision measurements in all directions (up, down, left, and right).
With a maximum measurement range of 2m, the CM Series can easily handle larger workpieces. In addition to the standard stage, the measurement head can also be installed on dedicated poles or tripods, providing flexibility in measurement methods.
The monitor of the small probe camera displays real-time measurement values. Post-measurement support functions are also available. They includes features such as a color map function for comparing measurement results with 3D CAD data and statistical analysis functions, presenting data in trend graphs and histograms.
The XM Series can be utilized for detailed measurements of fabricated items in press and sheet metal processes. It can measure distances between holes on stepped surfaces, bending angles, steps, and more. With menus designed for specific measurement criteria, the operation is straightforward.
Selecting tools based on measurement content simplifies the process. For example, the intersection tool is used for distances from an intersection to a hole center, and specifying coordinates for XY coordinates of virtual points for boss-shaped screw holes is handled by another dedicated tool. After selecting the appropriate tool, the operator simply touches the probe to the object. This enables measurements of parts or areas that are challenging to measure with hand tools like vernier calipers.
The XM Series can be applied not only for measurements of dimensional tolerance, but also for geometric tolerance measurements. In metal cutting, it can measure hole pitch, XY coordinates of positions, and even supports multi-point measurements. Additionally, it can measure flatness, parallelism, and perpendicularity of machined surfaces, as well as offsets of the centers of distant circular features.
The obtained measurement data can be quantified and visualized by comparing it with 3D CAD data. This makes it easy to understand differences, such as remaining material and thickness. The system not only acquires measurement data but also incorporates features to analyze and apply the results in subsequent operations.
The XM Series, a highly accurate 3D measurement tool emphasizing ease of use for everyone, is versatile and suitable for various environments. It is particularly well-suited for workplaces where operators may not be highly familiar with the operation of measurement devices and prefer a user-friendly experience similar to using hand tools like vernier calipers.
With its compact design, the XM Series is also easy to introduce in environments with limited space. Its excellent portability allows it to be utilized as a secondary tool, separate from measurement tasks performed in inspection rooms.

Source: KEYENCE Website(https://www.keyence.com/products/measure-sys/cmm/xm/index_pr.jsp)
This CMM has a caliper-like feel, enabling even beginners to perform high-precision measurements. It can be carried without the need for temperature control, allowing for immediate measurements at any desired location and time. As it doesn't require a large installation space, it's a CMM with a low entry barrier.

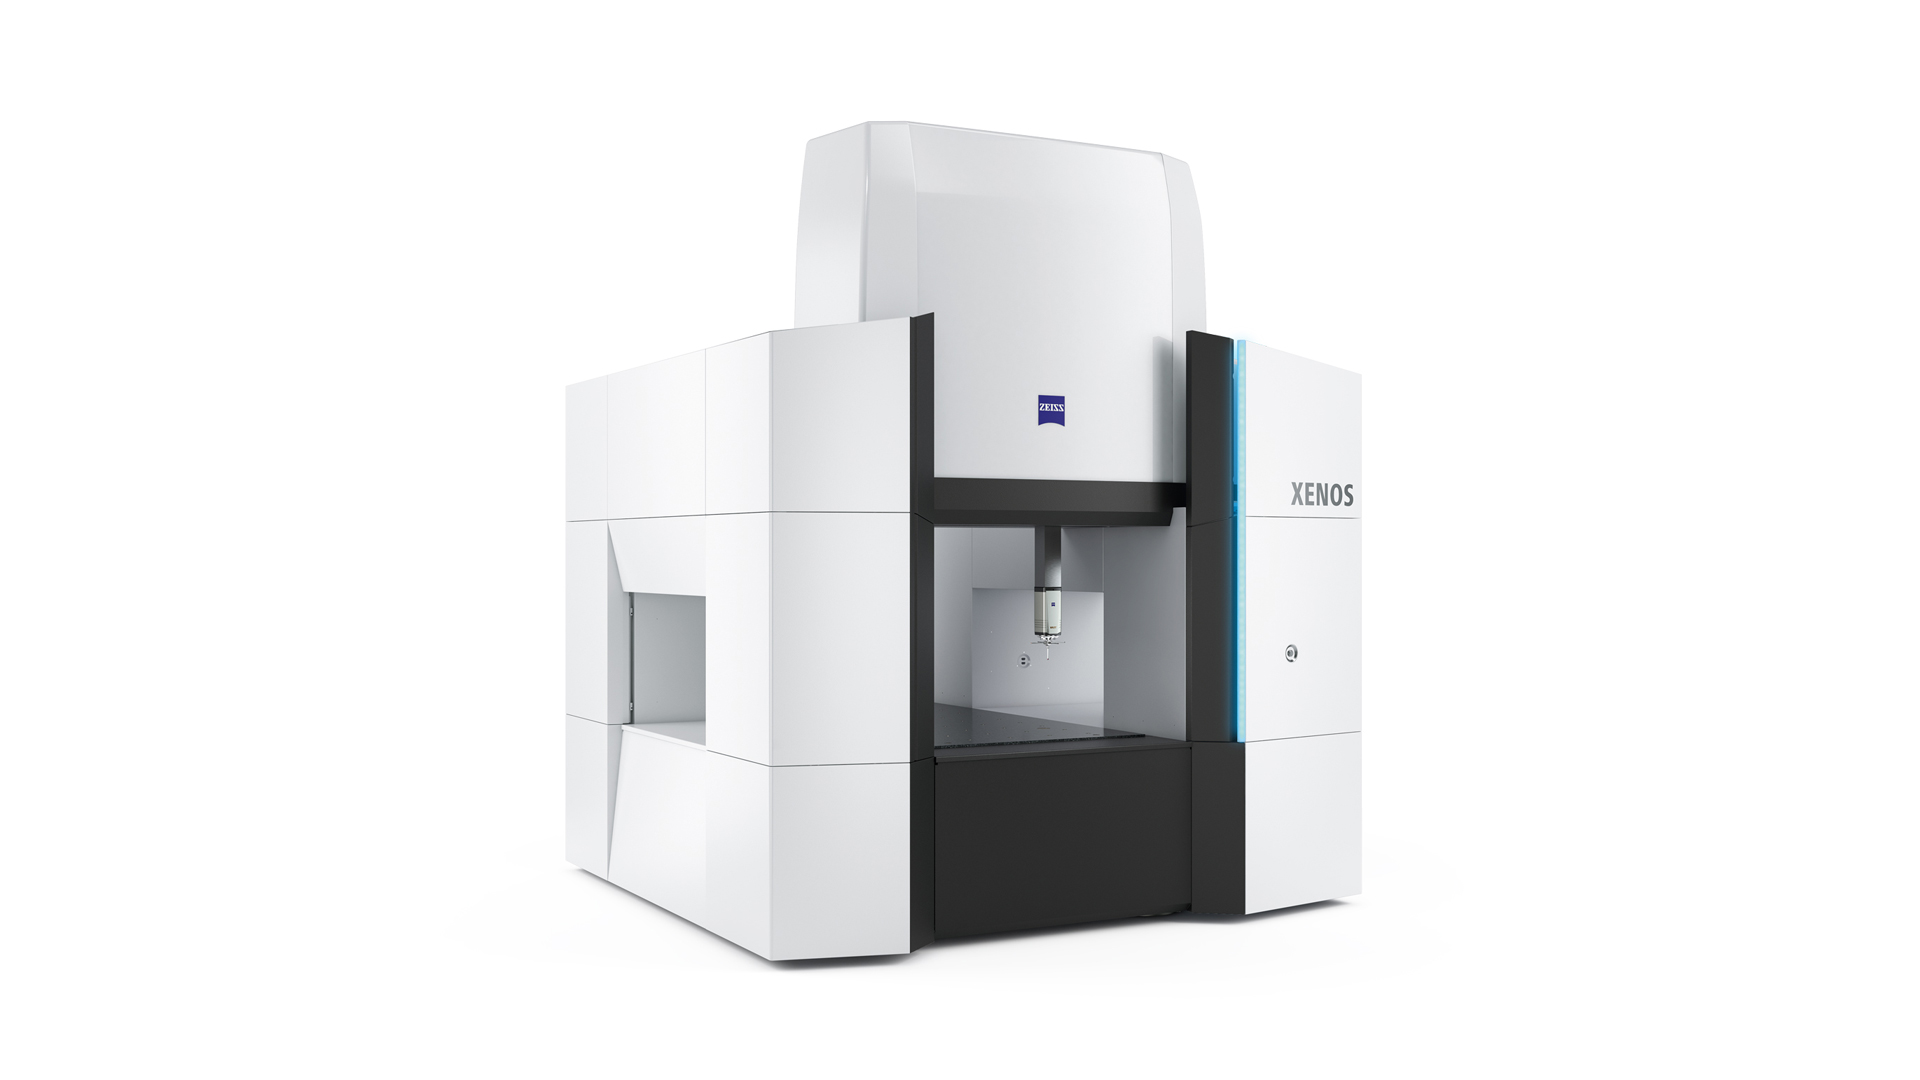
Source: Carl Zeiss Website(https://www.zeiss.com/metrology/products/systems/cmm.html)
Utilizing linear drive on all axes, this CMM boasts high precision with a maximum permissible length measurement error of 0.3+L/1000μm, repeatability of ±0.2μm, and resolution of 0.001μm. The reduced occurrence of errors allows for a decrease in the need for remeasurement.

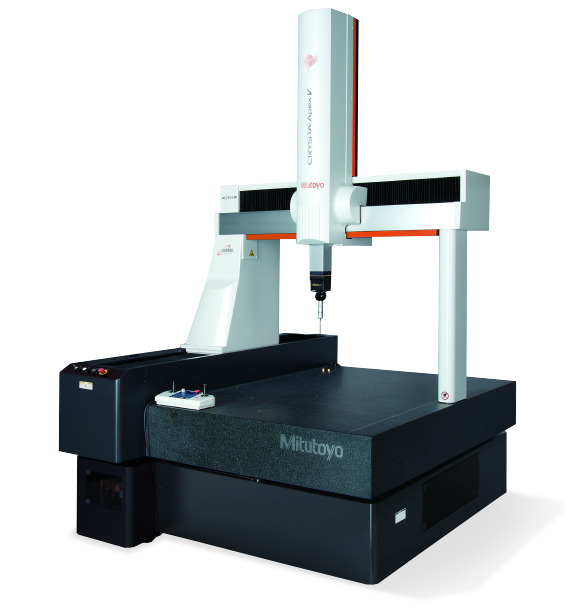
Source: Mitutoyo Website(https://www.mitutoyo.com/products/coordinate-measuring-machines/)
A CNC CMM that was first developed in 1976.
It features applications that respond to the demand for "Smart Factories" by allowing monitoring of operational status and maintenance management of the machine through the network.
Reasons for Selection