
In modern manufacturing and quality assurance, precision is not just a requirement—it is a standard. Ensuring that components meet exact specifications requires advanced metrology tools. Among these, Laser Coordinate Measuring Machines (Laser CMMs), often known as 3D scanning CMMs, have become critical instruments. These innovative systems combine the accuracy of traditional CMMs with the speed and versatility of 3D scanning technology, providing powerful capabilities for both dimensional inspection and reverse engineering.
As industries evolve, so too does the demand for faster, more detailed, and more reliable measurement techniques. Laser CMMs offer a unique combination of contactless measurement, high resolution, and flexible application, making them suitable for diverse manufacturing sectors such as aerospace, automotive, and heavy machinery.
This page explores the fundamental principles of laser CMMs, their advantages, key differences from traditional measurement methods, specific use cases, and product comparisons from leading manufacturers such as Keyence, Creaform, Kreon, and Scantech.
A Laser CMM, or 3D Scanning CMM, is a hybrid metrology solution that utilizes laser triangulation or structured light technology to perform non-contact measurements. Unlike traditional CMMs that use a tactile probe to touch points on an object, laser CMMs capture the entire geometry of a part by scanning it and generating a "point cloud"—a dense collection of data points that represent the surface geometry.
This point cloud is then processed into a 3D mesh that can be used for inspection, comparison with CAD models, or reverse engineering. The speed and detail of this method are unmatched by conventional CMMs, enabling engineers to rapidly verify dimensions and surface characteristics.
Laser CMMs typically consist of a scanning head, tracking system, and powerful software suite. Some models are portable, allowing measurements to be taken directly on the shop floor without moving large or delicate parts.
Choosing between a CMM and a 3D scanner depends on the specific measurement needs:

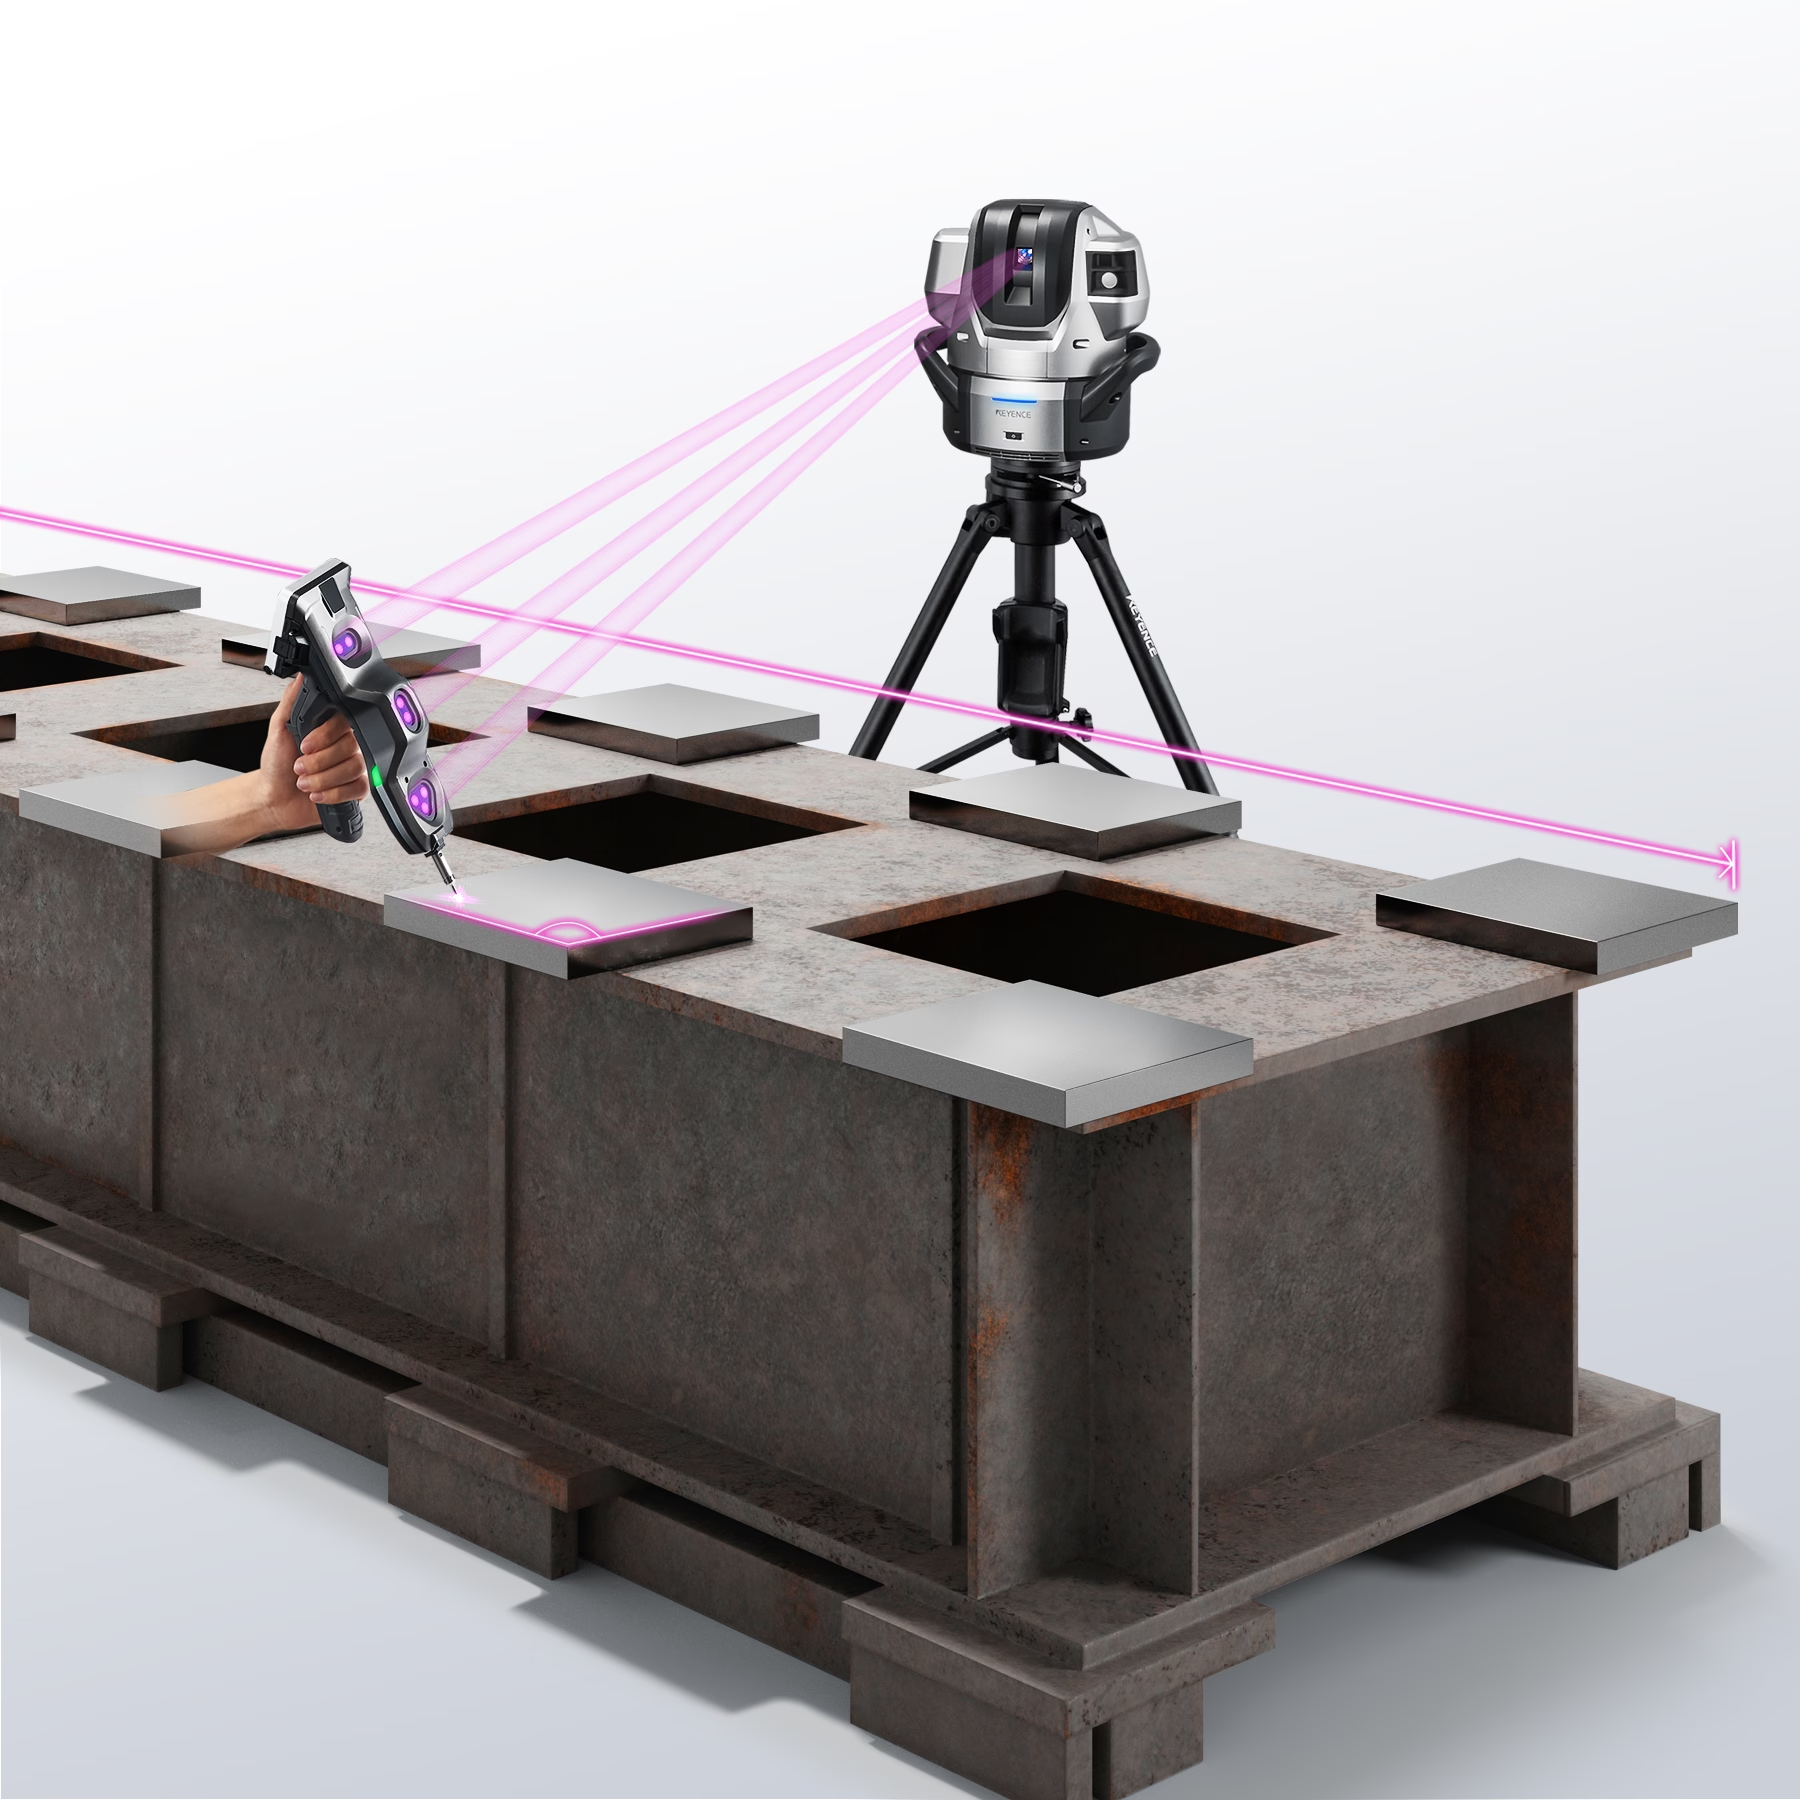
The KEYENCE WM Series is a hybrid wide-area coordinate measuring system that combines a contact probe with a high-performance non-contact laser scanning probe for fast, flexible 3D measurement of large and medium-sized parts.
Its simple setup and real-time guidance significantly reduce measurement time, making the WM Series ideal for dimensional inspection, alignment checks, and assembly verification in production environments
By combining portable, on-site operation with fast setup and real-time guidance, the WM Series helps users perform dimensional inspection, shape measurement, alignment checks, and assembly verification without moving large parts to a dedicated measuring room.

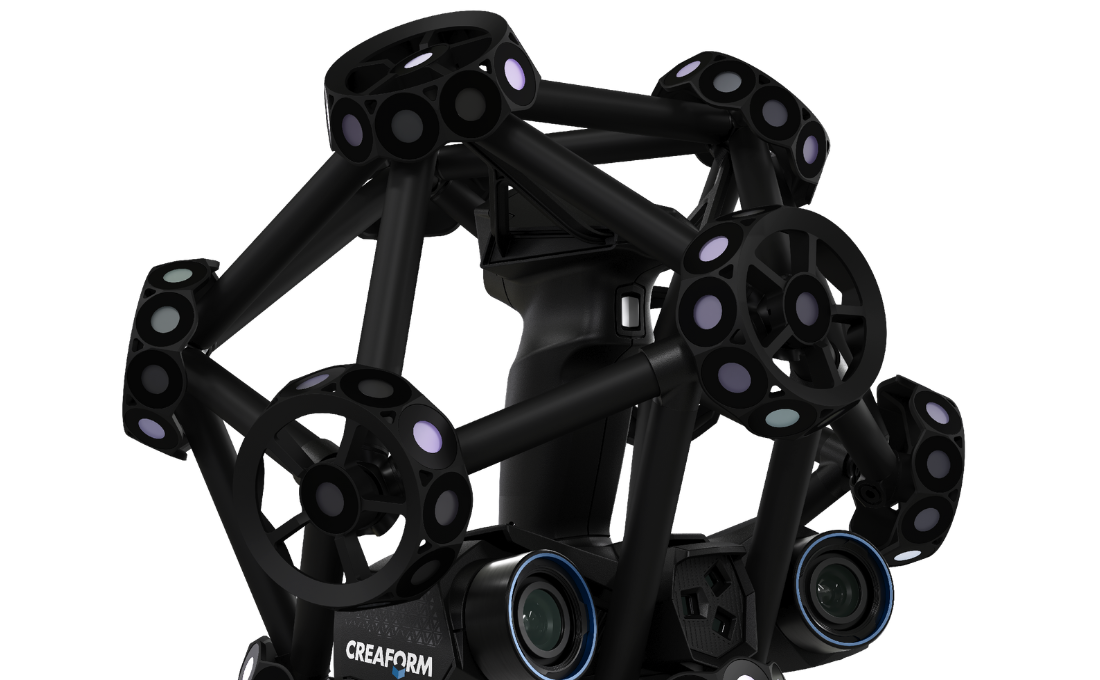
The Creaform MetraSCAN 3D is an optical laser scanning CMM engineered for high-accuracy measurements in dynamic shop-floor conditions. Using blue laser technology and optical tracking, it delivers consistent results even in environments with vibrations or temperature variations.
Designed for large-scale inspection and reverse engineering, MetraSCAN 3D enables fast acquisition of dense point clouds while maintaining traceable accuracy, making it a trusted solution in aerospace, automotive, and heavy manufacturing industries.

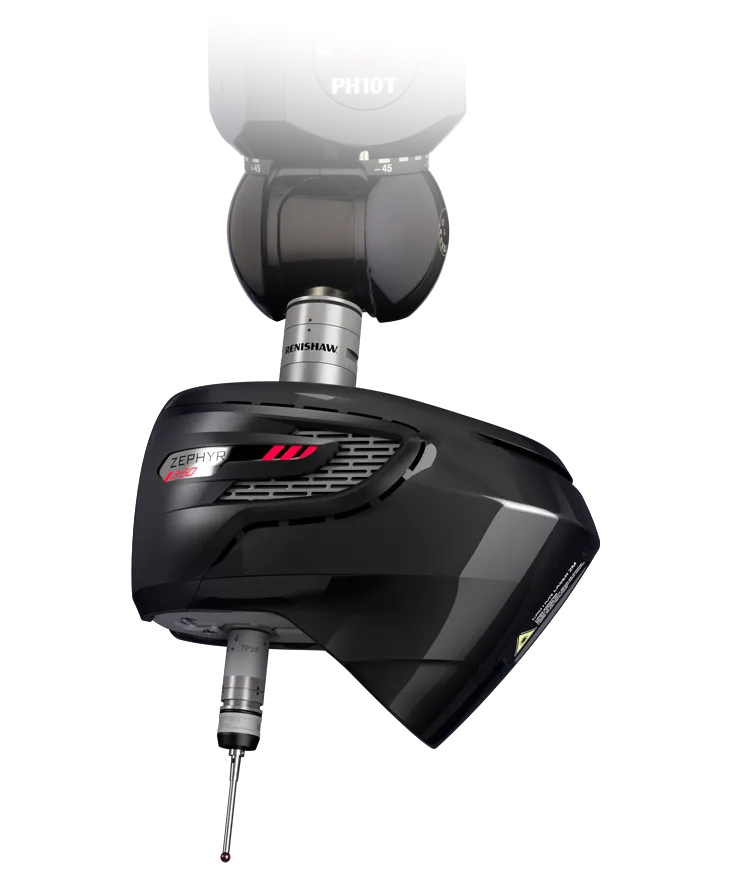
The Kreon Zephyr Series consists of high-precision laser scanning sensors designed to be mounted on articulated arms or CMMs. These scanners use blue laser lines to capture fine surface details with excellent accuracy, even on reflective or complex geometries.
Widely used for inspection and reverse engineering, the Zephyr Series provides a balance between scanning speed and measurement accuracy, supporting demanding quality control applications across various manufacturing sectors.

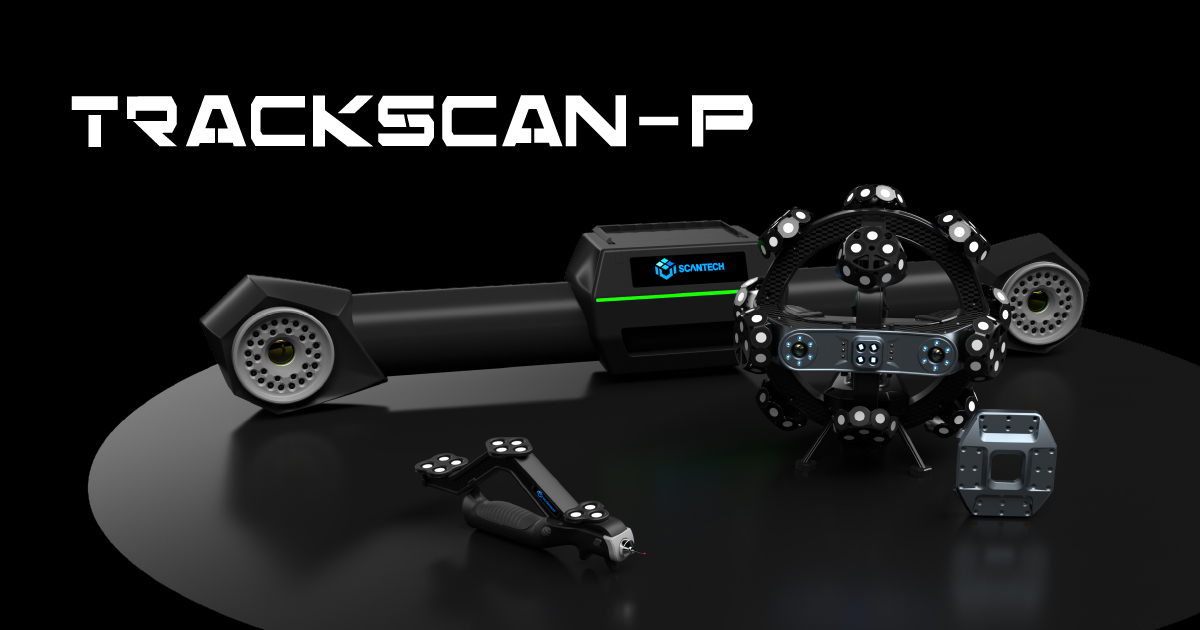
The Scantech TrackScan-P Series is a high-performance optical 3D scanning CMM that uses multiple blue laser crosses to deliver ultra-fast measurement rates and consistent accuracy. It excels in capturing surface detail, deep holes, and complex geometries without requiring reflective targets, making it suitable for large assemblies and freeform surfaces.
With up to 1.9 million measurements per second and advanced tracking technologies, the TrackScan-P Series offers a highly efficient workflow for precision scanning tasks in manufacturing, aerospace, automotive, and tooling inspection applications.
Laser CMMs (3D scanning CMMs) are transforming the way manufacturers perform inspections and reverse engineering. By combining high-speed data capture with sufficient accuracy for most industrial applications, these tools bridge the gap between precision and productivity.
While tactile CMMs maintain dominance in ultra-precise applications, laser CMMs are increasingly taking center stage in diverse industries due to their versatility, speed, and growing accuracy. Whether for part inspection, digital archiving, or product development, laser CMMs represent a strategic investment in modern manufacturing.
As demonstrated through leading systems by Keyence, Creaform, Kreon, and Scantech, today’s 3D scanning CMMs offer solutions that meet the evolving needs of quality control and design engineering. Understanding your measurement requirements—whether it's accuracy, speed, or surface detail—will guide your decision toward the ideal laser CMM system.
For forward-thinking organizations looking to stay competitive, adopting laser CMM technology is not just an upgrade—it’s a necessity.