
Here, we present a summary of the CMM product lineup and features of Japanese optical instrument manucacturer Nikon, as well as an overview of the company's characteristics and its approach as a manufacturer.

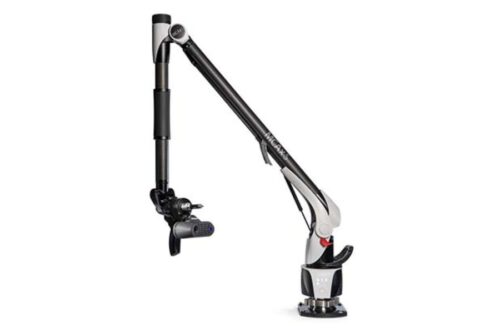
The MCAx S offered by Nikon is an articulated-arm CMM, which offers flexibility to meet various on-site needs. Available in sizes ranging from 2.0m to 4.5m, its 7-axis movement allows for precise measurement of complex shapes and large components.
MCAx S can measure internal parts, steps, and gaps with ease. It is available in three performance levels: S, S+, and S++, allowing for optimal system combinations tailored to desired accuracy and targets.
The MCAx S is easy to install and use. It's compact, quick to start up, and ready to measure immediately after switching on. The common adapter used for attachment supports various installation methods, such as bolt-down magnetic bases, vacuum bases, tripods, and stands. Additionally, its battery operation and Wi-Fi connectivity enable wireless measurements without the hassle of cables.
Efficiency and accuracy are significant features of the MCAx S. It supports multiple probes, allowing for automatic switching between contact and non-contact probes. Operators can monitor the scanning status on a screen, reducing the need for re-measurement and increasing speed.
When combined with the ModelMaker H120 laser scanner, The MCAx S is capable of ultra-fast, high-resolution 3D scanning. It meets the ISO 10360-12 standards for guaranteed accuracy, ensuring high-level 3D measurements in various environments.
Nikon, established in 1917, is a leading Japanese optical instrument manufacturer. Nikon is widely known for its cameras, but the company also offers a broad range of products including telescopes, microscopes, and eyeglasses.
Nikon's CMMs are developed based on the company's longstanding expertise in optics and precision technology, aiming to provide high-level solutions tailored to manufacturing sites. These products range from precise measurement of small parts to large-scale products, catering to a broad spectrum of applications.
Nikon offers a diverse model lineup to meet the needs of various industries, including high-performance models specialized for specific applications. This enables companies to tackle unique measurement challenges.
Nikon's products are known for their high accuracy and reliability, significantly contributing to quality control in manufacturing environments.
Nikon Solutions Co., Ltd., a subsidiary of Nikon, provides corporate solutions, focusing primarily on optical and X-ray measurement solutions. They are advancing the automation and digitalization of measurement, proposing the creation of seamless manufacturing environments.
The digitalization and automation of measurements not only reduces costs in production environments but, through analysis of the obtained data. As a result, waste products can be minimized.
Nikon has established group companies not just in Japan, but all over the world. As of November 2023, Nikon has 15 companies in America, 15 in Europe, and 24 in Asia, Oceania, and the Middle East, actively pursuing global expansion.
While not all of these companies are directly related to CMMs, given the scale of their operations, Nikon's worldwide presence offers reassurance to companies implementing their measuring machines. Future developments of new CMMs tailored to the global market are expected.
While Nikon's MCAx S CMM offers high versatility, it is probably better characterized as a highly specialized measuring machine. This suggests Nikon's focus on solution-oriented business.
Through utilization of optical and precision mechanical technologies, Nikon's products offers the potential to overcome challenges that were are unable to be solved by traditional devices. This makes it particularly suitable for industries or companies with specific, unique measuring needs that standard CMMs do not address.

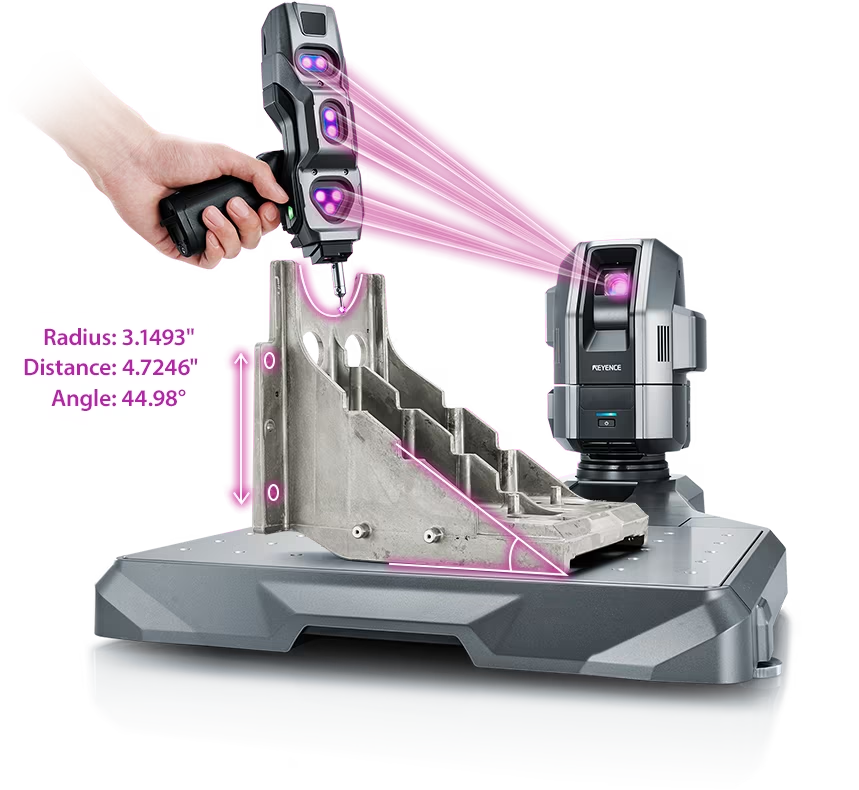
Source: KEYENCE Website(https://www.keyence.com/products/measure-sys/cmm/xm/index_pr.jsp)
This CMM has a caliper-like feel, enabling even beginners to perform high-precision measurements. It can be carried without the need for temperature control, allowing for immediate measurements at any desired location and time. As it doesn't require a large installation space, it's a CMM with a low entry barrier.

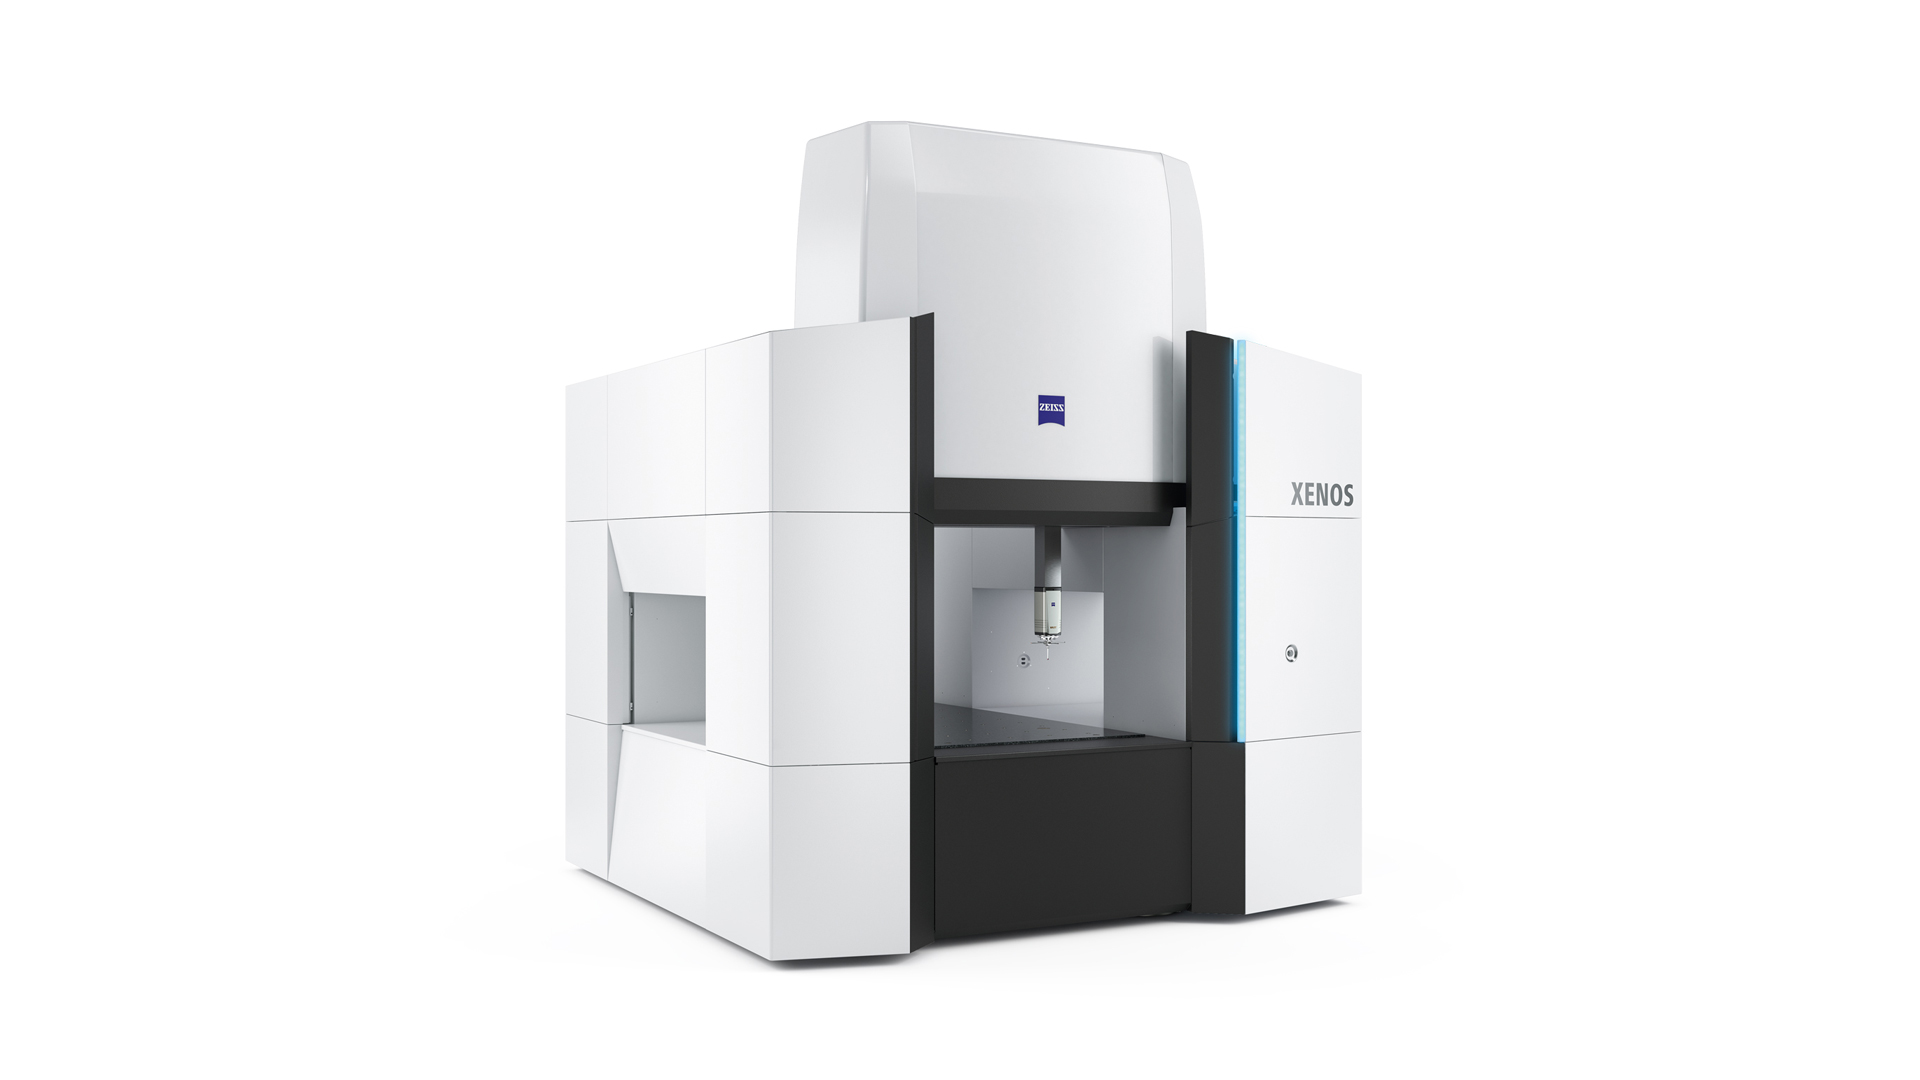
Source: Carl Zeiss Website(https://www.zeiss.com/metrology/products/systems/cmm.html)
Utilizing linear drive on all axes, this CMM boasts high precision with a maximum permissible length measurement error of 0.3+L/1000μm, repeatability of ±0.2μm, and resolution of 0.001μm. The reduced occurrence of errors allows for a decrease in the need for remeasurement.

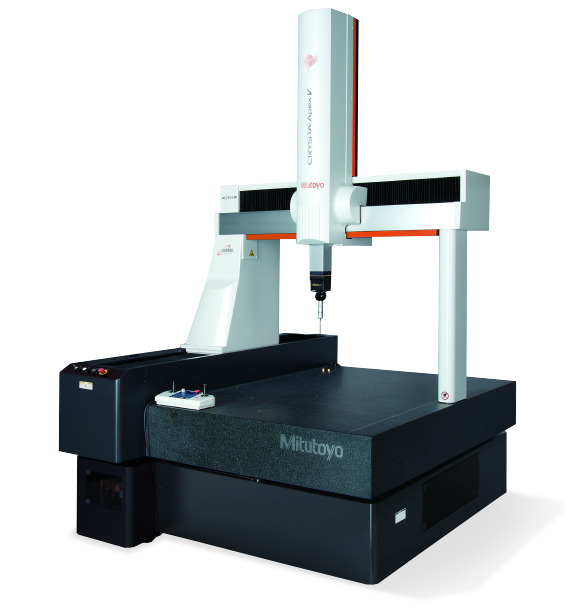
Source: Mitutoyo Website(https://www.mitutoyo.com/products/coordinate-measuring-machines/)
A CNC CMM that was first developed in 1976.
It features applications that respond to the demand for "Smart Factories" by allowing monitoring of operational status and maintenance management of the machine through the network.
Reasons for Selection