
In this section, we introduce the merits and demerits of CMMs, as well as important points to consider upon implementation.
CMMs are indispensable tools in manufacturing, offering various benefits. Let's delve into these advantages in detail.
Implementing a CMM can significantly enhance the accuracy of products. Not only can it measure the three axes of length, width, and height, but it can also precisely measure complex surfaces. This facilitates effective quality control for mechanical parts, ensuring the supply of high-quality products.
Compared to traditional methods, measurements can be performed much faster with CMMs. By significantly reducing the time taken to measure products, they contribute to increased productivity and shorter delivery times.
Thanks to their advanced measuring technology, CMMs can be operated by personnel with limited measuring experience. Additionally, built-in support features help construct a measurement process that is less prone to human errors.
With proper maintenance, CMM hardware is known for its low wear and high durability. Regular maintenance and part replacements ensure smooth operation over several years.
The software in CMMs can be frequently upgraded. By updating functionalities and maintaining performance improvements, it is possible to consistently use the latest technology.
While implementing a CMM has many advantages, there are also certain disadvantages that should be considered beforehand. Let's explore these drawbacks in detail.
Implementing a CMM requires a significant investment in equipment. High-precision, large-scale CMMs can be very expensive, with many of them coming at six-figure prices. Additionally, there are some operational costs required for regular maintenance and calibration of probes.
The required space for installation is also a crucial consideration. For CMMs that accommodate large workpieces, a substantial, temperature-controlled space is necessary.
CMMs cannot measure all types of objects, and they are not well-suited for high-speed continuous measurements. Before implementation, it's important to consider the objects you want to measure and determine if a CMM is appropriate for your needs.
There are multiple manufacturers and models of CMMs, and standardizing software can be challenging. It can be difficult to interchange software between different CMM models, necessitating careful selection of the appropriate model.
While the implementation of CMMs significantly contributes to the precision of manufacturing processes, several key points must be considered for successful integration.
The most crucial factor is the level of measurement accuracy. Ensure that the CMM you plan to implement meets the required accuracy standards. Insufficient accuracy can affect the quality and reliability of products. It's also important to consider whether the CMM can adapt to the characteristics of the objects being measured as well as environmental conditions (temperature, humidity, etc).
Different CMM models are designed for specific purposes and functionalities. It's important to select a model that is optimal for your manufacturing processes and the types of objects you need to measure. Consider specific applications, such as the measurement of large parts, complex shapes, or special materials when choosing a model.
The implementation of a CMM involves not only the initial investment but also operational costs. Consider the overall cost-performance ratio, including the price of the equipment, maintenance expenses, and training costs for operators. It's advisable to select a model that offers a high return on investment over the long term.
Given the high precision of CMMs, appropriate maintenance and support are essential. Verify that the manufacturer offers a solid support service, including regular calibration, malfunction support, and regular software updates. A reliable support system ensures a good long-term performance of the measuring machine.
Thoroughly checking these points and selecting the equipment that best suits your company's needs is key to the successful implementation of a CMM.

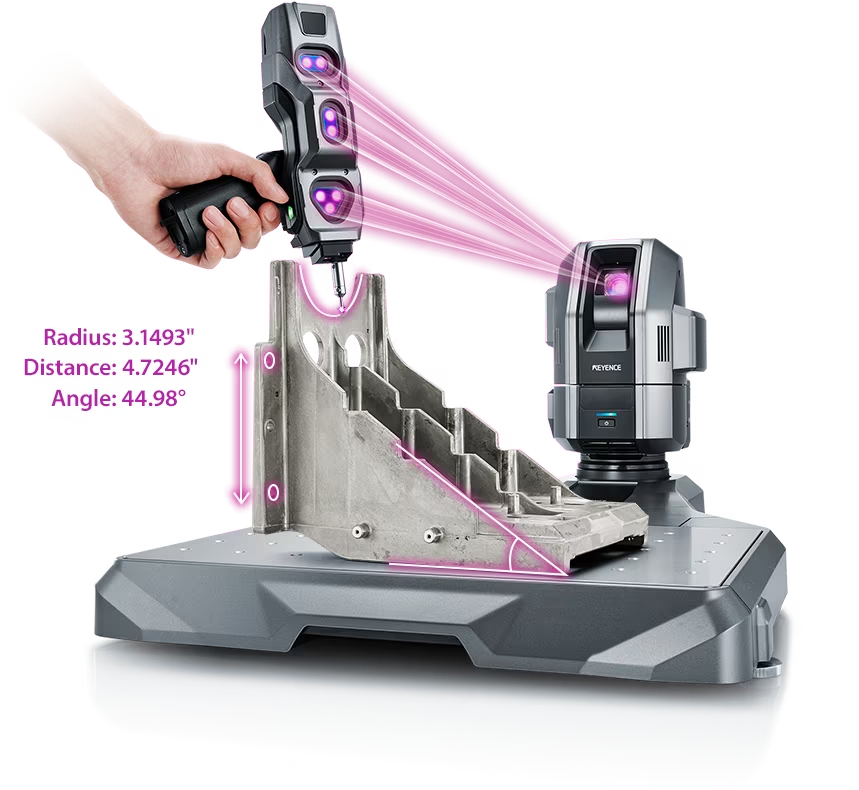
Source: KEYENCE Website(https://www.keyence.com/products/measure-sys/cmm/xm/index_pr.jsp)
This CMM has a caliper-like feel, enabling even beginners to perform high-precision measurements. It can be carried without the need for temperature control, allowing for immediate measurements at any desired location and time. As it doesn't require a large installation space, it's a CMM with a low entry barrier.

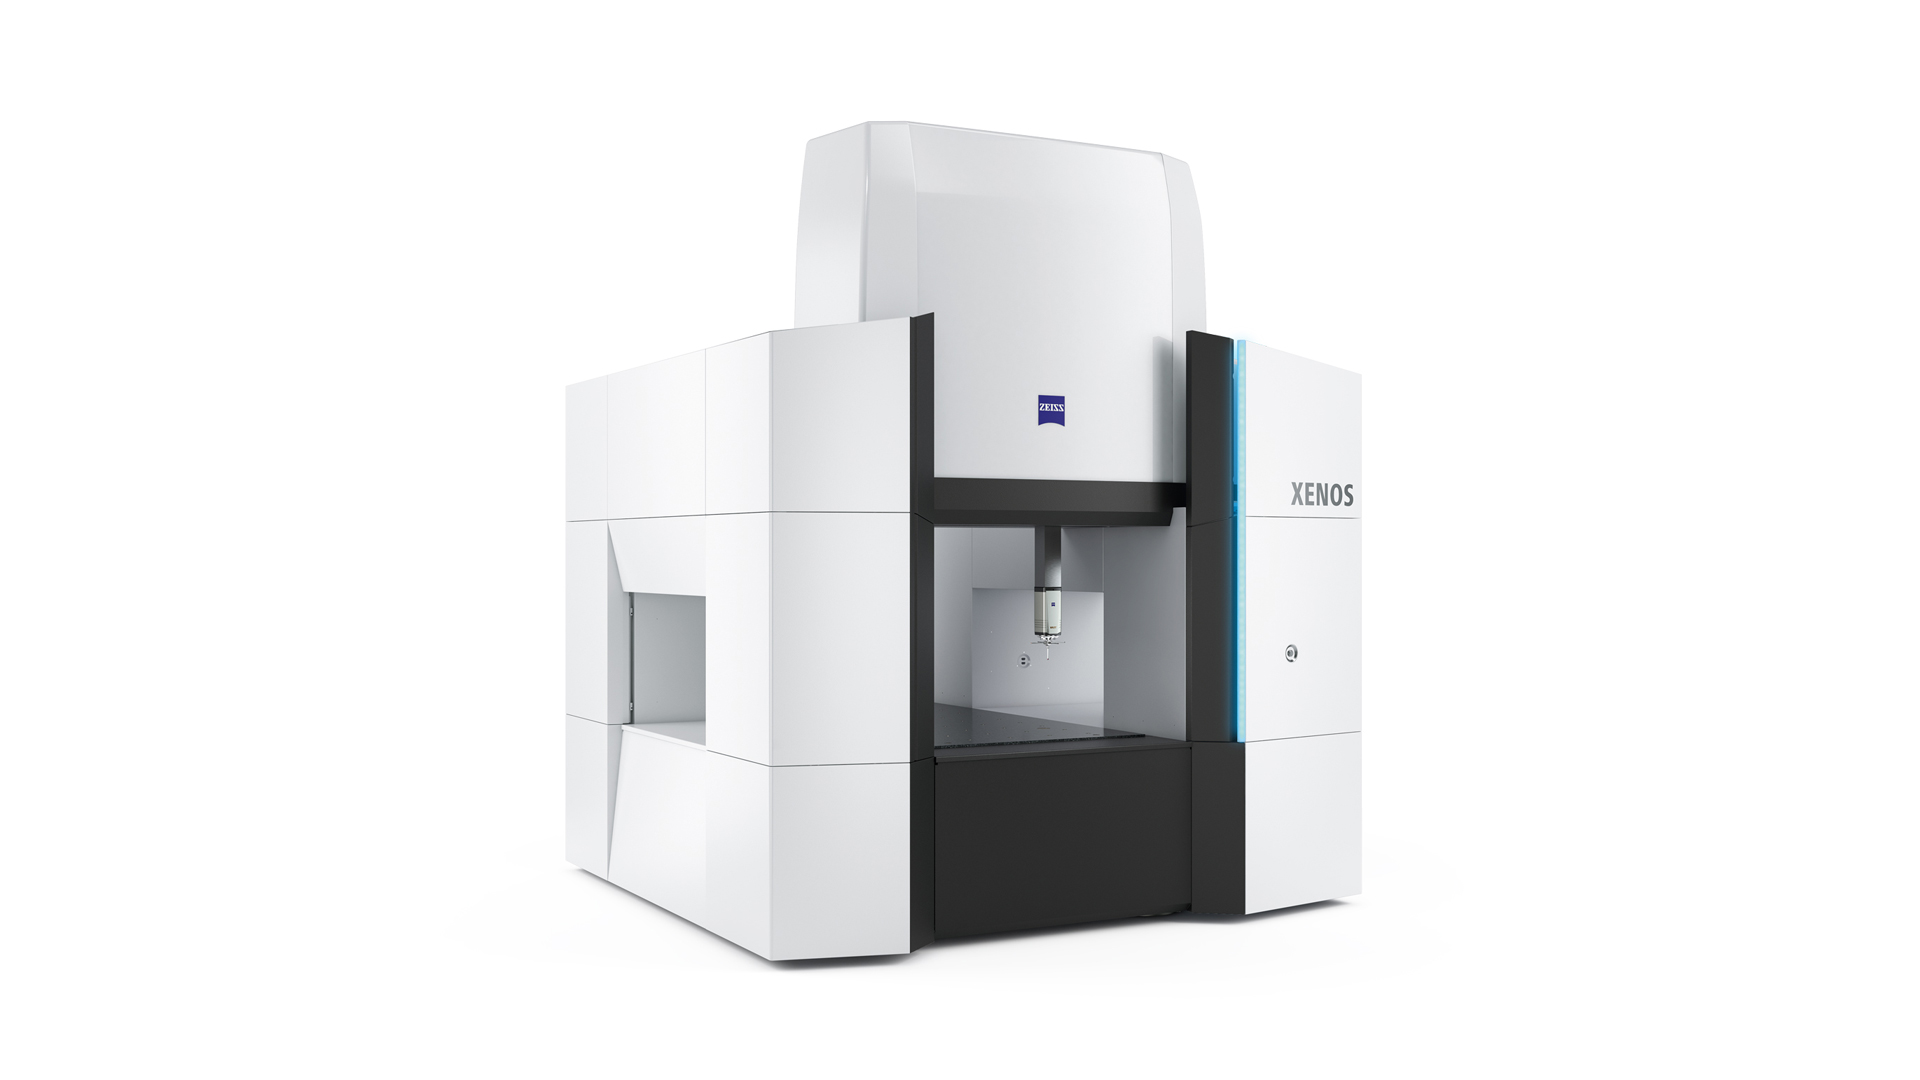
Source: Carl Zeiss Website(https://www.zeiss.com/metrology/products/systems/cmm.html)
Utilizing linear drive on all axes, this CMM boasts high precision with a maximum permissible length measurement error of 0.3+L/1000μm, repeatability of ±0.2μm, and resolution of 0.001μm. The reduced occurrence of errors allows for a decrease in the need for remeasurement.

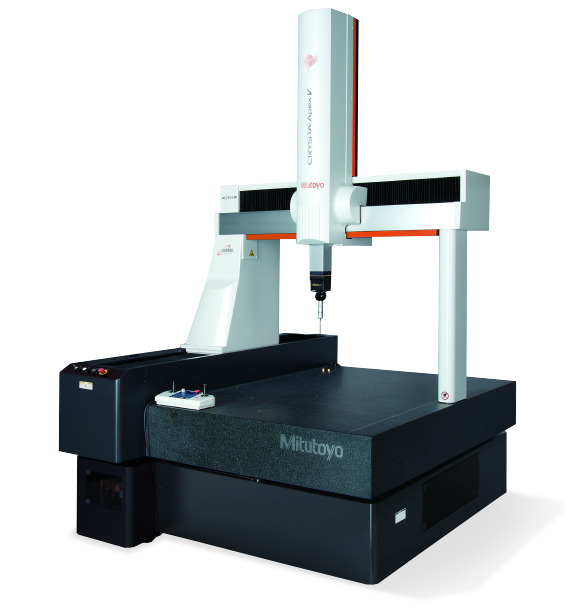
Source: Mitutoyo Website(https://www.mitutoyo.com/products/coordinate-measuring-machines/)
A CNC CMM that was first developed in 1976.
It features applications that respond to the demand for "Smart Factories" by allowing monitoring of operational status and maintenance management of the machine through the network.
Reasons for Selection