
This section explains the fundamental principles, measurement methods, and necessary components of CMMs. By understanding how CMMs work and selecting products that align with specific objectives, you can expect to improve quality in manufacturing processes and enhance productivity.
CMMs are tools that measure the surface of an object along three axes, accurately recording complex shapes. Compared to traditional measuring tools like vernier calipers and tape measures, CMMs achieve higher accuracy and enable precise and efficient measurements that do not rely on the operator's skill. This leads to improvements in quality and cost reductions, significantly enhancing manufacturing processes.
CMMs perform three-dimensional coordinate and dimensional measurements by contacting an object with a spherical stylus, known as a probe. Unlike vernier calipers or micrometers, which can only measure the length of individual elements, CMMs measure objects as points (coordinates) and perform calculations based on the measurements.
The number of points required varies depending on the element being measured. For example, a minimum of two points is needed to define a line, while planes, circles, and spheres require three or four points, respectively.
By acquiring these points and performing complex calculations, CMMs can accurately assess the characteristics of an object. Because of this, CMMs are used extensively in industries like manufacturing for precise measurements and evaluations.

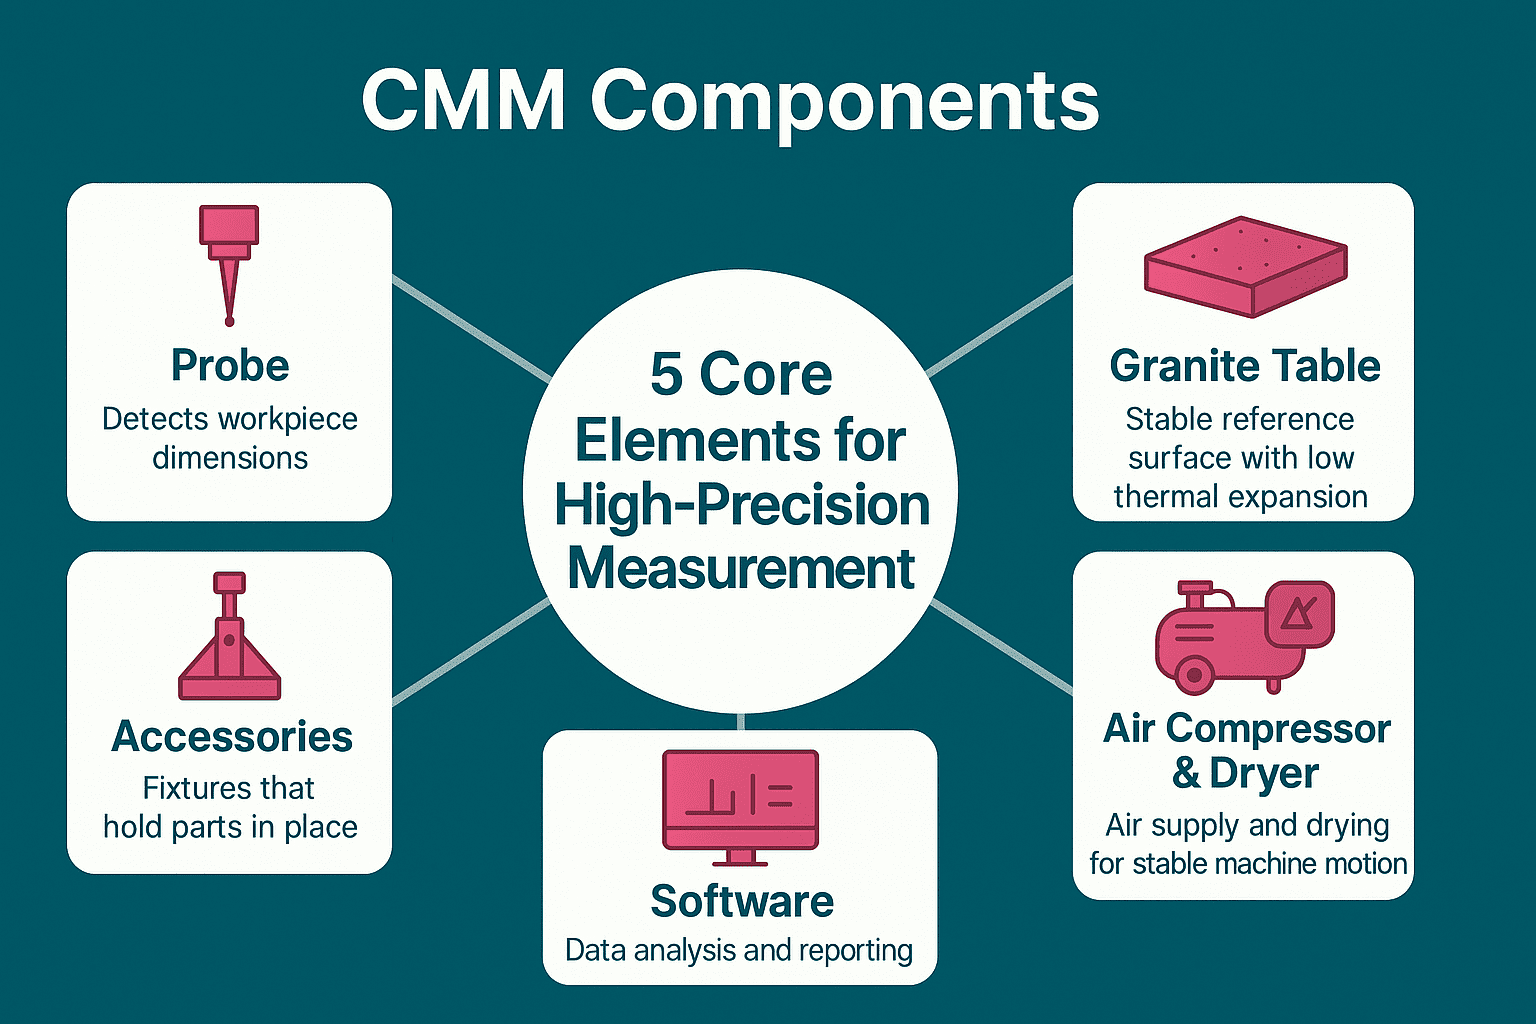
Key components of CMMs include the probe, granite table, accessories, air compressor and dryer, and software. These components work together to achieve the highly precise, efficient measurements. Let's look at each of these components in detail.
The probe is a central component of the CMM and is responsible for measuring the target object. The tip of the probe requires high accuracy and thermal resistance. Because of this, probes are usually are made from hard and stable materials capable of withstanding temperature variations.
The table is the base platform on which the target object is placed for measurement. Granite offers minimal susceptibility to temperature changes and a low wear rate, enabling high precision and stable measurements.
Accessories are used to fix parts in their designated positions, enhancing the measurement accuracy of the CMM. Common accessories include fixing plates, clamps, and magnets. They all play a role in reducing measurement errors in movable parts.
Essential for bridge-type and gantry-type of CMMs, the air compressor supplies air, while the dryer performs a drying function. These devices ensure the accurate functioning of the CMM and high-quality measurements.
Software is used to analyze measurement data collected by the CMM. It processes information from the probe and other sensitivity components and provides detailed mapping of the measurement results. Effective use of software enables improved accuracy of measurement data and efficient data analysis.

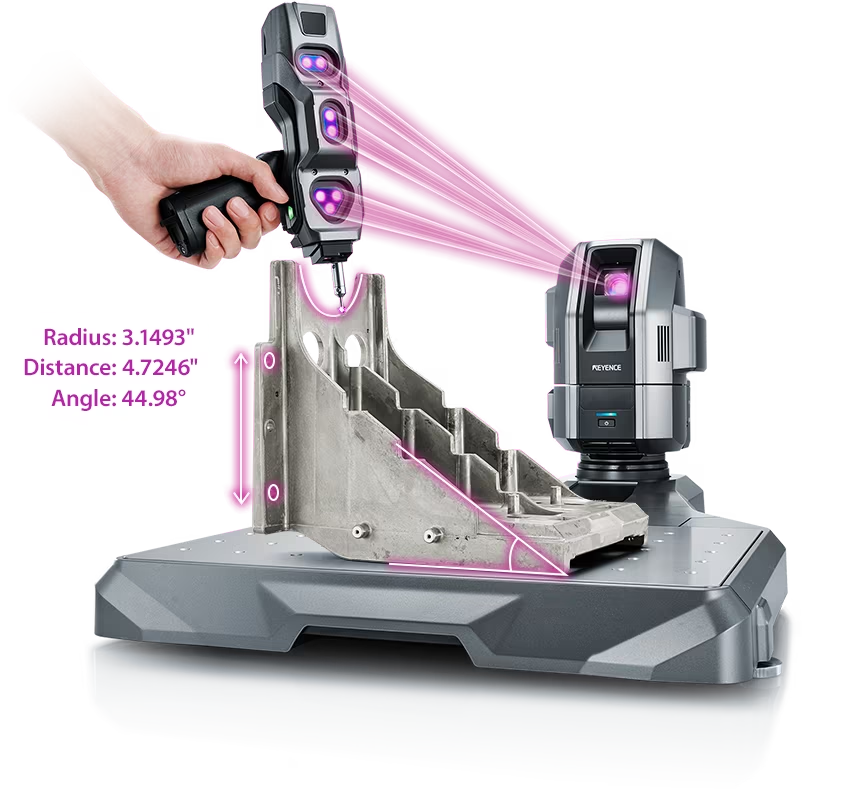
Source: KEYENCE Website(https://www.keyence.com/products/measure-sys/cmm/xm/index_pr.jsp)
This CMM has a caliper-like feel, enabling even beginners to perform high-precision measurements. It can be carried without the need for temperature control, allowing for immediate measurements at any desired location and time. As it doesn't require a large installation space, it's a CMM with a low entry barrier.

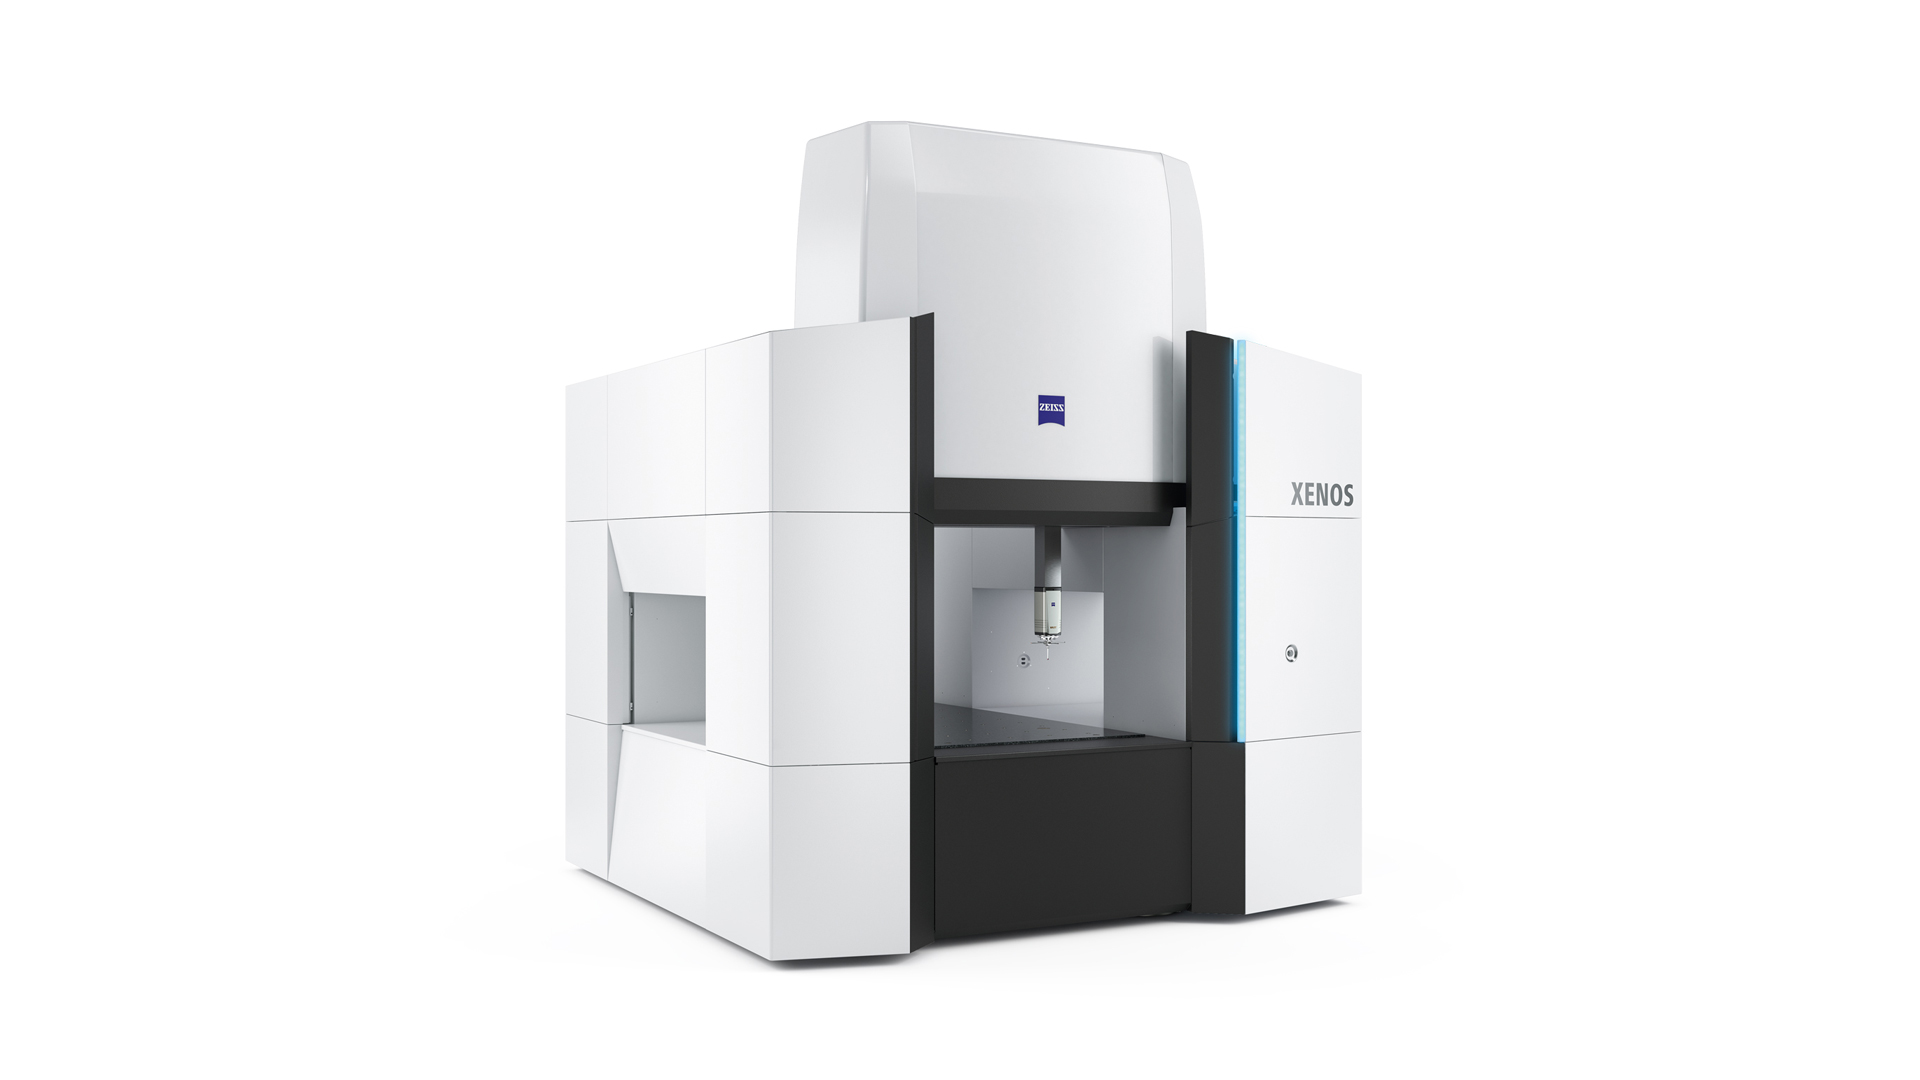
Source: Carl Zeiss Website(https://www.zeiss.com/metrology/products/systems/cmm.html)
Utilizing linear drive on all axes, this CMM boasts high precision with a maximum permissible length measurement error of 0.3+L/1000μm, repeatability of ±0.2μm, and resolution of 0.001μm. The reduced occurrence of errors allows for a decrease in the need for remeasurement.

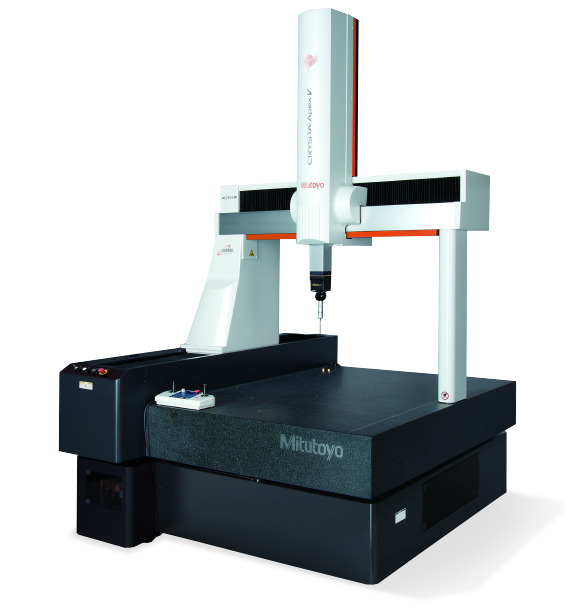
Source: Mitutoyo Website(https://www.mitutoyo.com/products/coordinate-measuring-machines/)
A CNC CMM that was first developed in 1976.
It features applications that respond to the demand for "Smart Factories" by allowing monitoring of operational status and maintenance management of the machine through the network.
Reasons for Selection