

The portable CMM (Coordinate Measuring Machine) is easier to transport and set up than a fixed type, allowing measurements to be performed on-site without the need for cranes or other lifting equipment.
Portable CMMs come in two main types:
Depending on the application and measurement target, different variations are available:
These machines are suitable for inspecting large parts, making them ideal for high-precision measurements in industries like aerospace and automotive. However, environmental conditions and vibrations must be considered.
Traditional CMMs have various limitations, such as limited measuring range and the inability to measure large parts. Conversely, the use of hand tools (like calipers or micrometers) often requires multiple people to perform measurements and can also impact accuracy. In response to these challenges, portable CMMs have emerged.
With a wireless probe, it's possible to freely approach the workpiece from any angle, enabling a single person to measure large parts. Moreover, a high degree of portability allows measurements to be conducted on-site without moving the workpiece, saving time and costs.
Here, we will introduce features and specifications of portable CMMs.
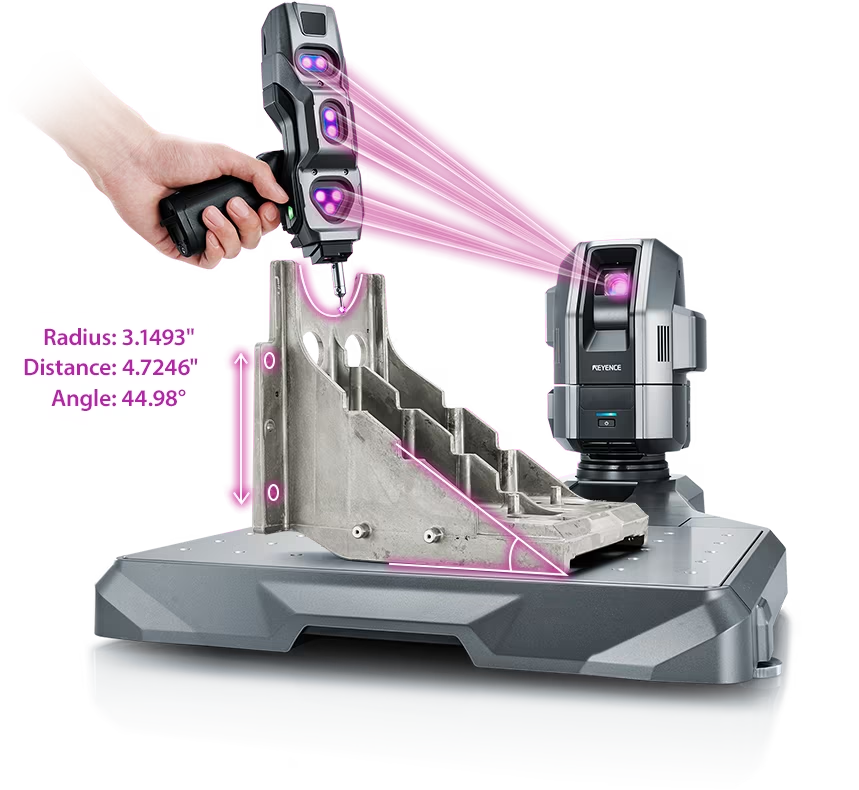
This is a CMM that boasts high versatility, allowing it to be used in various locations. It is designed to be portable and has excellent environmental resistance. No strict temperature-controlled measurement room, extensive installation space, or compressor is required. Due to its portability and lack of temperature control requirements, it can be used for measurements wherever and whenever needed, which is a significant feature.
The camera part can be detached from the stage, allowing measurements in small spaces like office rooms as well as and on-machine measurements with the workpiece fixed to the machine tool. With a maximum measurement range of 2 meters, it can handle large workpieces with ease.
The XM Series is operated by simply placing the handheld probe on the area to be measured. Additionally, it features tutorial functions with built-in step-by-step instructions with images and a navigation function that guides users through previously executed operations in the same location and steps. This makes measurements easy even for beginners.
With the flexibility to be installed in various locations and user-friendly design, the adoption barrier is low, making it easy to introduce.
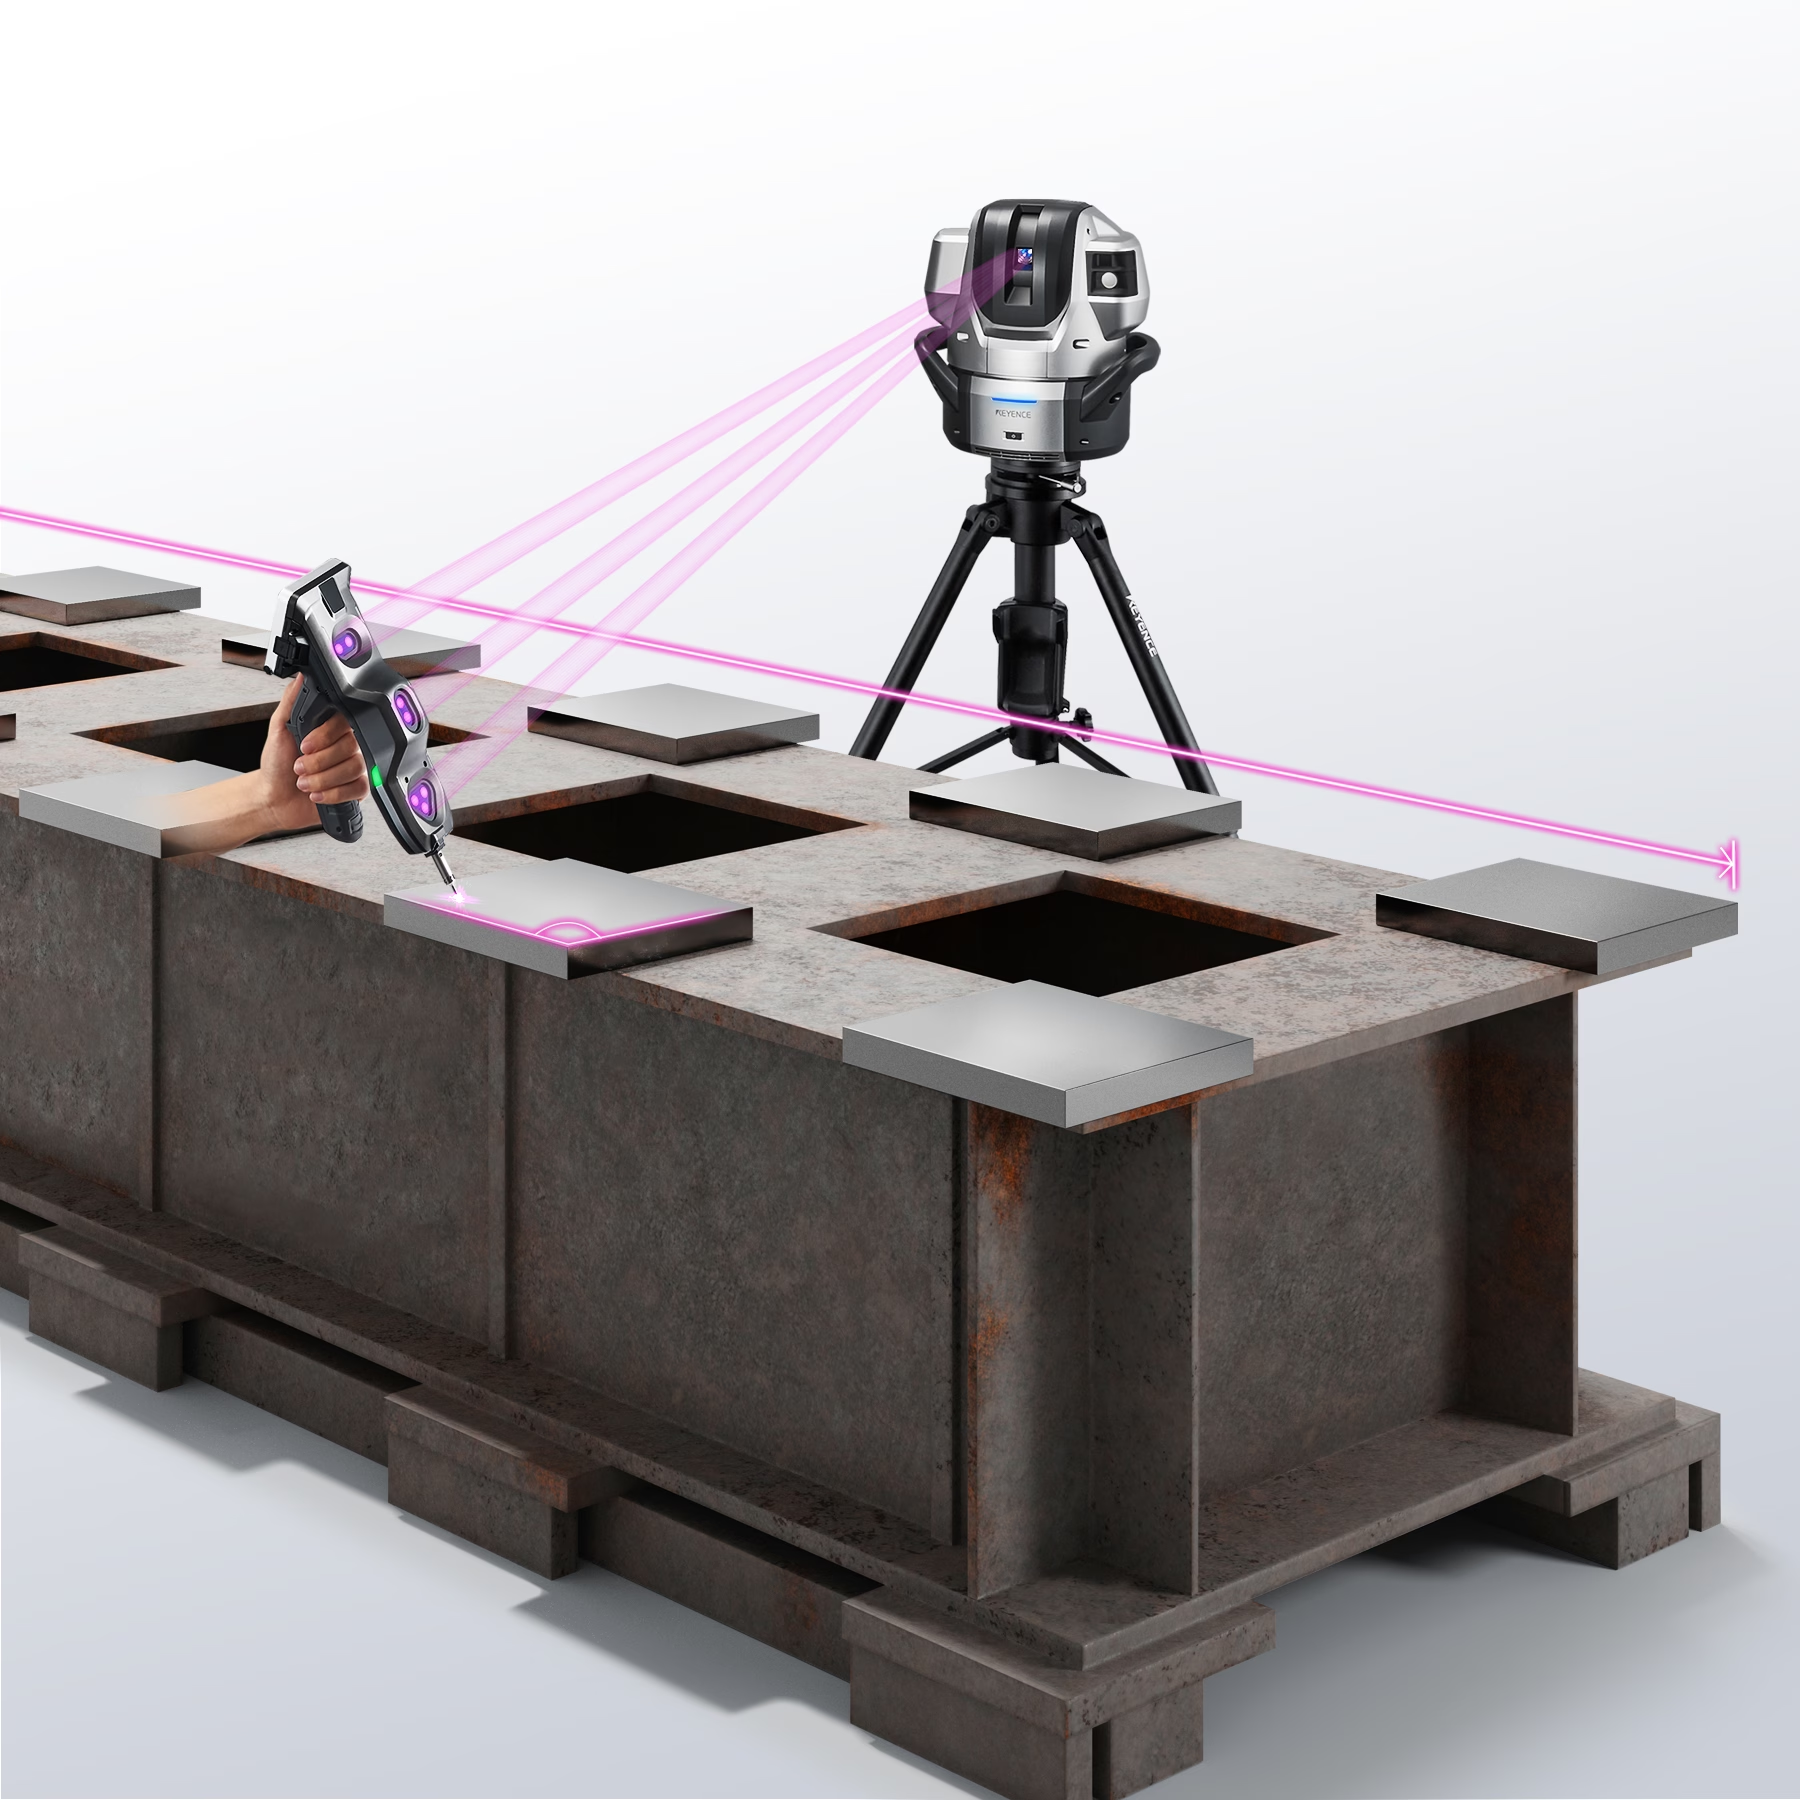
This is a portable type of CMM that can be carried in a dedicated suitcase. Setting it up is as simple as connecting two cables. The operation involves selecting the measurement elements on the monitor, placing the probe on the object to be measured, and pressing a button — no high level of proficiency is required.
The main camera constantly tracks the position and posture of the handheld probe, instantly recognizing its location regardless of the operator's position. This allows measurements from various angles without moving the object. Since the communication between the camera and PC is wireless , it is easy to use in tight or intricate spaces, and camera movement is also effortless.
In addition to contact measurement, the WM Series also features a high-performance non-contact laser scanning probe, making it a hybrid system for both dimensional measurement and shape capture. With 30 multi-line violet lasers and a maximum measurement range of 25m, it functions as a powerful wide-area 3D laser scanner capable of rapidly digitizing large parts, complex geometries, and freeform surfaces.
With a maximum measurement range of 25m, it can be used in various locations, and measurements of large components that typically require several people can be performed by one person, contributing significantly to labor reduction and shortened work time.
Two types of probes are available: a contact probe and a laser scanning probe. By combining them, the WM series is able to perform dimensional and shape measurements.
This wide-area scanning capability also makes it effective for applications that require fast 3D data capture on large workpieces that are difficult to move.Recommended for companies where large workpieces need to be measured efficiently, which can be challenging with gate-type CMMs, vernier calipers, or micrometers.
The Gage Max FaroArm is a portable 3D coordinate measuring arm known for its intuitive operation and balanced design, offering high precision for small to medium-size measurements.
The MCAx S is an articulated-arm portable CMM by Nikon, offering flexible 7-axis motion to measure complex shapes and larger parts with high precision.
Among portable CMMs, there are machines belonging to the arm-type. An arm-type CMM uses an arm with multiple joints to perform measurements.
While its accuracy is generally lower compared to gate-type CMMs, arm-type machines offer relatively high flexibility in installation and are commonly used for three-dimensional measurements in manufacturing environments.
Arm-type CMMs are relatively lightweight, allowing them to be carried and set up in the desired location. However, there are also some drawbacks to arm-type CMMs.
The accuracy of arm-type measurements assumes a constant physical distance between encoders. Therefore, if there is deflection or torsion in the arm or joints, it may lead to a decrease in accuracy. Regular maintenance and recalibration are necessary to address this issue.
The measurement range of arm-type CMMs is determined by the length of the arm. Typically, the measurement range of arm-type CMMs is up to approximately 3m to 4m at maximum. Additionally, longer arms are more susceptible to deflection effects.
The base of the arm and the measurement point need to be physically connected. Therefore, measuring in tight or recessed spaces can be challenging. When measuring from one end of a large object to another, frequent large movements of the arm are required, and the weight of the arm may lead to fatigue for the operator.
Using a portable CMM today typically involves a few essential steps. First, the device is positioned near the part to be measured and calibrated or zeroed to a reference base. Operators then approach the workpiece with the handheld probe or scanning head, collecting measurement points step by step.
Portable systems often provide intuitive guidance and navigation, allowing even less experienced users to complete basic inspection routines efficiently. Once data is captured, software can generate dimensional reports, tolerance analysis, and CAD comparison results.
Portable CMMs are used across a wide range of scenarios. On the shop floor, they enable verification of large assemblies without moving heavy parts, greatly reducing inspection time and labor.
In maintenance and field surveying, portable metrology tools allow technicians to check alignment, fit, and geometric tolerances on equipment directly at the site. They are also valuable in tooling and mold inspection, where onsite dimensional checks help maintain consistency and reduce downtime.
When selecting a portable CMM, consider factors such as versatility that allows usage in various locations, performance metrics like accuracy and measurement range, and user-friendly operation suitable for both beginners and experienced users. This website provides recommendations for CMMs that are easy to use and offer high versatility, addressing specific challenges in various work environments. Feel free to explore for valuable insights.

Source: KEYENCE Website(https://www.keyence.com/products/measure-sys/cmm/xm/index_pr.jsp)
This CMM has a caliper-like feel, enabling even beginners to perform high-precision measurements. It can be carried without the need for temperature control, allowing for immediate measurements at any desired location and time. As it doesn't require a large installation space, it's a CMM with a low entry barrier.
Source: Carl Zeiss Website(https://www.zeiss.com/metrology/products/systems/cmm.html)
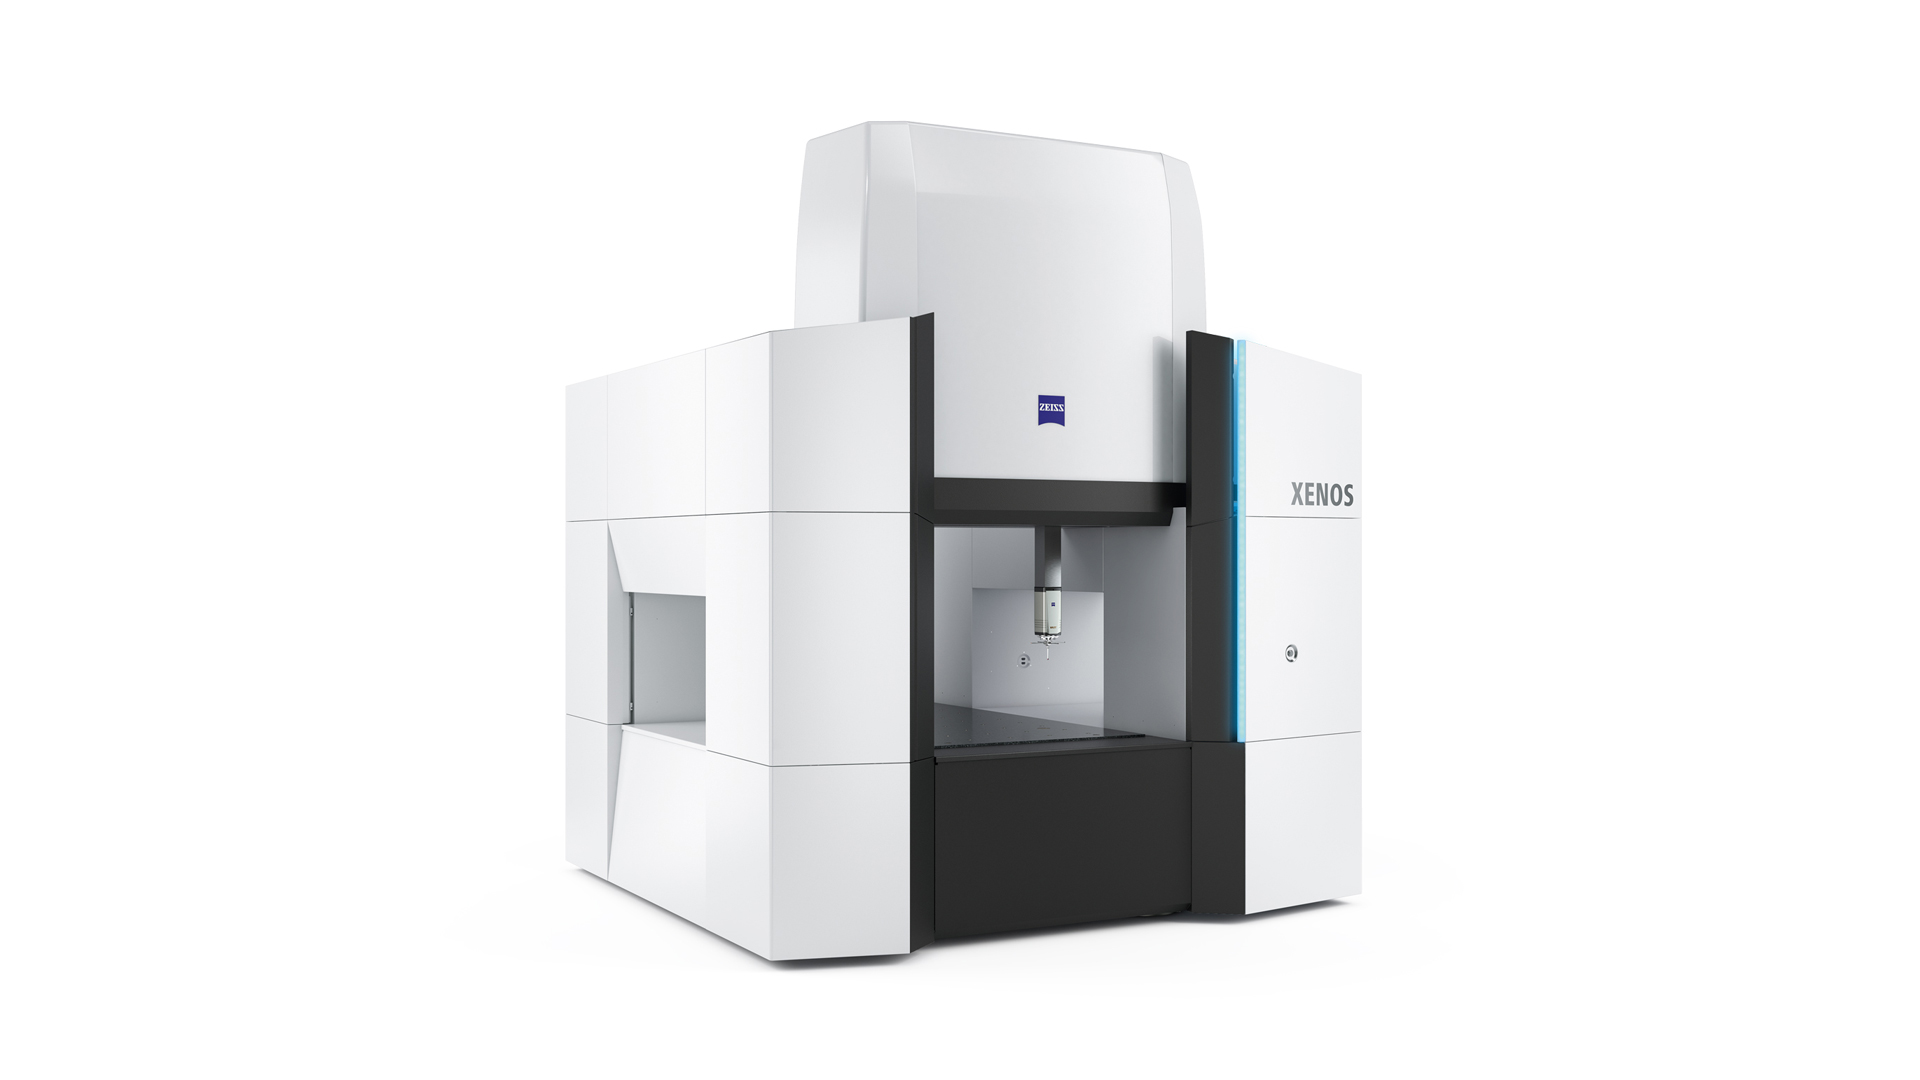
Utilizing linear drive on all axes, this CMM boasts high precision with a maximum permissible length measurement error of 0.3+L/1000μm, repeatability of ±0.2μm, and resolution of 0.001μm. The reduced occurrence of errors allows for a decrease in the need for remeasurement.
Source: Mitutoyo Website(https://www.mitutoyo.com/products/coordinate-measuring-machines/)
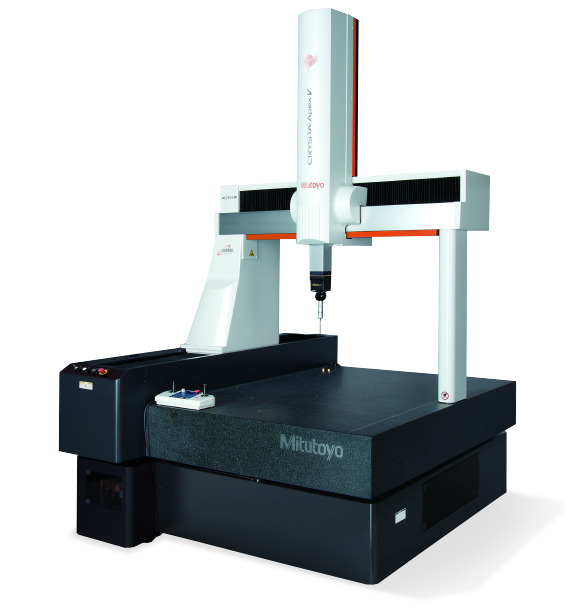
A CNC CMM that was first developed in 1976.
It features applications that respond to the demand for "Smart Factories" by allowing monitoring of operational status and maintenance management of the machine through the network.
Reasons for Selection