
On this page, we provide detailed information on KEYENCE's Wide-Area CMM, the WM Series. We have compiled information on its outstanding features and characteristics as a measurement machine. Additionally, we provide examples of applications and potential use cases.

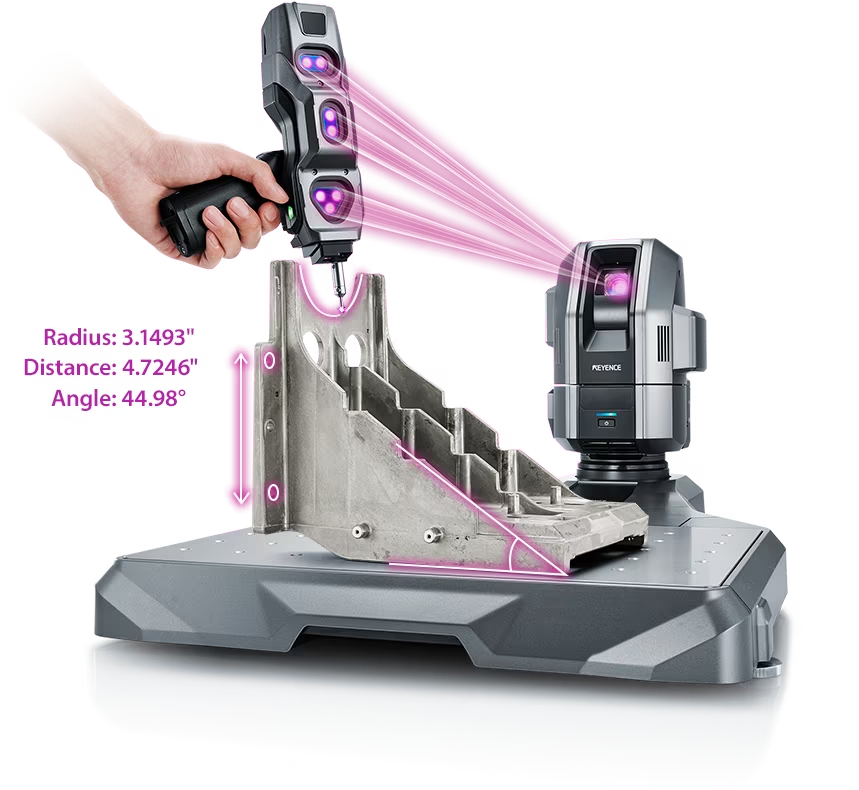
The WM Series is a CMM that makes it easy to measure the dimensions and shapes of large products, which was traditionally challenging for a single person. With a maximum measurement range of 25m, it allows for measurements from various angles using a wireless probe. By combining contact and laser scanning probes, it enables not only dimensional but also shape measurements.
No complicated setup is required, and expanding the measurement capabilities is as simple as switching probes, significantly improving work efficiency. It can be applied to a wide range of measurement scenarios, from dimension and strain measurements for sheet and plate work to post-assembly measurements and adjustments of various equipment, shape measurements of press products, confirmation of casting replacements, on-site inspections, and sketching maintenance parts. It is versatile and applicable to various processes from material to assembly.
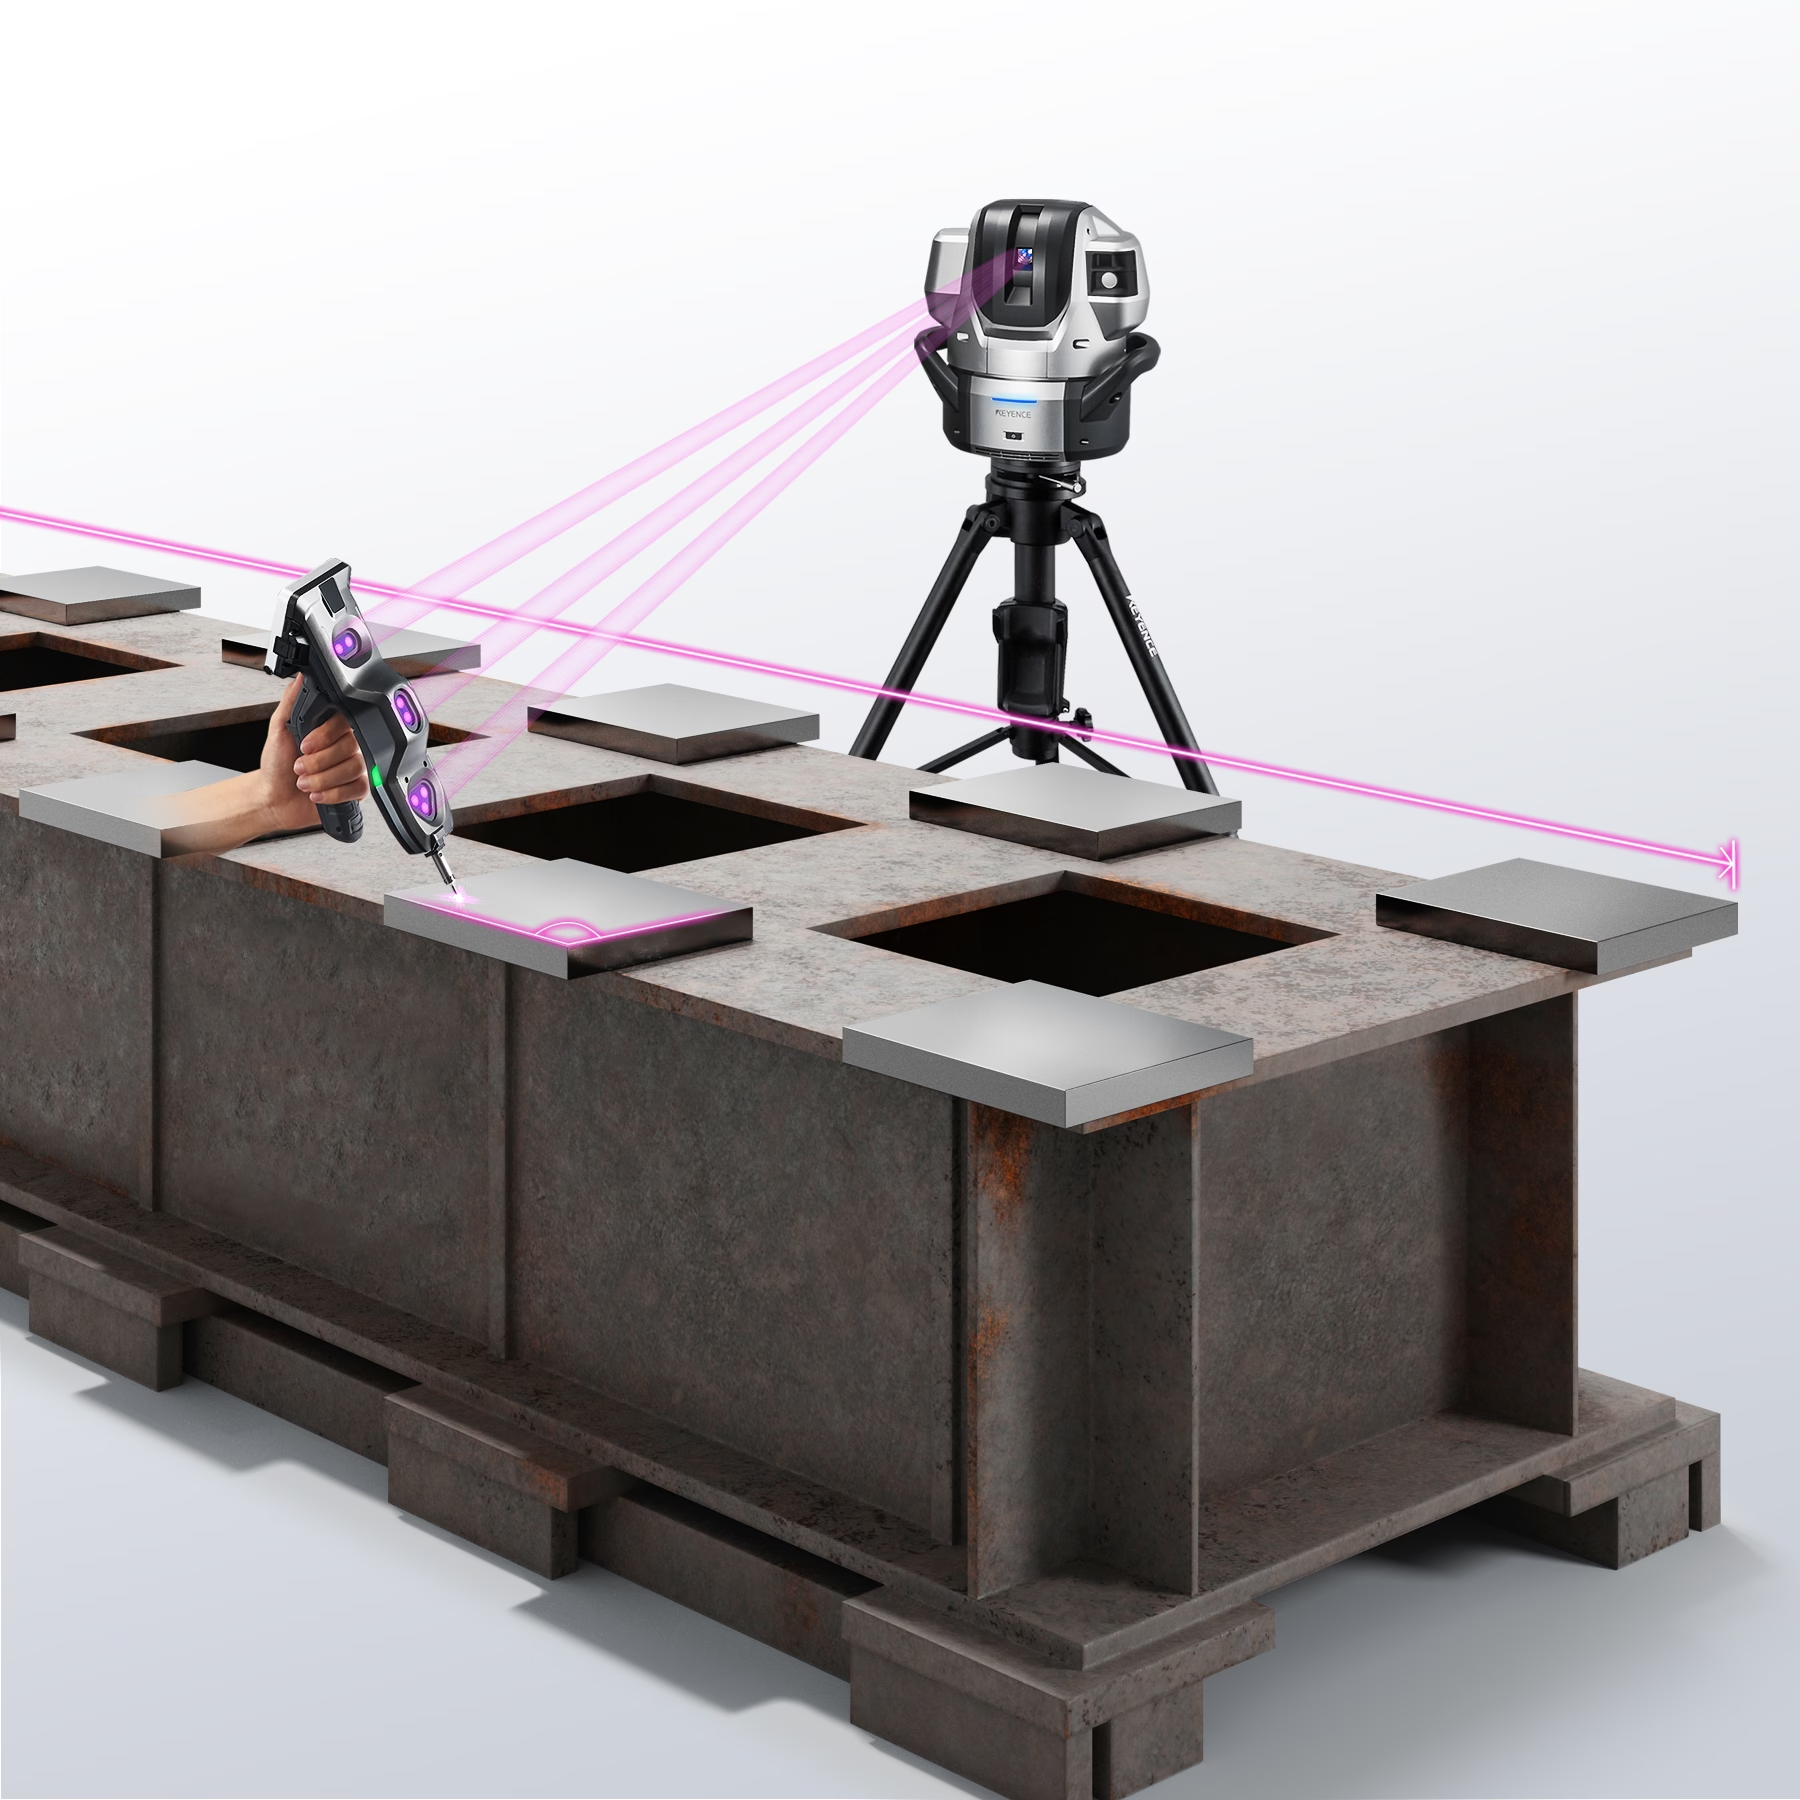
The WM Series can be carried in a dedicated case, and the setup is completed by placing it and pressing the button on the wireless probe. The camera on the main body constantly tracks the position and orientation of the handheld probe, allowing measurement of large-sized workpieces by a single person without moving the target object.
No measurement room is required, and measurements can be taken immediately on-site. By using a tripod, extension pole, or wagon, the CMM can be installed in various locations. As the camera communicates wirelessly with the PC, there is no need to place the PC near the camera or the product.
The WM series is designed for high durability and rigidity, making it usable even in harsh environments. It comes with a tripod equipped with a lifting function, wich enables effortless measurement of tall workpieces.
After measurement, inspection data can be displayed as a color map and compared with 3D CAD data. It is also possible to export measurement data. Furthermore, the measurement data is automatically converted into an inspection report, enhancing work efficiency.
In cases where support is needed, technical sales representatives respond promptly. KEYENCE's direct sales system ensures easy communication without the need for intermediaries, which other measuring equipment manufacturers often rely on.
The WM Series is a CMM designed for the measurement of large parts. One notable application is the dimensional measurement of inspection jigs for large components such as car door frames, side members, and instrument panels.
In inspection jigs, measuring shape tolerances like profile and flatness is crucial, and a comparison with CAD data is necessary to ensure conformance to the design. Traditional gate- or arm-type machines may not be suitable for such measurements, but with the WM Series, it becomes possible to measure the positional relationships of clamps and locating pins on the jig.
In the manufacturing of large welded products, measurement is a critical challenge. For instance, the base frames serving as foundations for large manufacturing and machining equipment demand high dimensional accuracy.
In the case of large welded products, it is essential to not only inspect the finished product but also monitor the machining progress. Traditionally, measurements and adjustments were performed using tape majors or large calipers, and adjustments were made by inserting shims to account for installation errors. However, this approach was time-consuming and posed challenges such as including extended delivery times.
KEYENCE's Wide-Area CMM "WM Series" enables high-precision measurement of large welded products using wireless probes. With the ability to freely approach even deep areas of the workpiece within the measurement range, a single person can easily perform measurements with a simple probe touch. This method ensures quantitative measurements without minimal variations, providing consistent and reliable results.
Additionally, the WM Series allows measurements without removing the workpiece from the machine tool, enhancing operational efficiency. The system also facilitates on-the-spot creation of inspection reports with photos of the measured areas, enabling reliable guaranteed accuracy before delivery.
The WM Series is designed from the ground up as a CMM tailored for the measurement of large components and equipment. It is well-suited for measuring targets such as large automotive parts and concrete products, where conventional measurement machines may face challenges. Additionally, it proves effective in situations where space constraints make it difficult to introduce large measurement machines.
With its high mobility and quick setup, the WM Series eliminates the need to transport objects to a dedicated measuring area. The installation site of the WM Series becomes the measurement room, eliminating wait time. This leads to time savings and increased efficiency.

Source: KEYENCE Website(https://www.keyence.com/products/measure-sys/cmm/xm/index_pr.jsp)
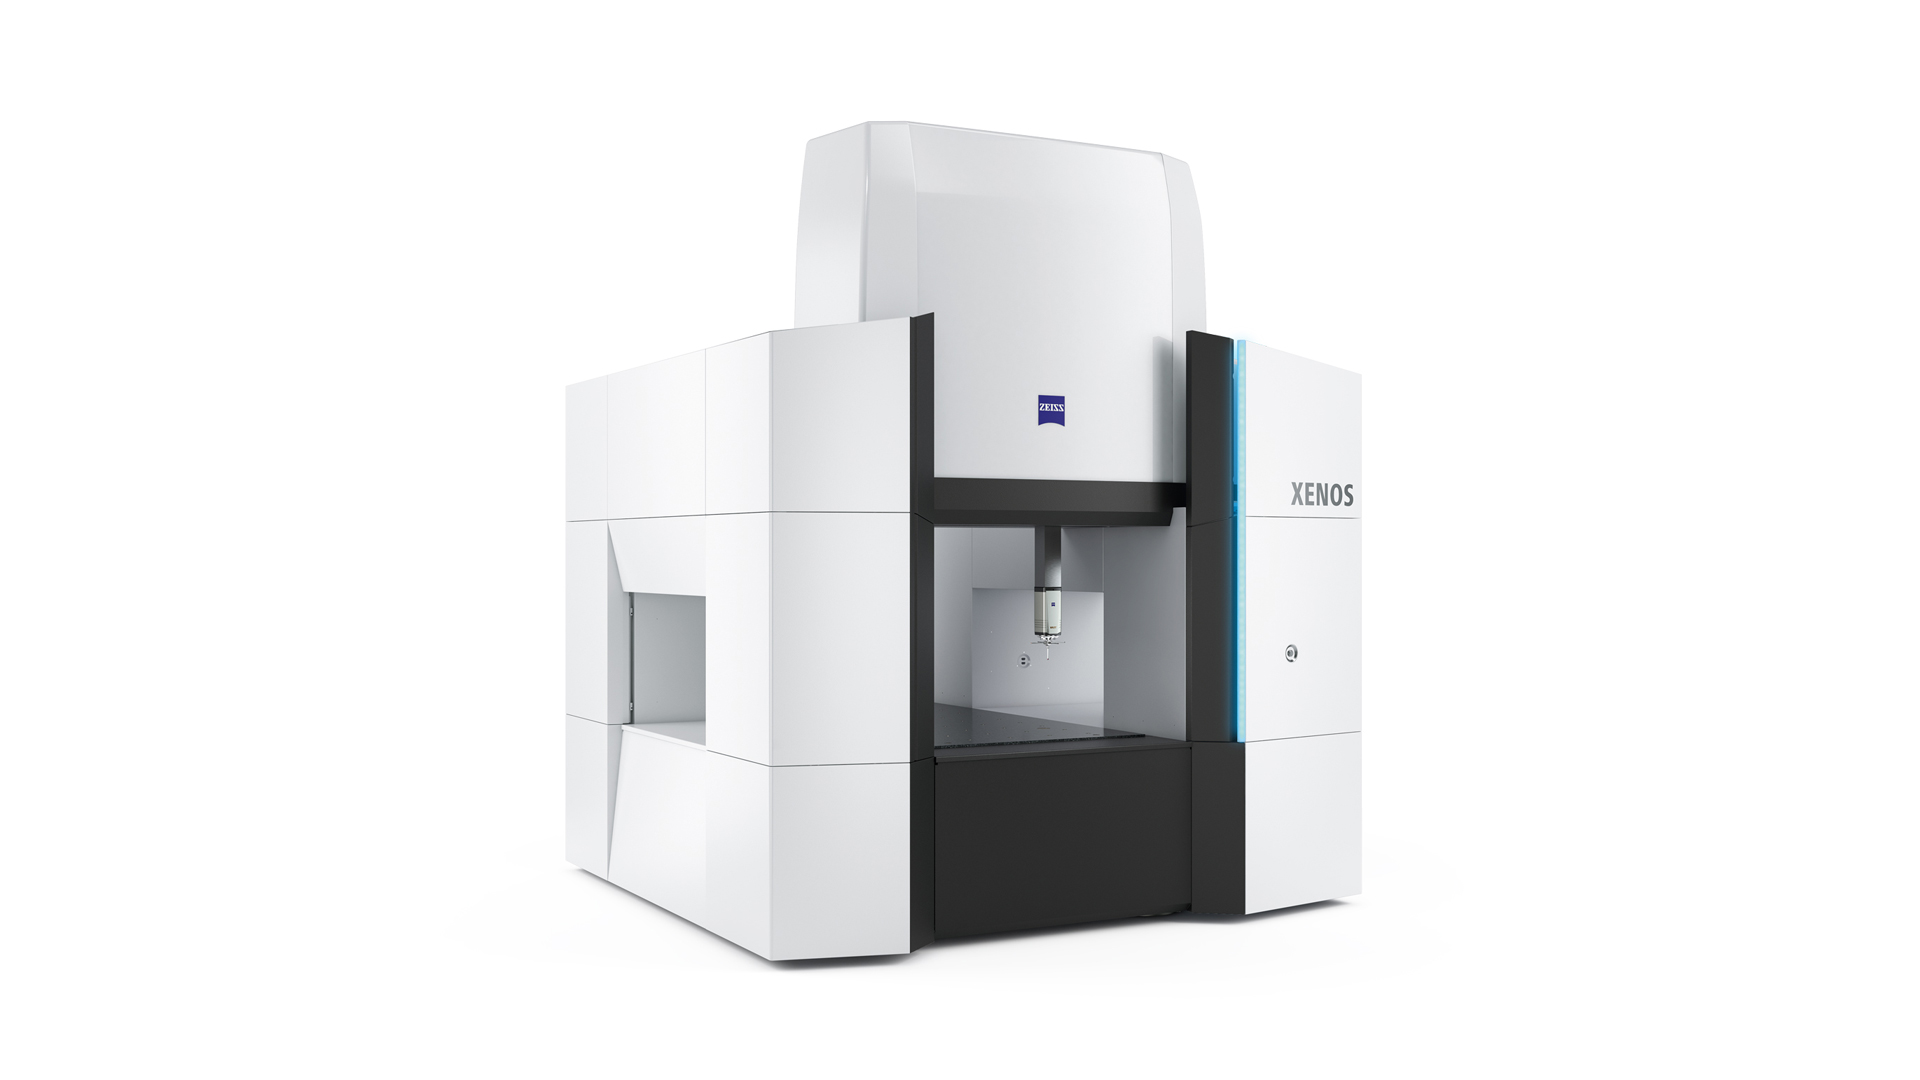
This CMM has a caliper-like feel, enabling even beginners to perform high-precision measurements. It can be carried without the need for temperature control, allowing for immediate measurements at any desired location and time. As it doesn't require a large installation space, it's a CMM with a low entry barrier.

Source: Carl Zeiss Website(https://www.zeiss.com/metrology/products/systems/cmm.html)
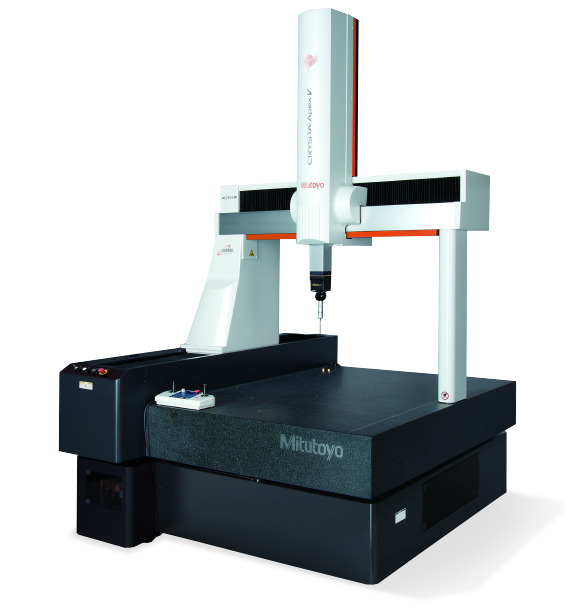
Utilizing linear drive on all axes, this CMM boasts high precision with a maximum permissible length measurement error of 0.3+L/1000μm, repeatability of ±0.2μm, and resolution of 0.001μm. The reduced occurrence of errors allows for a decrease in the need for remeasurement.

Source: Mitutoyo Website(https://www.mitutoyo.com/products/coordinate-measuring-machines/)
A CNC CMM that was first developed in 1976.
It features applications that respond to the demand for "Smart Factories" by allowing monitoring of operational status and maintenance management of the machine through the network.
Reasons for Selection