
Here, you can find detailed information on the features and functionalities of the Gage Max FARO ARM, an arm-type CMM developed by FARO. Additionally, you can also check out application examples and concrete use cases.

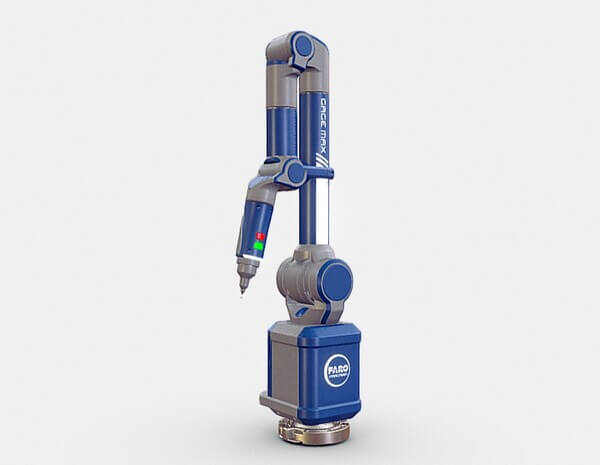
The Gage Max FARO ARM, produced by FARO, serves as a high-performance and user-friendly CMM. Being an arm-type device, it doesn't require a large installation space, providing flexibility. Measurements can be conducted directly on the manufacturing floor, eliminating the need to transport workpieces to a dedicated measurement room. This enables swift fault inspections, root cause analyses, and optimization of operations.
The ability to conduct measurements directly on the production floor facilitates quicker product launches. Furthermore, automatic report generation and trend analysis based on production data also expedite decision-making processes.
The arm of Gage Max FARO ARM features an ergonomics-based 6-axis design, allowing for natural movements. With a counterbalance function, single-handed operation is possible, and probes can be exchanged without recalibration. The working volumeis 1.5m (4.9ft), enabling 3D measurements of small parts, molds, and assemblies. The device ensures consistent repeatability regardless of the operator. The measurement accuracy meets the standards of ISO 10360-12, ensuring reliability.
FARO not only develops and provides high-performance CMMs, but also offers robust support services. Companies can choose between multiple service plans, including Basic Care and Complete Care. Training options are also provided to help users master the device.
With offices in over 25 countries and customer support available in 14 languages, FARO support services can be accessed globally. Each country has service centers to handle inquiries and provide services such as warranty support, maintenance, and product certifications, ensuring peace of mind for users.
FARO suggests the use of FaroArms for quality management in machining of machine components. High-precision measurements are possible even when the parts are placed on the manufacturing machine. Inspecting the quality of parts helps eliminate costs caused by errors and mistakes as well as overproduction .
The MPD & RCD equipment manufacturer PRUITT TOOL & SUPPLY, using FARO products in their production process, comments that "Gage FaroArm provides the capability to quickly check parts." This shows how arm-type CMMs contribute to increased productivity in the field of parts machining.
FARO recommends the use of ScanArms for sheet metal stamping processes. Processes such as extrusion, punching, and bending in sheet metal processing require precision, and inaccuracies can lead to significant costs and loss of time.
Introducing portable measurement arm technology capable of capturing thousands of points per second resolves measurement challenges in a short time. The substantial reduction in inspection time contributes to increased productivity.
The advantages of arm-type 3D measurement devices like Gage Max FARO ARM lie in their ability to establish inspection environments in confined workspaces. A separation of production and inspection can lead to significant time losses and decreased productivity. Therefore, it is recommended to utilize arm-type 3D measurement devices for quality control and inspection, especially in parts machining processes. This can result in improved productivity, ensuring the competitiveness of the products. The compact design also prevents the CMMS from interfering with work processes.

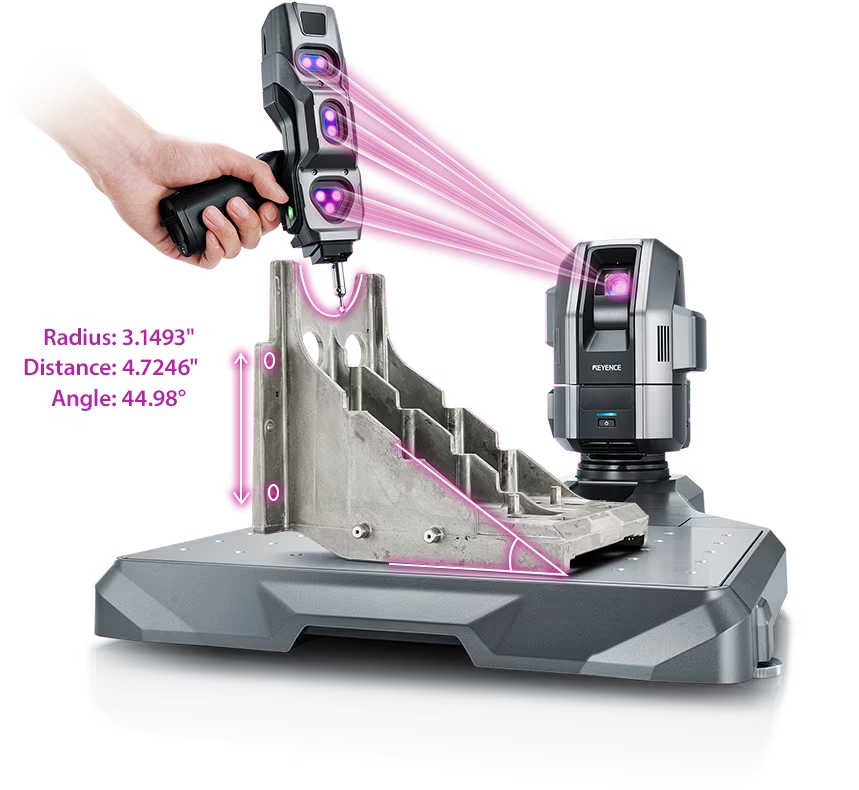
Source: KEYENCE Website(https://www.keyence.com/products/measure-sys/cmm/xm/index_pr.jsp)
This CMM has a caliper-like feel, enabling even beginners to perform high-precision measurements. It can be carried without the need for temperature control, allowing for immediate measurements at any desired location and time. As it doesn't require a large installation space, it's a CMM with a low entry barrier.

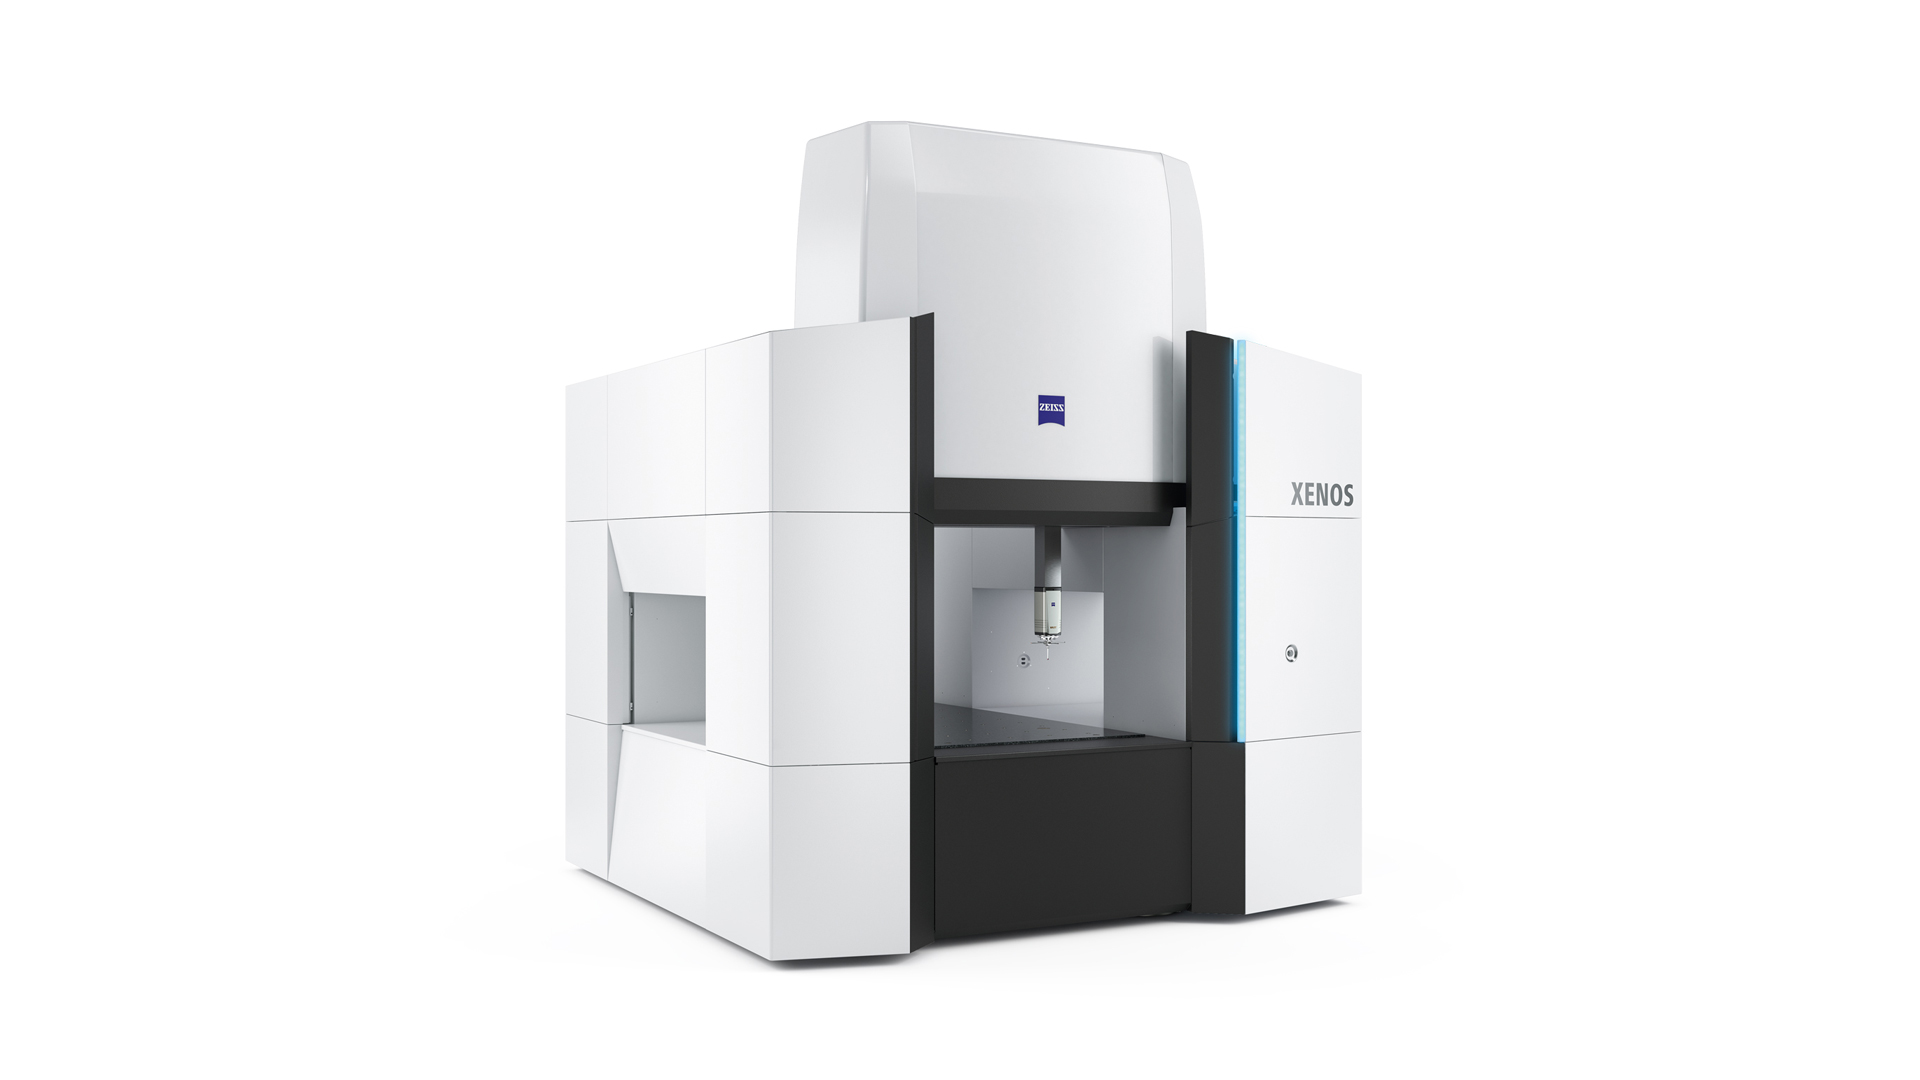
Source: Carl Zeiss Website(https://www.zeiss.com/metrology/products/systems/cmm.html)
Utilizing linear drive on all axes, this CMM boasts high precision with a maximum permissible length measurement error of 0.3+L/1000μm, repeatability of ±0.2μm, and resolution of 0.001μm. The reduced occurrence of errors allows for a decrease in the need for remeasurement.

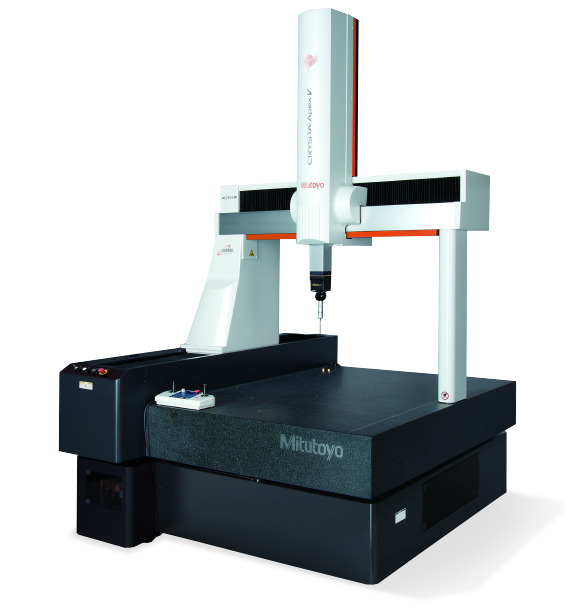
Source: Mitutoyo Website(https://www.mitutoyo.com/products/coordinate-measuring-machines/)
A CNC CMM that was first developed in 1976.
It features applications that respond to the demand for "Smart Factories" by allowing monitoring of operational status and maintenance management of the machine through the network.
Reasons for Selection