
In precision manufacturing and dimensional inspection, measurement accuracy depends not only on the capability of the measuring instrument but also on how measurement principles are applied. One of the most fundamental concepts governing accurate measurement is Abbe's Principle. This principle plays a critical role in coordinate measuring machine (CMM) measurements, especially when evaluating tight tolerances and high-precision components.
Understanding Abbe's Principle helps engineers and quality professionals identify sources of measurement error and design measurement strategies that minimize uncertainty. In this article, we explain what Abbe's Principle is, why it is important in dimensional measurement, and what happens when the principle is not satisfied.
Abbe's Principle states that the measurement standard or scale should be aligned collinearly with the dimension being measured. In other words, the measurement axis must coincide with the line along which the actual displacement occurs.
This principle was formulated by Ernst Abbe, a German physicist and optical scientist, who recognized that even small angular errors can generate significant linear measurement errors when the measurement axis is offset from the measurement line.
In practical terms, Abbe's Principle means that the measurement system should be arranged so that:
When these conditions are met, measurement results reflect the true geometry of the part with minimal influence from systematic error sources.
Coordinate measuring machines are designed to measure three-dimensional geometry by detecting probe positions relative to orthogonal machine axes. While modern CMMs are highly accurate, they are still subject to mechanical imperfections such as guideway straightness errors, angular deviations, and structural deformation.
If the probing point is offset from the measurement axis and angular error exists, the resulting measurement error is proportional to the offset distance. This relationship can be expressed as:
Abbe error = offset distance × angular error
This means that even a very small angular deviation can cause a significant error when the offset is large. As measurement tolerances become tighter, the impact of Abbe error becomes increasingly critical.
CMM manufacturers attempt to minimize Abbe error through machine design, such as:
However, the measurement strategy chosen by the operator also has a major influence on whether Abbe's Principle is effectively satisfied.
When Abbe's Principle is violated, the measurement axis does not coincide with the actual measurement line. This typically occurs when there is a lateral offset between the probe contact point and the scale or reference axis.
In such cases, angular errors in the machine structure or motion system are converted into linear measurement errors. These errors are systematic and repeatable, making them particularly dangerous because they may not be immediately apparent.
Common situations where Abbe's Principle is not satisfied include:
For example, when measuring the height of a tall workpiece using a long stylus, any angular error in the Z-axis guideway can result in a magnified error at the probe tip. Even if the angular error is very small, the long lever arm created by the stylus amplifies the effect.
Abbe error does not affect all measurements equally. Its impact depends on measurement conditions and geometry. Typical consequences include:
Because Abbe error is systematic, repeating the same measurement often produces consistent but incorrect results. This makes it difficult to detect without a solid understanding of measurement principles.
Although it is not always possible to fully satisfy Abbe's Principle in real-world measurements, its influence can be minimized through careful planning and good measurement practice.
Key strategies include:
In addition, understanding which dimensions are most sensitive to Abbe error allows inspectors to focus attention on critical measurements rather than applying generic inspection routines.
Abbe's Principle is not merely a theoretical concept; it directly affects real-world measurement accuracy. As tolerances tighten and quality requirements become more demanding, ignoring this principle can lead to incorrect conclusions about part quality and process capability.
By understanding what Abbe's Principle is, recognizing situations where it is not satisfied, and applying practical strategies to minimize its influence, manufacturers can significantly improve the reliability of their dimensional measurements.
In coordinate measuring machine applications, accurate measurement is achieved not only through advanced hardware but also through sound measurement principles. Abbe's Principle remains one of the most important foundations for achieving trustworthy inspection results.

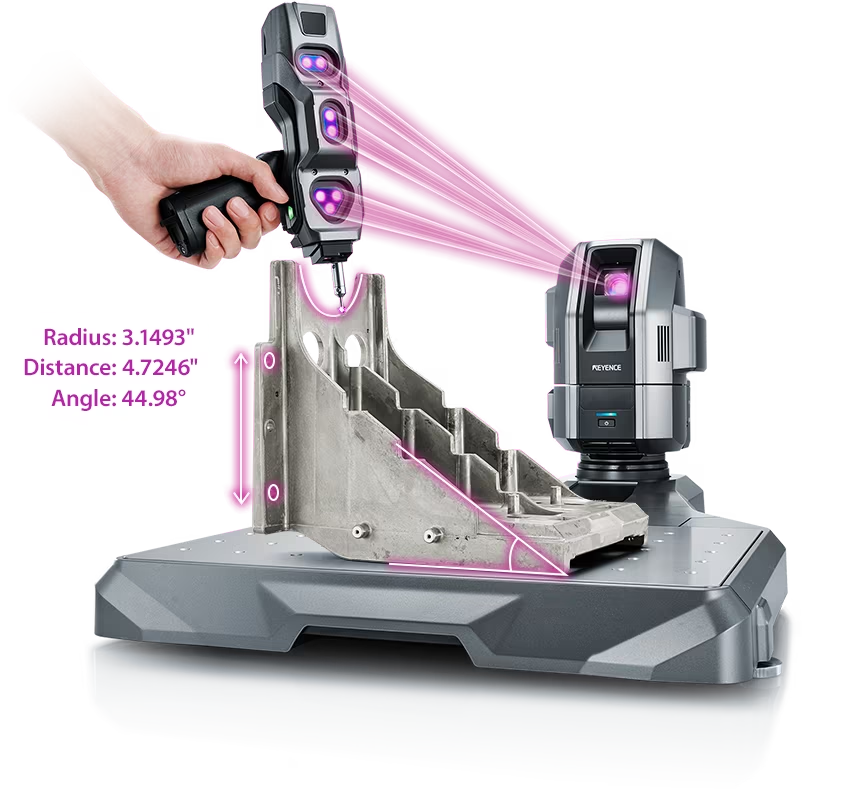
Source: KEYENCE Website(https://www.keyence.com/products/measure-sys/cmm/xm/index_pr.jsp)
This CMM has a caliper-like feel, enabling even beginners to perform high-precision measurements. It can be carried without the need for temperature control, allowing for immediate measurements at any desired location and time. As it doesn't require a large installation space, it's a CMM with a low entry barrier.

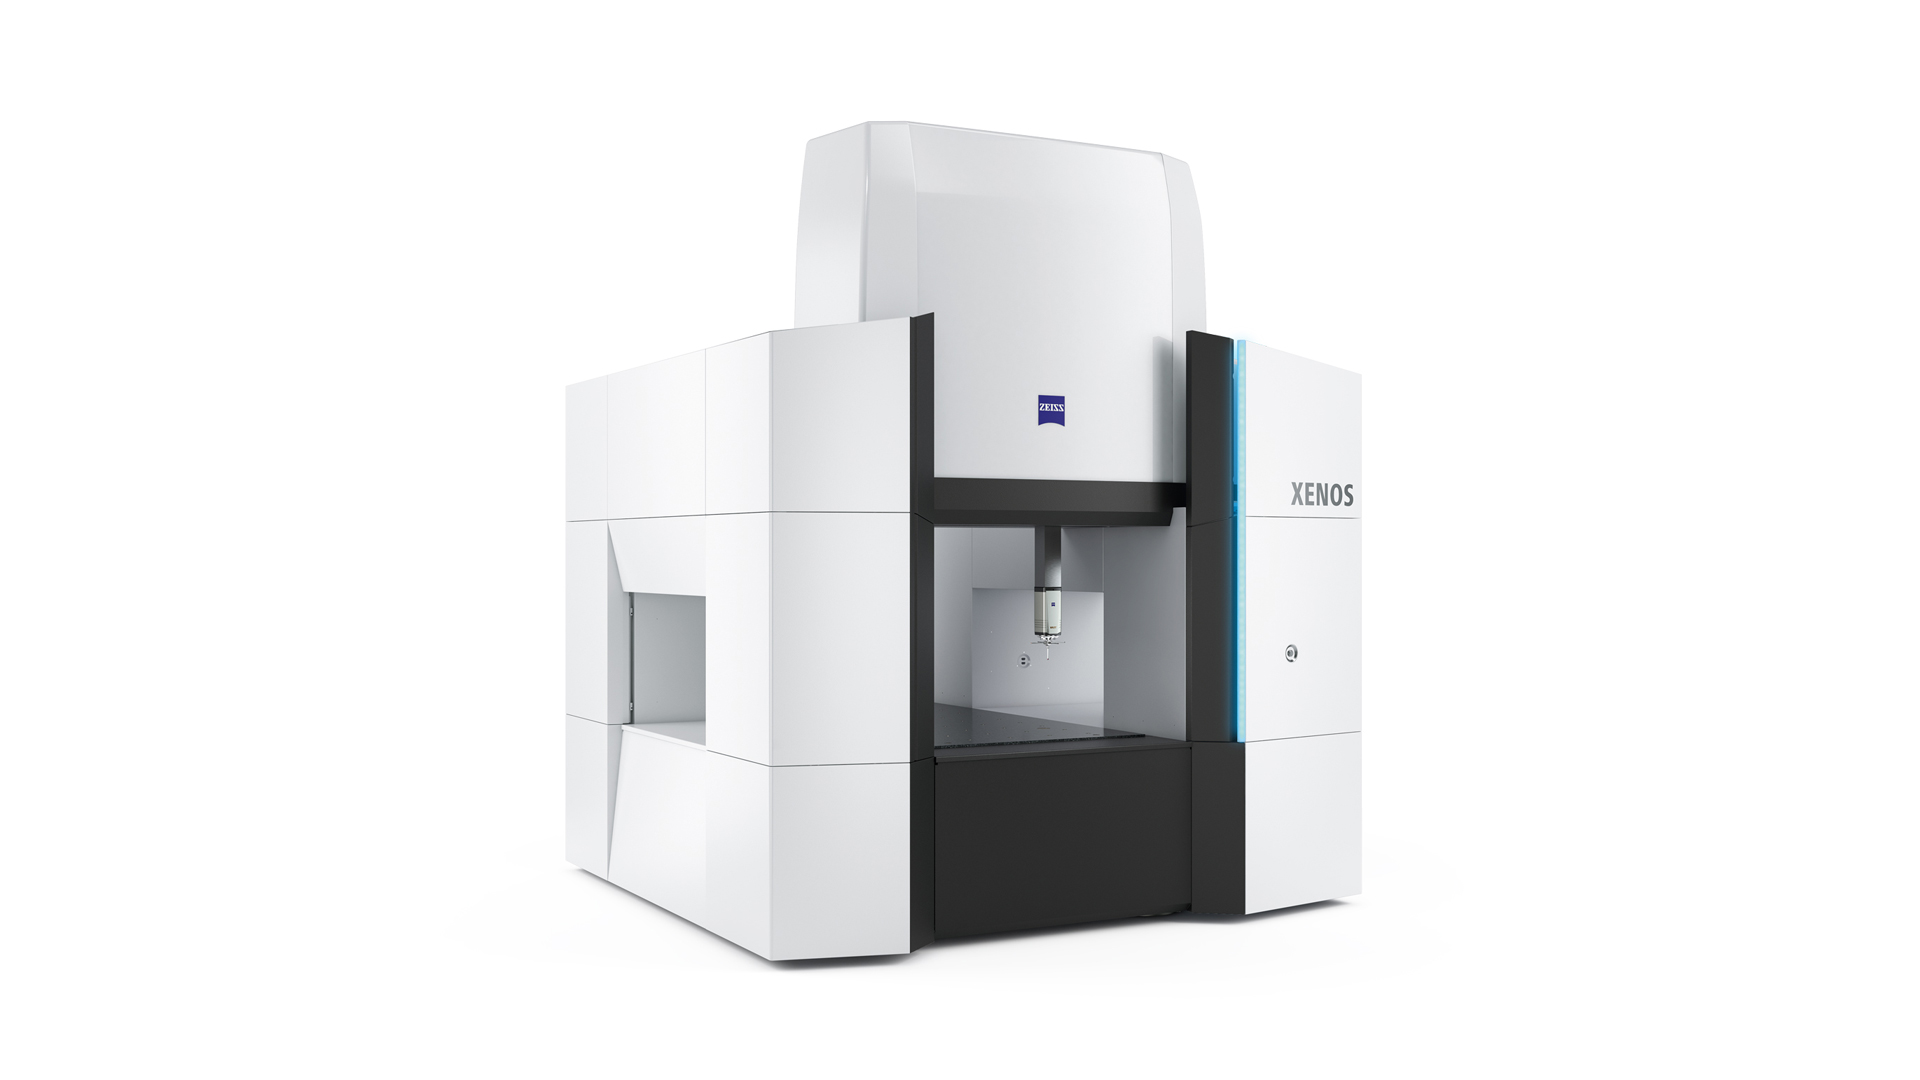
Source: Carl Zeiss Website(https://www.zeiss.com/metrology/products/systems/cmm.html)
Utilizing linear drive on all axes, this CMM boasts high precision with a maximum permissible length measurement error of 0.3+L/1000μm, repeatability of ±0.2μm, and resolution of 0.001μm. The reduced occurrence of errors allows for a decrease in the need for remeasurement.

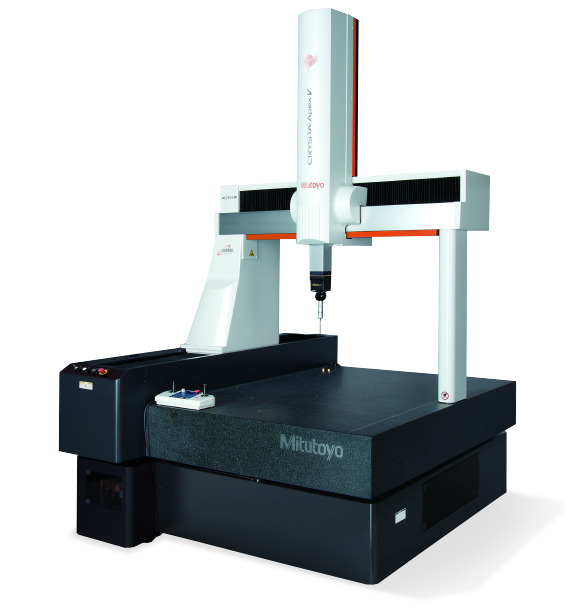
Source: Mitutoyo Website(https://www.mitutoyo.com/products/coordinate-measuring-machines/)
A CNC CMM that was first developed in 1976.
It features applications that respond to the demand for "Smart Factories" by allowing monitoring of operational status and maintenance management of the machine through the network.
Reasons for Selection