

Based on their operation method, CMMs are categorized into "manual-method" and "CNC (Computer Numerical Control)-method" machines. CNC CMMs can be thought of as automatic operation machines, where the tool head and other operations are automated and precisely controlled by a computer.
Here, we introduce CNC CMMs from various manufacturers. If you are considering implementing a CNC CMM, this information will be helpful.
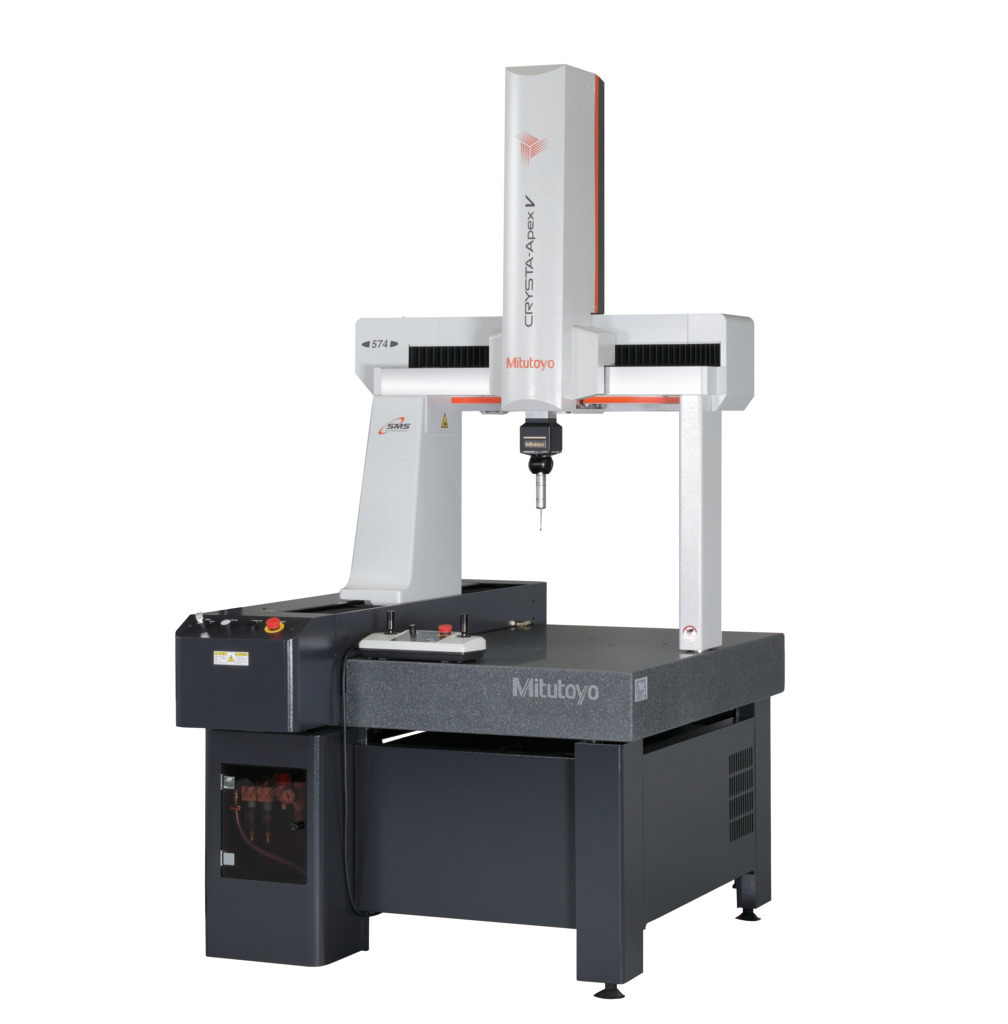
The CRYSTA-Apex by Mitutoyo maintains accuracy while enabling rapid and precise measurements. It can handle a variety of workpiece shapes, including impellers and blades, and is known for its high flexibility. The maximum permissible length measurement error is 1.7μm, which also improves repeatability.
Measuring paths can be specified in 3D, allowing for free measurement routes even for complex workpieces. Real-time correction of track measurement errors due to discrepancies between the workpiece and design values ensures fast and accurate measurements.
The CRYSTA-Apex features a wide range of probes, including scanning and non-contact probes, which can be exchanged depending on the workpiece characteristics. Additionally, CRYSTA-Apex is unaffected by the temperature environment. Through a temperature correction function, it ensures accuracy in the 16–26°C range, enabling measurements of high-precision workpieces.
With a maximum drive speed of 519mm/s and a maximum drive acceleration of 2309mm/s2, it caters to a wide range of measurements, from small to large parts. Its maximum measuring speed of 8mm/s allows it to handle curved and complex surfaces, providing fast and accurate measurements.
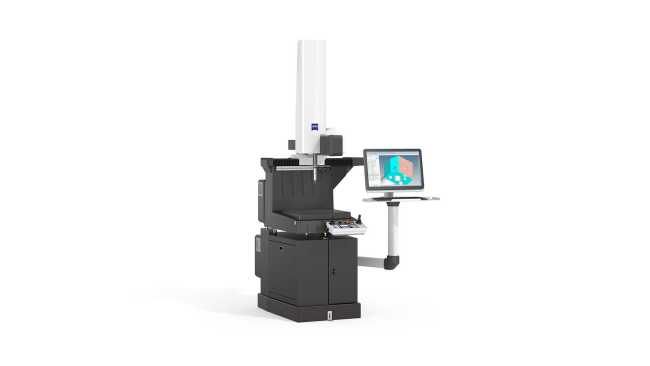
ZEISS DuraMax is a compact CMM with high-precision scanning capabilities, suitable for complex shaped workpieces. It doesn’t require air supply and, with a 0.85㎡ footprint and requiring only a single 100 V power source, can be installed in a wide variety of locations.
Its guaranteed accuracy temperature range is 18-30°C, which makes the CMM able to operate regardless of the ambient temperature. Movable stands are also offered as an option. The standard VAST XXT scanning probe enables precise scanning of contours and complex shapes, efficiently evaluating geometric tolerances and deviations. It provides stable measurement data quickly, and programming and adjustments are swift and responsive.
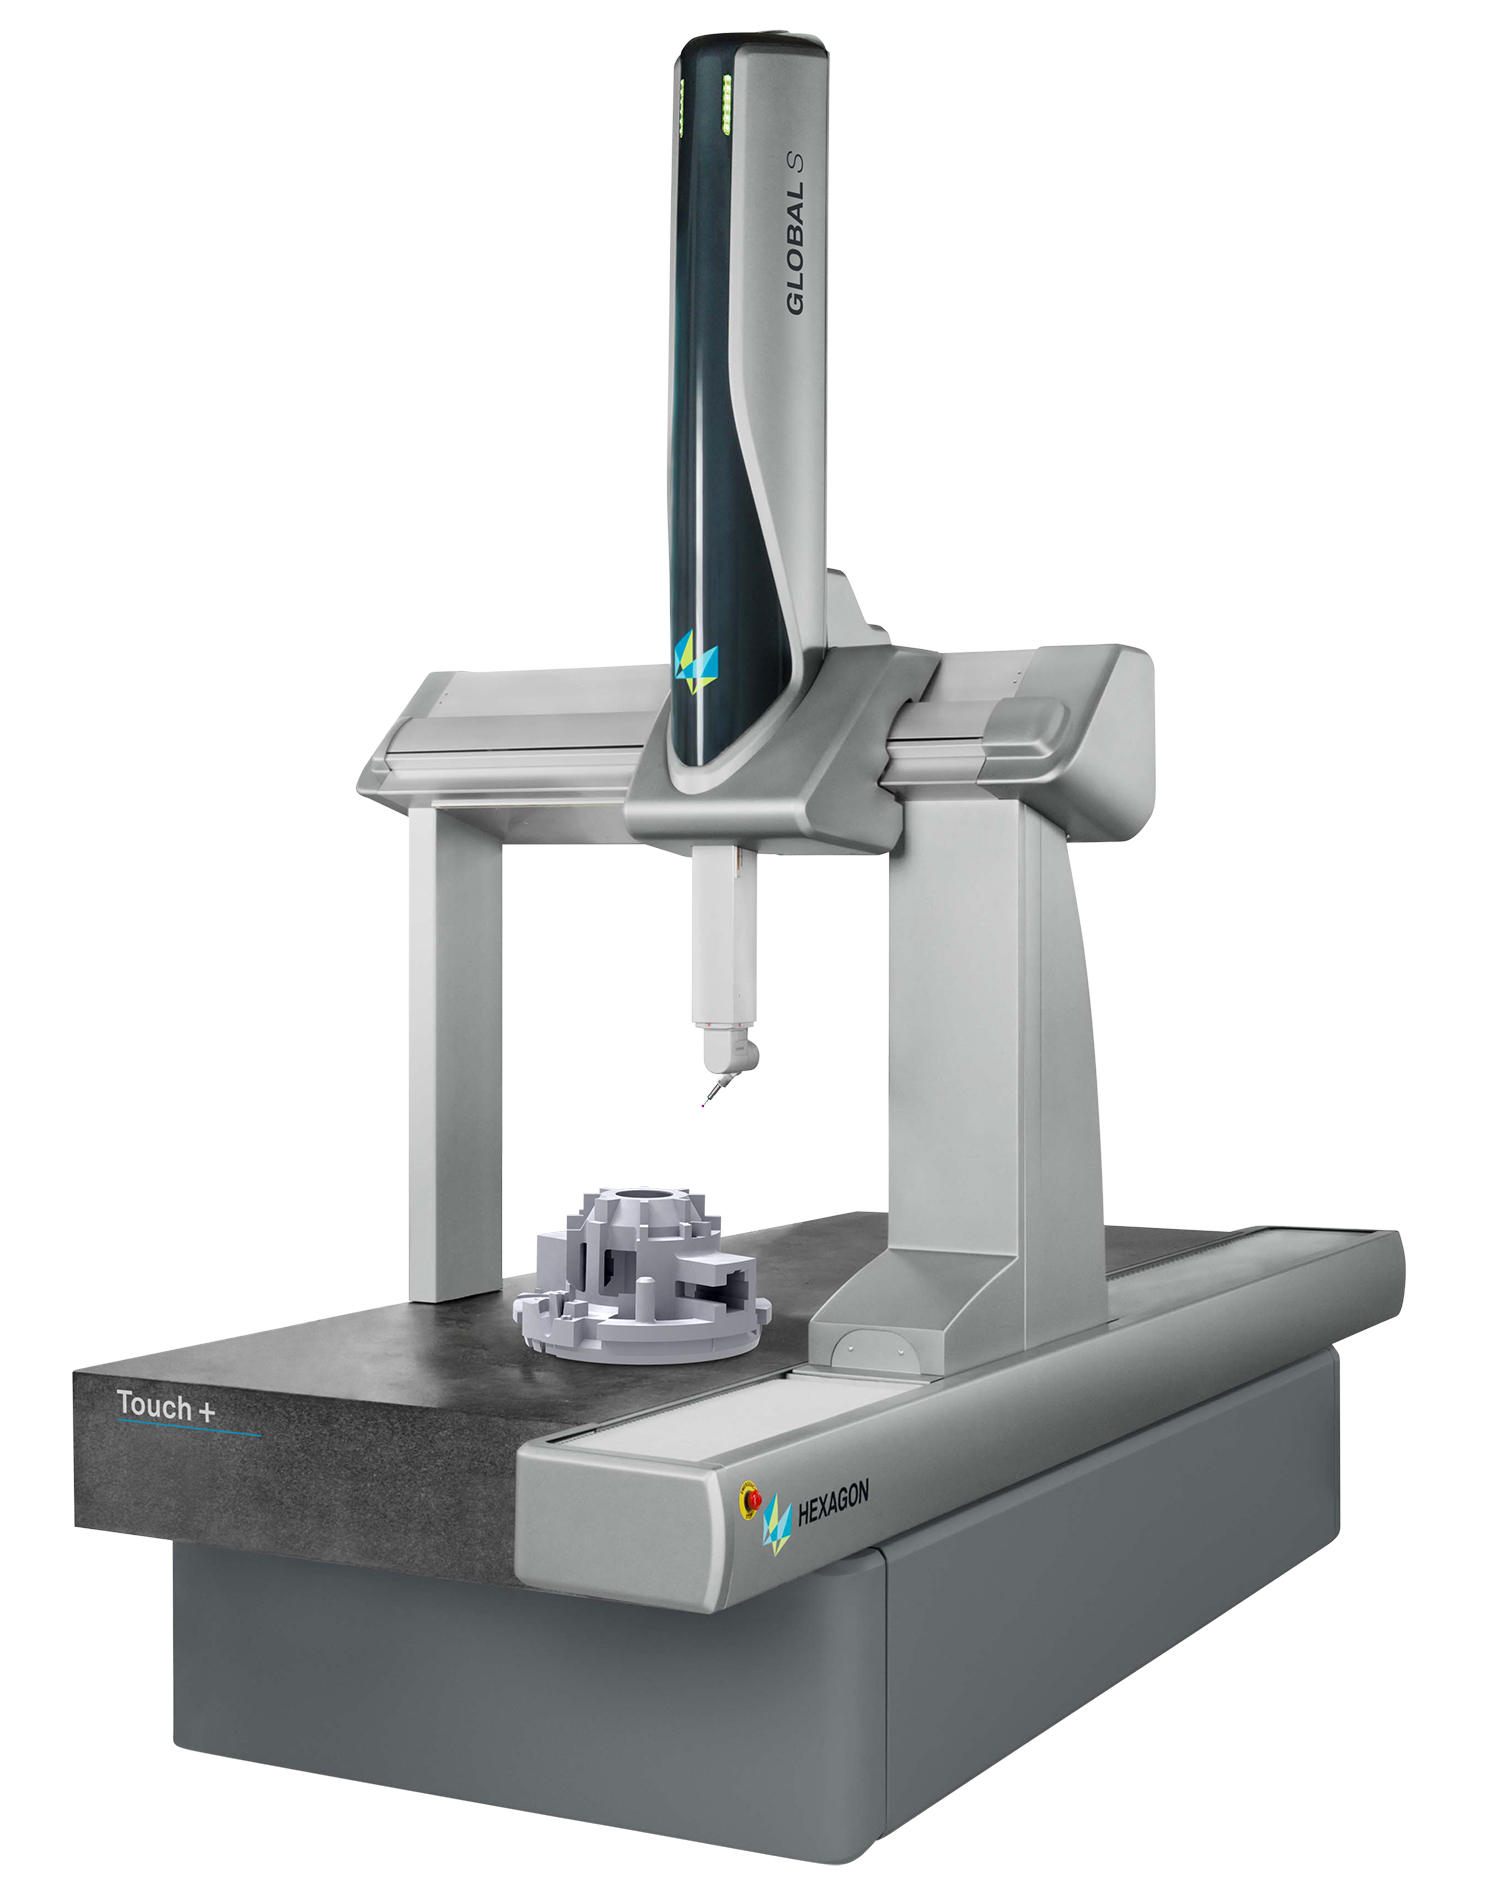
GLOBAL Touch+ is a CMM equipped with an electric index probe head for 3D point measurements with high repeatability. The six-direction touch trigger probe is able to measure a wide range of parts, including plastic injection molded parts, complex mechanical components, and parts with 3D complex structures.
The electric index probe head allows flexible positioning and delivers outstanding single point tactile measuring performance. Quick exchange of probe modules with different trigger forces and stylus configurations optimizes the measuring cycle.
Integrated with PC-DMIS CAD, GLOBAL Touch+ allows for part inspection using CAD models. The optional PC-DMIS CAD++ enables measurement of complex parts, and its features can be customized for applications, including XT (Extended Temperature) options and Eco Mode+.
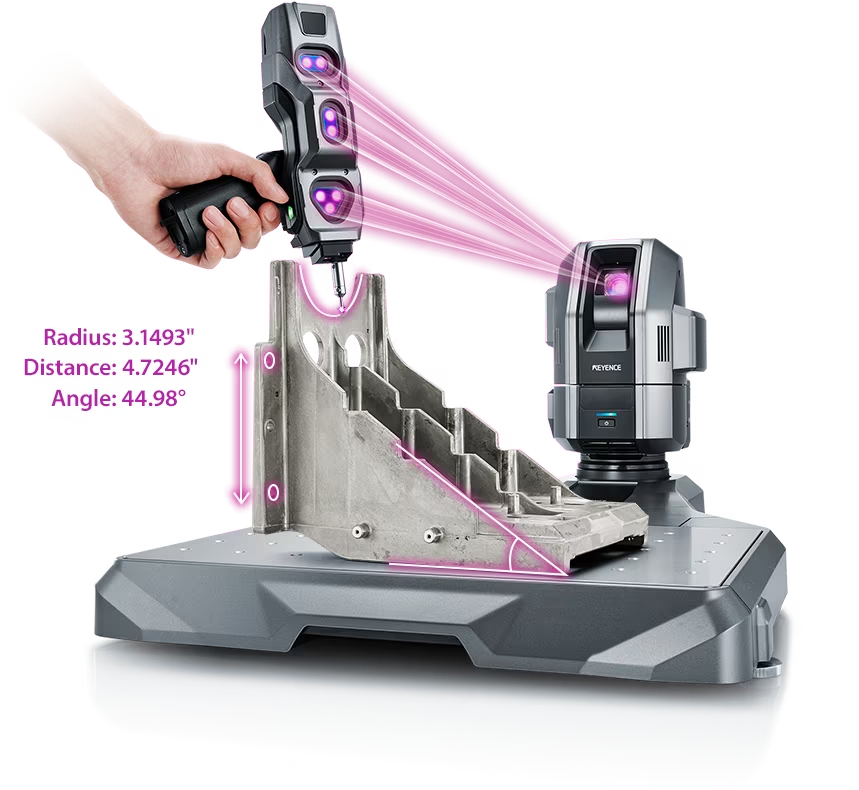
Source: KEYENCE Website(https://www.keyence.com/products/measure-sys/cmm/xm/index_pr.jsp)
This CMM has a caliper-like feel, enabling even beginners to perform high-precision measurements. It can be carried without the need for temperature control, allowing for immediate measurements at any desired location and time. As it doesn't require a large installation space, it's a CMM with a low entry barrier.
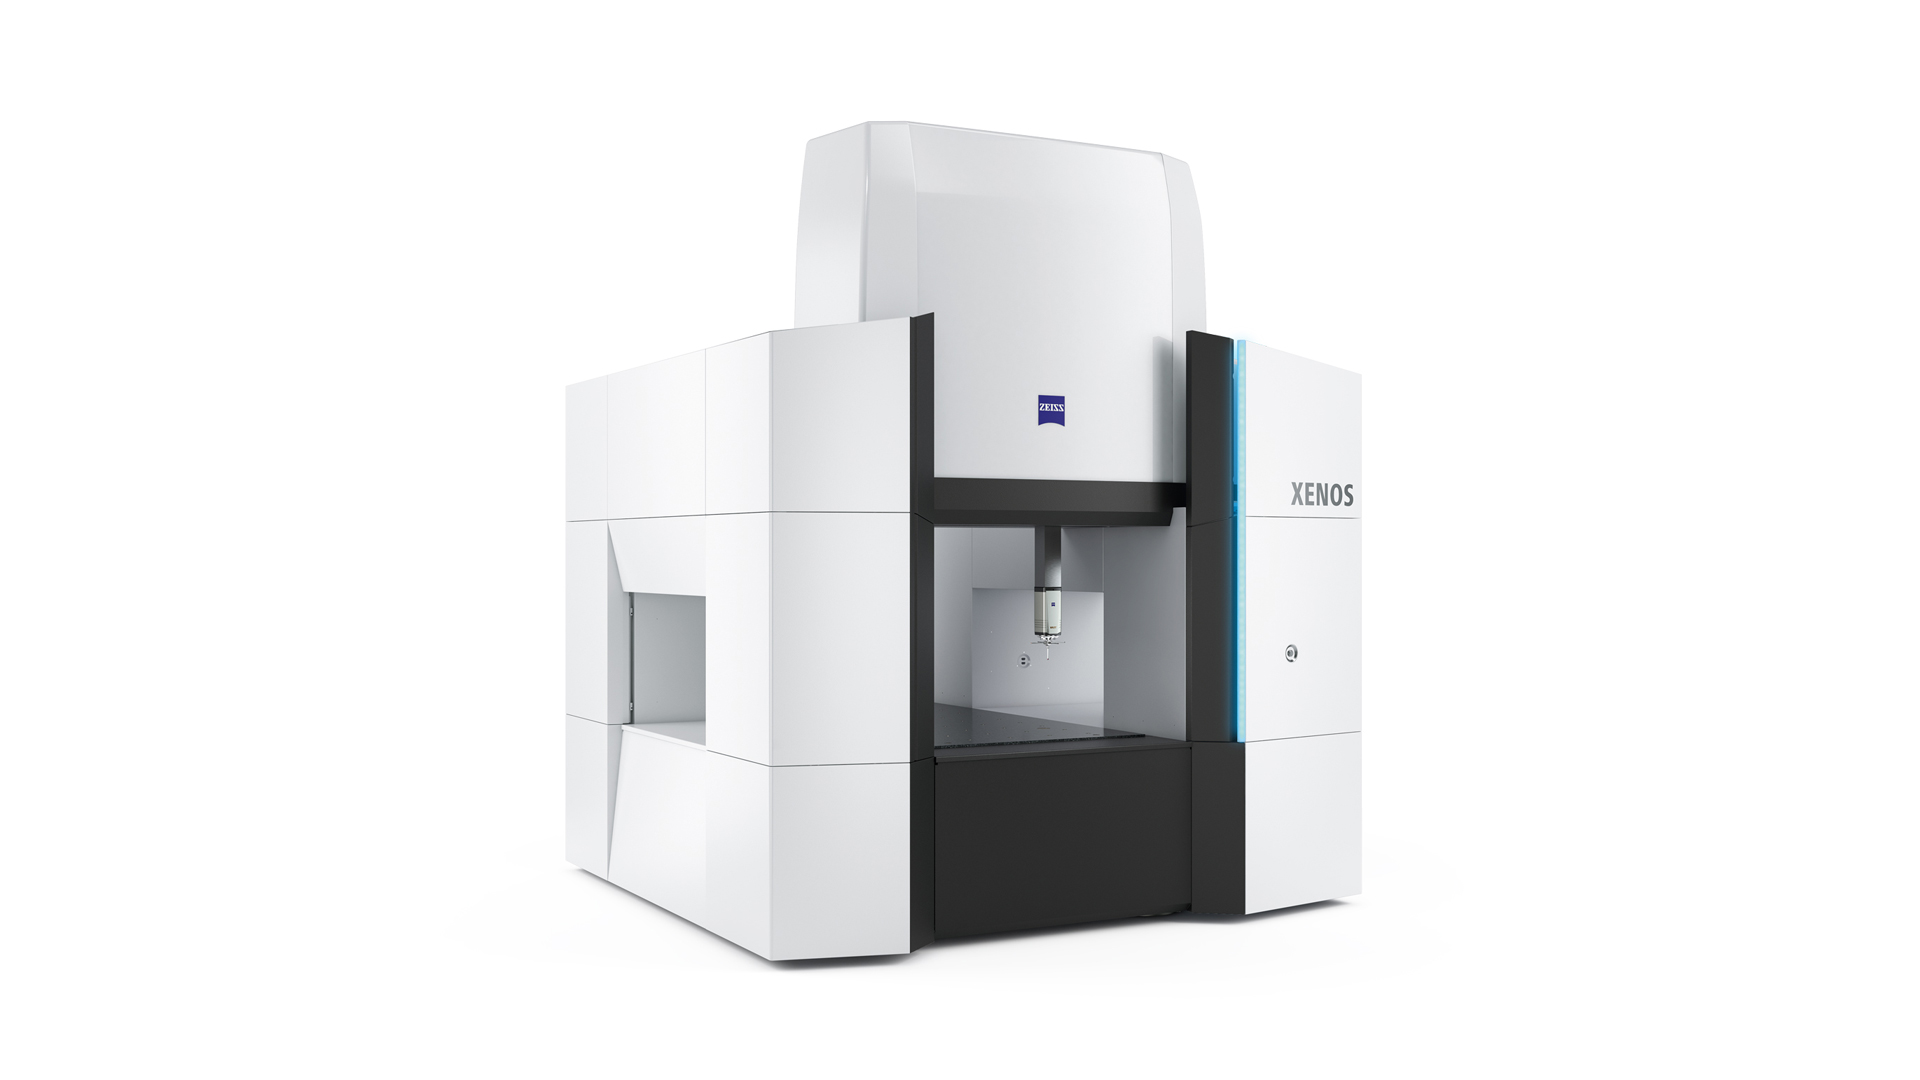
Source: Carl Zeiss Website(https://www.zeiss.com/metrology/products/systems/cmm.html)
Utilizing linear drive on all axes, this CMM boasts high precision with a maximum permissible length measurement error of 0.3+L/1000μm, repeatability of ±0.2μm, and resolution of 0.001μm. The reduced occurrence of errors allows for a decrease in the need for remeasurement.
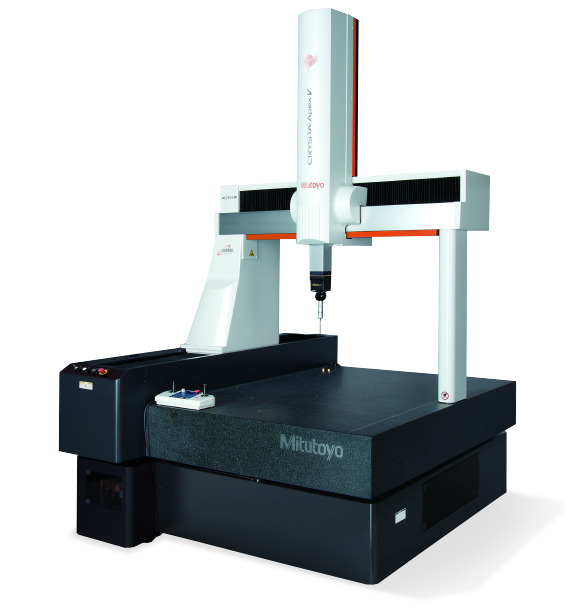
Source: Mitutoyo Website(https://www.mitutoyo.com/products/coordinate-measuring-machines/)
A CNC CMM that was first developed in 1976.
It features applications that respond to the demand for "Smart Factories" by allowing monitoring of operational status and maintenance management of the machine through the network.
Reasons for Selection