
In coordinate measuring machine (CMM) inspections, attention is often focused on machine accuracy, software capability, and environmental control. However, one critical component that directly influences measurement results is sometimes underestimated: the CMM stylus. As the physical interface between the measuring system and the workpiece, the stylus plays a decisive role in measurement accuracy, repeatability, and reliability.
Even the most advanced CMM cannot deliver accurate results if the stylus is improperly selected or poorly matched to the measurement task. Stylus geometry, material properties, stiffness, and thermal behavior all affect probing performance, especially when measuring complex geometries or tight tolerances.
A CMM stylus is a probing component mounted on the probe head of a coordinate measuring machine. It physically contacts the workpiece surface and transmits positional information to the CMM system. The stylus typically consists of two main parts: a stylus ball and a stylus shaft.
When the stylus ball touches the surface of a measured feature, the probe detects the contact point and records its coordinates in three-dimensional space. The accuracy of this contact point depends not only on the probe mechanism but also on the mechanical and geometric characteristics of the stylus itself.
Because the stylus directly interacts with the workpiece, its selection has a direct impact on measurement uncertainty, probing force behavior, and susceptibility to systematic errors such as deflection and Abbe-related effects.
The straight stylus is the most common and simplest configuration. It consists of a single stylus ball mounted on a straight shaft aligned with the probe axis.
Straight styli offer high stiffness, minimal deflection, and stable calibration behavior. They are particularly suitable for measuring planar surfaces, holes, and features that are easily accessible from above. Whenever possible, straight styli should be prioritized to minimize offset-related errors.
A star stylus consists of multiple stylus tips arranged radially around a central body. This configuration allows probing from multiple directions without rotating the probe head.
Star styli are useful for accessing side surfaces or undercut features, but they introduce additional mass and complexity. Each stylus tip has a different offset, which increases sensitivity to deflection and alignment errors if not properly managed.
Pointer styli use a pointed tip instead of a spherical ball and are mainly applied in specialized tasks such as locating edges, grooves, or scribed lines.
Because pointer tips do not provide uniform contact geometry, they are generally unsuitable for standard dimensional measurements and should be used with caution.
High sphericity and roundness are essential for consistent probing behavior. Deviations from an ideal sphere introduce direction-dependent errors and reduce measurement repeatability, especially in form and profile measurements.
Stylus deflection occurs when probing forces cause the stylus shaft to bend during contact. Longer styli and thinner shafts are more susceptible to deflection, leading to systematic measurement errors.
Using the shortest possible stylus and selecting stiff shaft materials are effective ways to reduce deflection-related uncertainty.
Temperature variations can affect stylus length and geometry. Materials with high thermal expansion may cause measurement drift in environments with unstable temperature conditions.
Thermally stable stylus materials help maintain consistent measurement results over time.
The material of the stylus ball influences wear resistance, surface interaction, and suitability for different workpiece materials. Selecting an appropriate ball material helps prevent surface damage and extends stylus life.
Steel styli are cost-effective and durable, making them suitable for general-purpose measurements. However, their higher mass and thermal expansion limit their use in long or high-precision configurations.
Tungsten carbide offers increased stiffness compared to steel and is often used when deflection must be minimized. Its higher mass should be considered for dynamic probing applications.
Ceramic styli provide good stiffness, low mass, and excellent thermal stability. They are commonly used in high-accuracy measurement environments.
Carbon fiber styli offer a high stiffness-to-weight ratio and excellent thermal stability. They are ideal for long stylus extensions and complex configurations, although they are generally more expensive.
Stylus selection should be considered an integral part of measurement planning. Using the shortest, stiffest, and most thermally stable stylus configuration improves measurement reliability and reduces uncertainty.
By understanding stylus characteristics and matching them to measurement requirements, inspectors can achieve more accurate and consistent CMM inspection results.

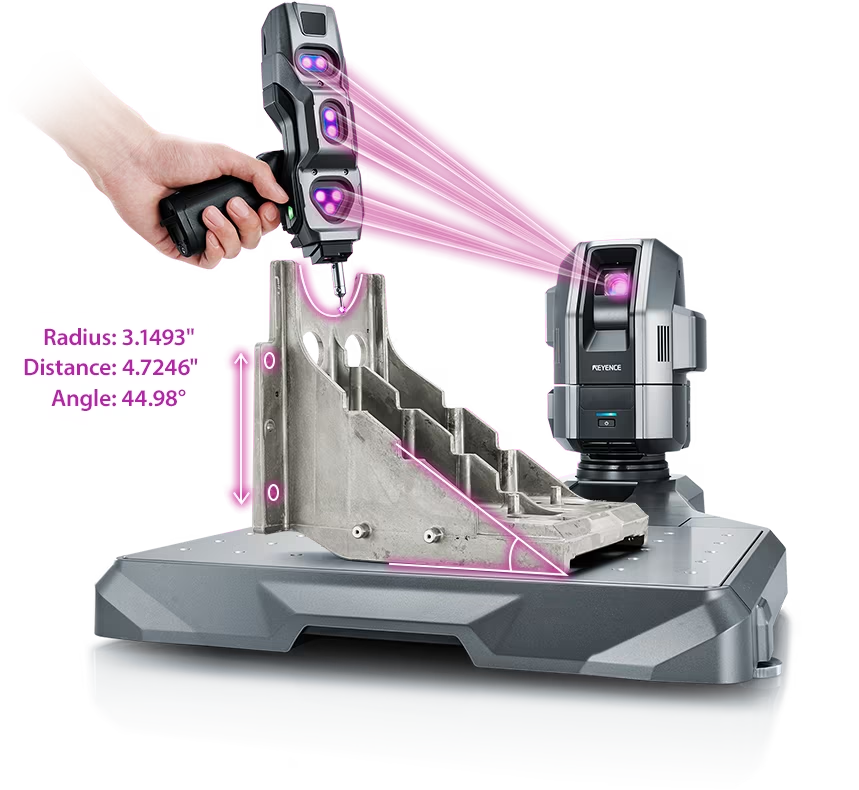
Source: KEYENCE Website(https://www.keyence.com/products/measure-sys/cmm/xm/index_pr.jsp)
This CMM has a caliper-like feel, enabling even beginners to perform high-precision measurements. It can be carried without the need for temperature control, allowing for immediate measurements at any desired location and time. As it doesn't require a large installation space, it's a CMM with a low entry barrier.

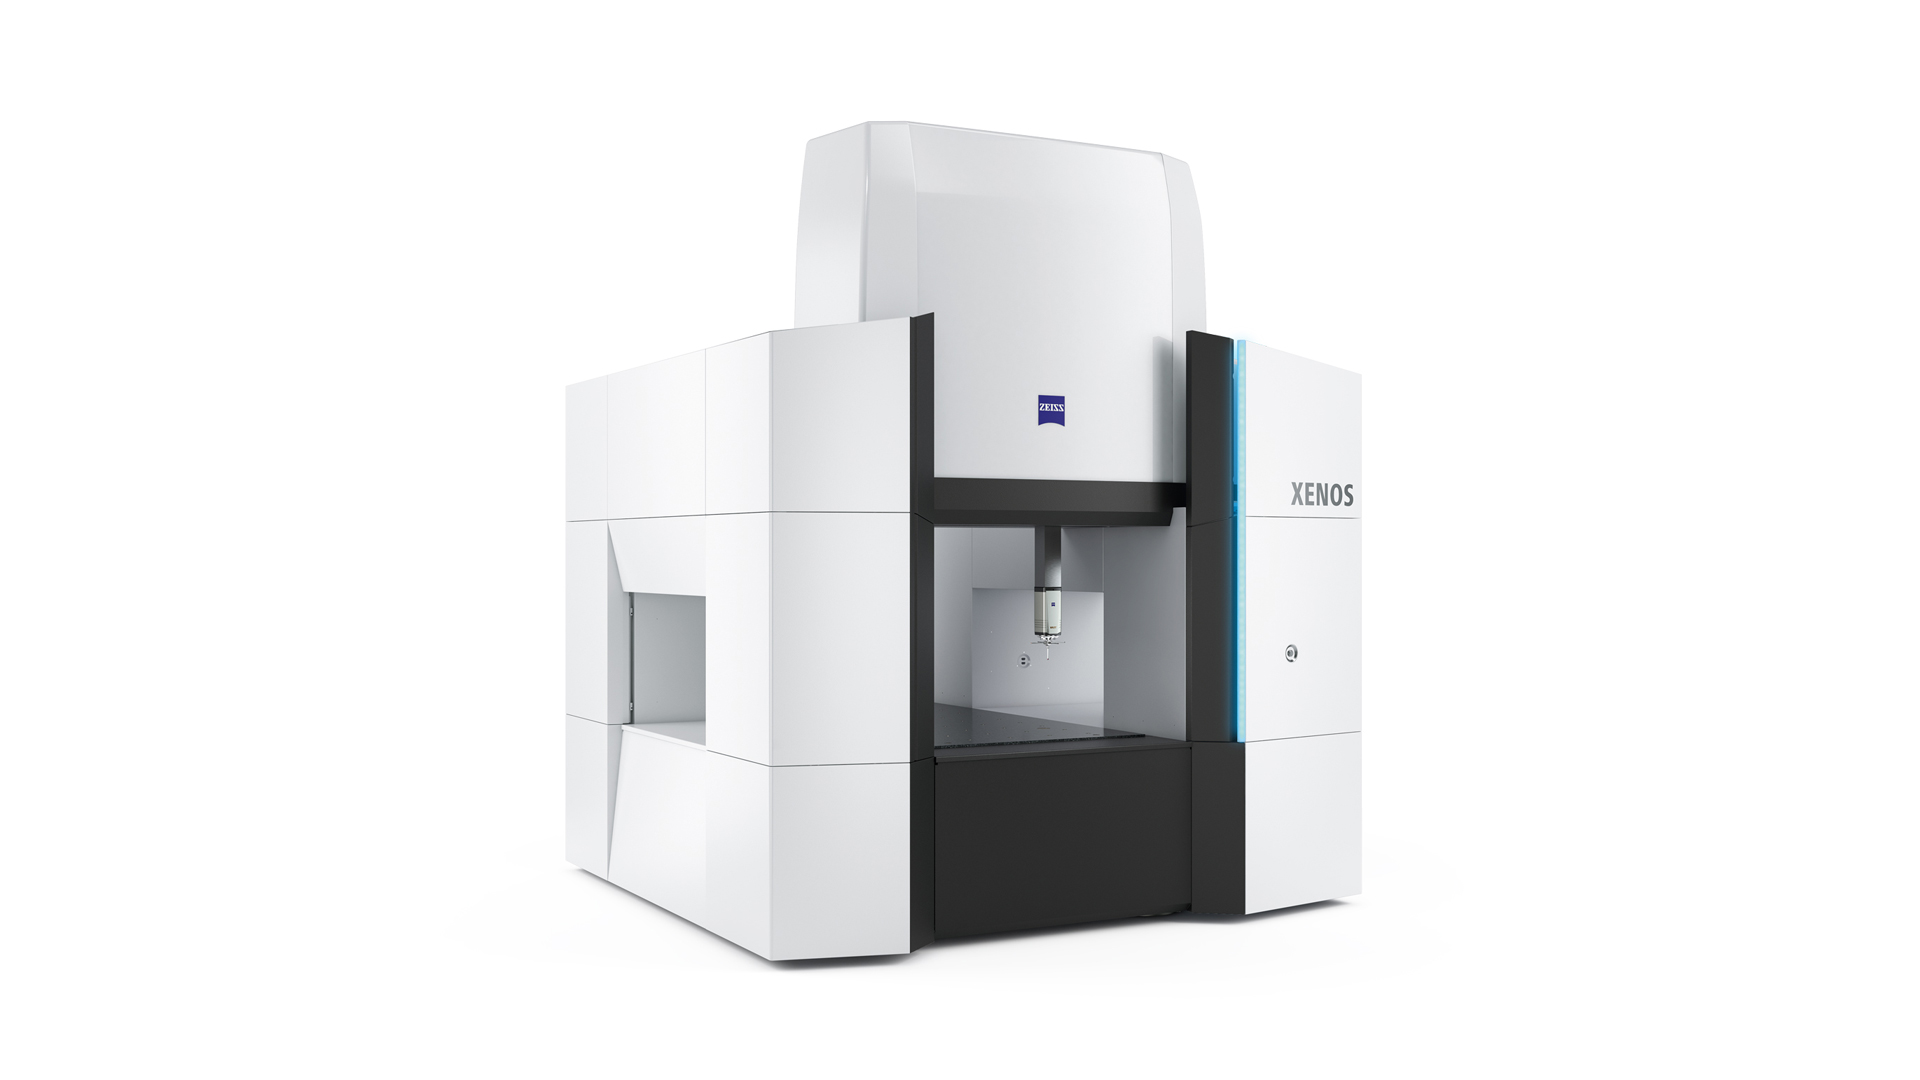
Source: Carl Zeiss Website(https://www.zeiss.com/metrology/products/systems/cmm.html)
Utilizing linear drive on all axes, this CMM boasts high precision with a maximum permissible length measurement error of 0.3+L/1000μm, repeatability of ±0.2μm, and resolution of 0.001μm. The reduced occurrence of errors allows for a decrease in the need for remeasurement.

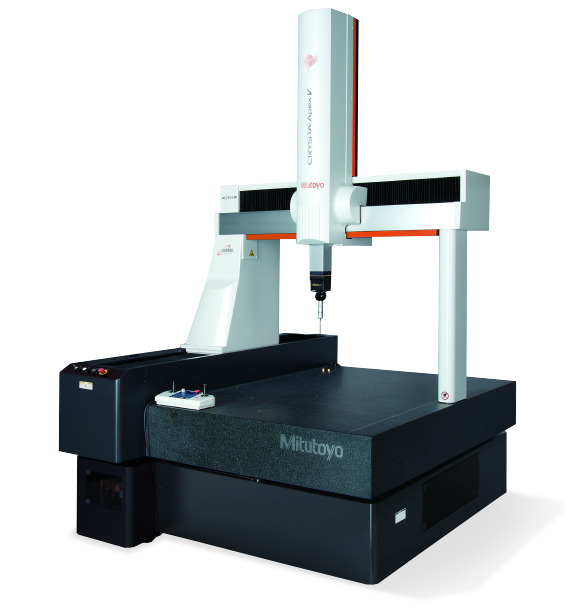
Source: Mitutoyo Website(https://www.mitutoyo.com/products/coordinate-measuring-machines/)
A CNC CMM that was first developed in 1976.
It features applications that respond to the demand for "Smart Factories" by allowing monitoring of operational status and maintenance management of the machine through the network.
Reasons for Selection