

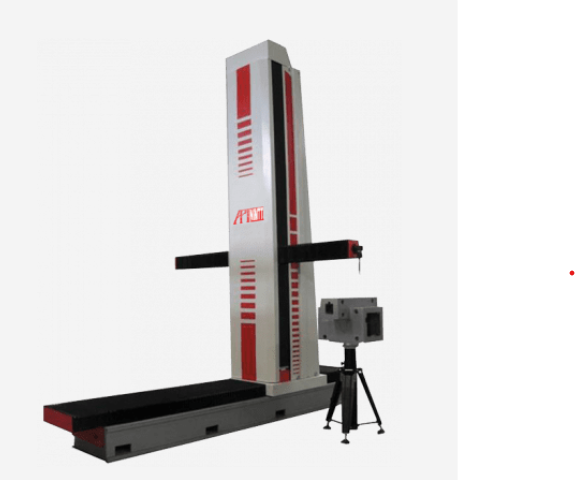
 Source: API website
(https://apimetrology.com/horizontal-cmm/)
The Galaxy D CMM is designed and targeted for inspecting and scanning large-scale products or parts. It is equipped with a temperature-compensated horizontal arm coordinate analysis system, which enhances flexibility and processing speed through computer control. It includes a function for easy transition between non-contact scanning and tactile detection, depending on the object's structure, thus contributing to increased productivity.
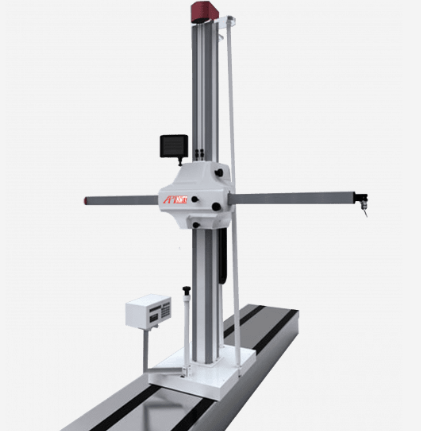 Source: API website
(https://apimetrology.com/horizontal-cmm/)
The Galaxy H is a manually controlled horizontal arm measuring and layout equipment designed for versatile applications in ordinary worksite measuring and marking-out, as well as in various fields such as automobile and motorbike assembly, engineering hardware, and casting. Its standout feature is the stylus, equipped with an index that allows for repeated use up to 168 times. This function eliminates the need for re-confirmation after each work process, enhancing efficiency.
API was officially established in 1987 as the world's first laser-based dimensional metrology equipment manufacturer. However, the company's roots were formed earlier by its founder and CEO & CTO, Dr. Kam Lau. In the 1980s, as major companies like GM, Pratt & Whitney, and Ford began to focus on robotics, Dr. Lau recognized the emerging trend and invented the laser tracking system to monitor the motion, performance, and accuracy of robots. Drawing from this strong engineering foundation, API has developed efficient dimensional metrology technology to address both current and future industry needs for automation and inspection.
For over 30 years since its inception, API has been a pioneer in laser-based measurement and calibration products, many of which have become industry and international standards.
A decade after its establishment in 1987, API relocated from its warehouse on Cessna Ave. to a facility in Rockville, MD, and commenced its overseas expansion, starting with Beijing, then Europe, Brazil, and India. As the company expanded, so did its technology. They developed high-quality tracker target technology with probes and utilized advanced trackers for assessing robot performance.
In recent years, API introduced a non-contact high-volume scanning device with unparalleled speed and accuracy, called the Dynamic 9D LADAR. This device promises to bring rapid processing and automation to the manufacturing industry.
Over more than 30 years, API has expanded its reach through accumulated technology and a relentless spirit of exploration.
API not only manufactures devices and equipment but also provides a range of services related to every stage of the manufacturing process. They can scan prototype parts to create models for mass production, inspect initial production pieces for accuracy, conduct spot checks throughout manufacturing to maintain repeatability, reverse engineer old parts for return to production, and calibrate machine tools to identify inaccuracies and help compensate for errors. The provision of these services demonstrates that API employs experienced and skilled professionals. The CMMs are developed, modified, and maintained by these experts, instilling trust in the equipment. Additionally, they continuously enhance the CMMs based on customer feedback, resulting in user-friendly equipment.
API has a proven track record across various industries, including aerospace, automotive, energy, heavy machinery, manufacturing, military & defense, transportation, machine tools, and robotics. With over 30 years of experience and accumulated technology, API offers customers not only advanced high-accuracy CMMs but also improved production and manufacturing process efficiency. As a result, API is recommended for companies seeking advice or solutions for their manufacturing processes as a whole within these industries.
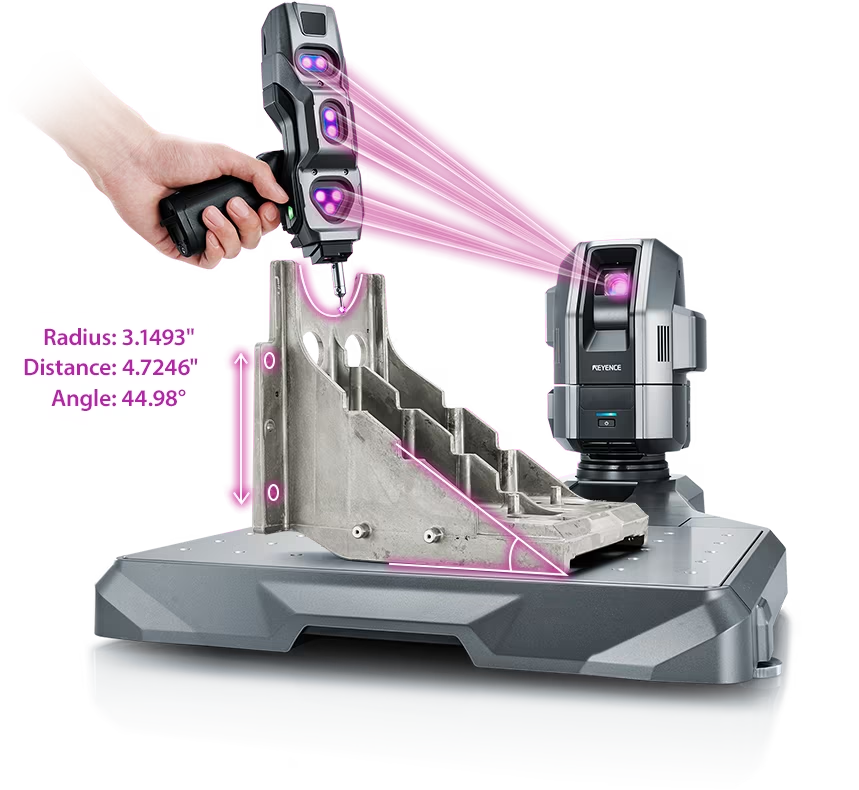
Source: KEYENCE Website(https://www.keyence.com/products/measure-sys/cmm/xm/index_pr.jsp)
This CMM has a caliper-like feel, enabling even beginners to perform high-precision measurements. It can be carried without the need for temperature control, allowing for immediate measurements at any desired location and time. As it doesn't require a large installation space, it's a CMM with a low entry barrier.
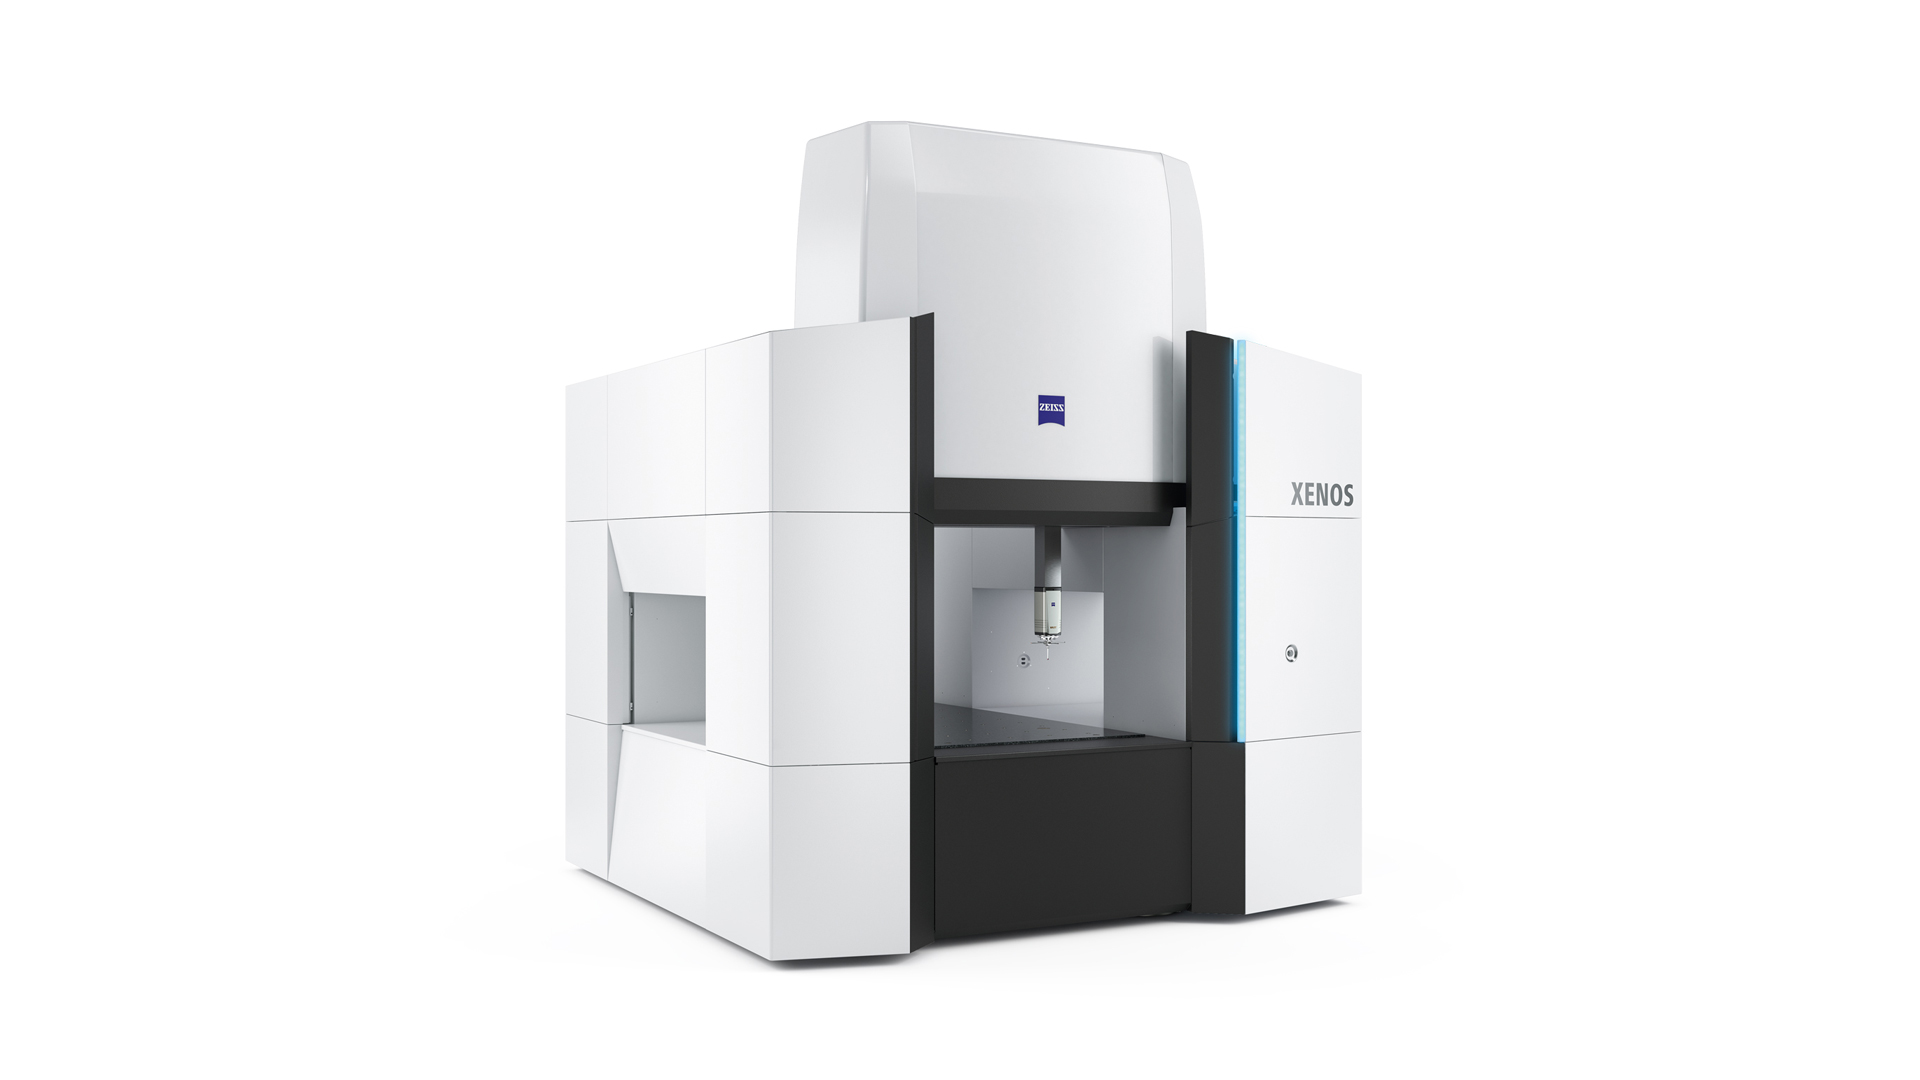
Source: Carl Zeiss Website(https://www.zeiss.com/metrology/products/systems/cmm.html)
Utilizing linear drive on all axes, this CMM boasts high precision with a maximum permissible length measurement error of 0.3+L/1000μm, repeatability of ±0.2μm, and resolution of 0.001μm. The reduced occurrence of errors allows for a decrease in the need for remeasurement.
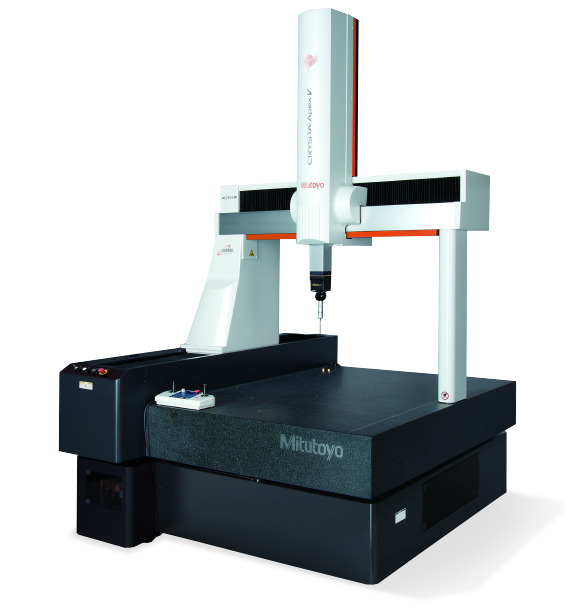
Source: Mitutoyo Website(https://www.mitutoyo.com/products/coordinate-measuring-machines/)
A CNC CMM that was first developed in 1976.
It features applications that respond to the demand for "Smart Factories" by allowing monitoring of operational status and maintenance management of the machine through the network.
Reasons for Selection