CMM Portal Site
CMM compass
CMMs vary in terms of shape, measurement methods, operation methods, and other features. There is also a wide variety of machine types. On this page, we explain the differences in CMMs and guide you in choosing the right one for your on-site challenges.
Understanding
CMMs
Here, we explain the differences in such machines. By exploring this site, you will be able to choose a CMM that suits your company's needs.
Choosing
a CMM
"CMM (Coordinate Measuring Machine)" is a relatively broad term. There are various types based on shape, measurement methods, and more, depending on the application. For example, bridge-type CMMs offer the advantage of high precision and stable measurements, but they come with the drawback of being expensive and requiring ample space, along with the installation of compressors. It's important to select a CMM that is suited to solve your company's challenges and meets the needs of your specific work environment.
Compare popular
and reputable CMMs
Choosing a CMMby Shape
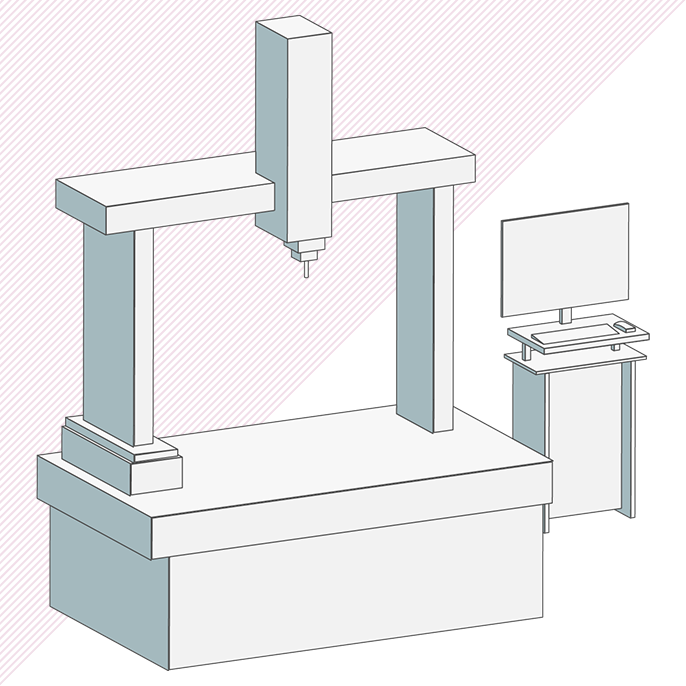
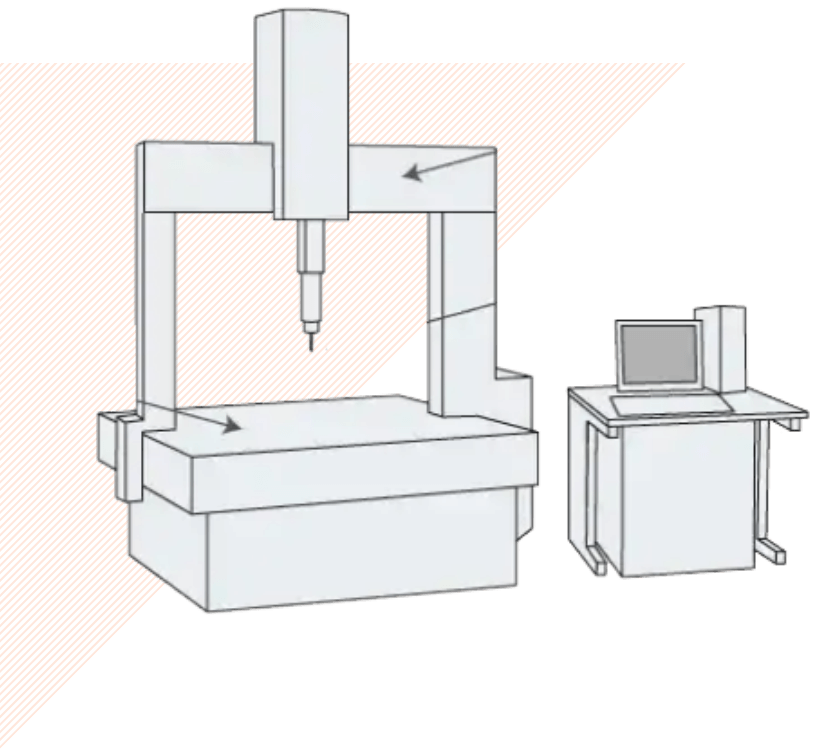
A Bridge CMM has a gate-shaped design when viewed from the front. It uses a touch probe to make contact with the object placed on the stage and measures the object by obtaining three-dimensional coordinates.
Known for their high precision and stability, Bridge CMMs are suitable for measuring medical instruments, gears, optical components such as lenses, etc. Recent years have seen an introduction of Bridge CMMs that do not require a measurement room or are optimized for ease of operation. This makes it easier to choose equipment that suits your company.
On this page, we introduce the features and specifications of Bridge CMMs offered by various manufacturers.
- CRYSTA-Apex by Mitutoyo
- ZEISS PRISMO by Carl Zeiss
- GLOBAL Touch+ by Hexagon Metrology
- Leitz Infinity by Hexagon Metrology
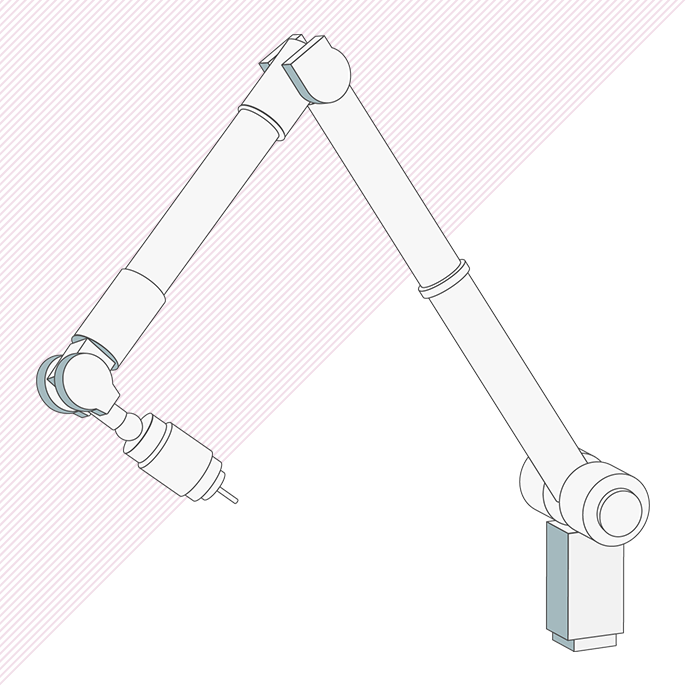
An Arm CMM is a measuring device equipped with an arm with multiple joints. They were developed using prosthetic limb technology. Operators can freely move the arm and approach the target object from multiple directions.
Arm CMMs are typically more affordable than a bridge-type CMMs and don't take up as much space. Therefore, they can be installed in various locations such as manufacturing floors and workshops. It is also possible to perform measurements while working on the manufacturing line.
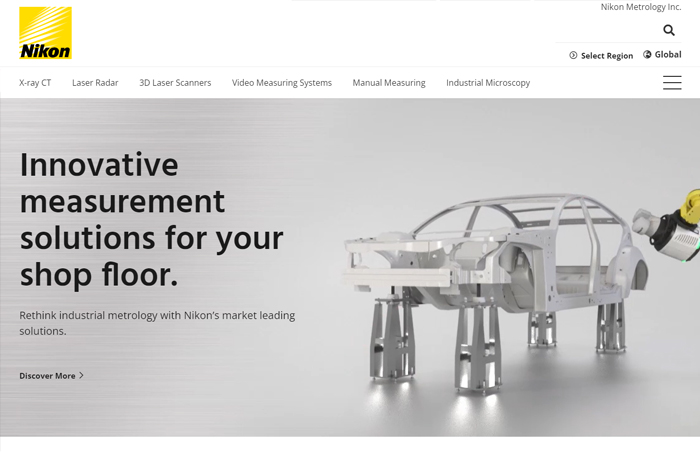
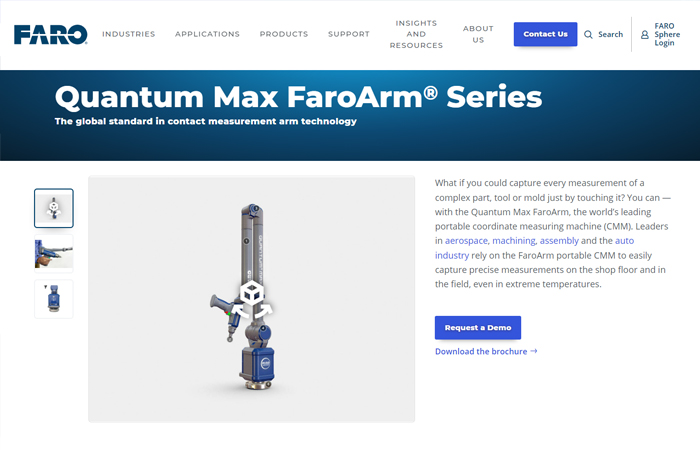
However, Arm CMMs cannot measure large-sized products that do not fit within the range of the arm's movement or objects with complex shapes and deep areas. Representative products include "Gage Max FARO ARM" from FARO and "MCAx S" from Nikon.
- Gage Max FARO ARM - FARO
- MCAx S - Nikon
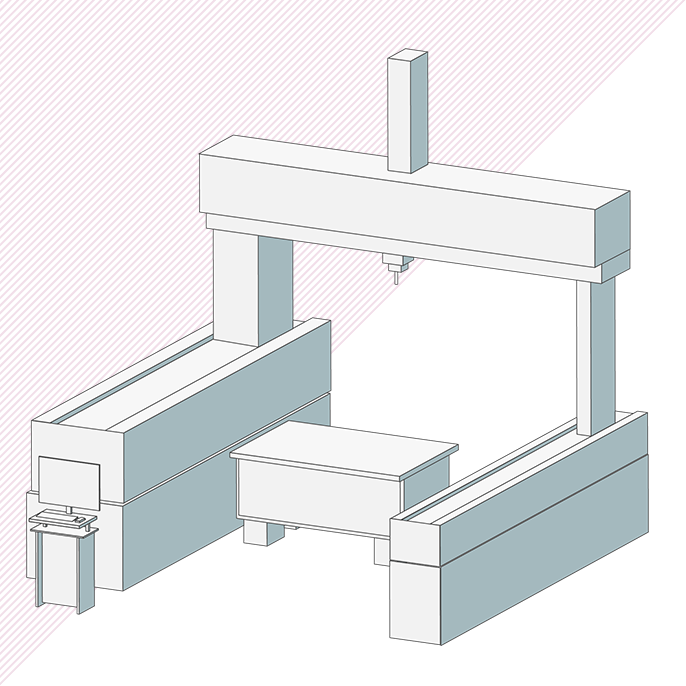
A Gantry CMM is a measuring device with a structure that combines a fixed foundation and a sliding top part. Representative products include Mitutoyo's "FALCIO APEX 2000G/3000G Series" and Hexagon Metrology's "ALPHA."
Because the main shaft structure moves over the table or rails when performing measurements, Gantry CMMs are relatively compact compared to bridge-types. They are capable of measuring heavy or large objects that are difficult to measure with bridge-type machines such as large components of automobiles, aircraft, and communication satellites.
- FALCIO APEX 2000G/3000G Series - Mitutoyo
- ALPHA - Hexagon Metrology
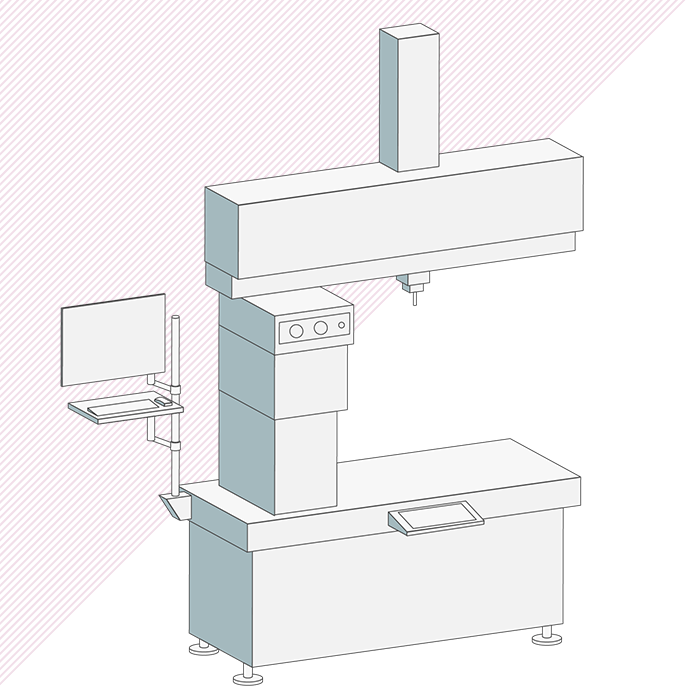
A Cantilever CMM is a measuring device with a cantilever structure where only one end is fixed to a supporting structure, similar to a diving board in a swimming pool.
It allows measurements from three sides, is well-suited for manual operation, and provides comfortable access to the workpiece. While its mobility precision is somewhat lower, it proves useful in situations where ease of operation is a top priority.
On this page, we introduce the features and specifications of Mitutoyo's "MiSTAR 555," Carl Zeiss's "ZEISS DuraMax," and Hexagon Metrology's "TIGO SF." If you are considering the introduction of a Cantilever CMM, please use this information as a reference.
- MiSTAR 555 - Mitutoyo
- ZEISS DuraMax - Carl Zeiss
- TIGO SF - Hexagon Metrology
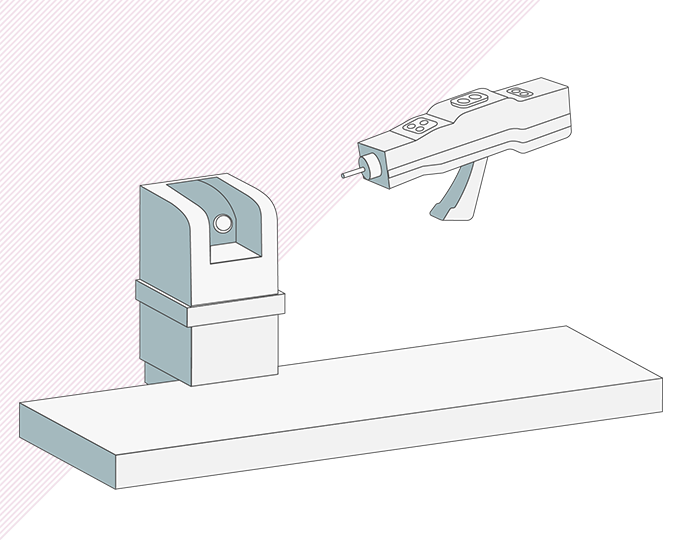
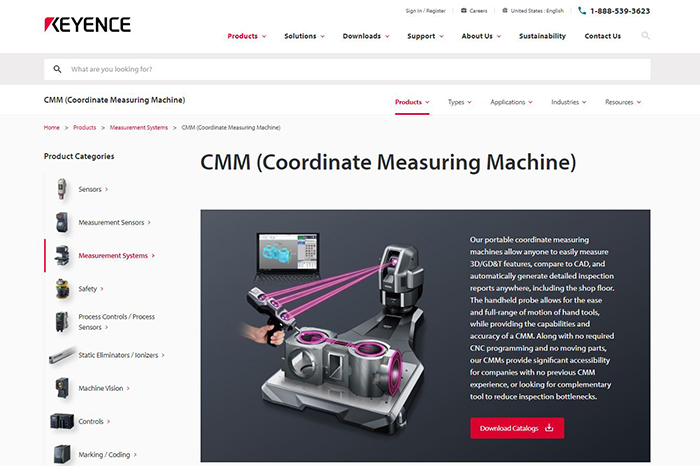
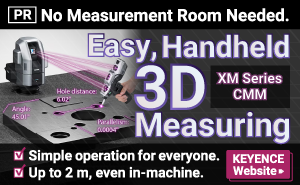
A Handheld CMM is a type of device that utilizes a compact handheld probe to measure the target object.
Significant advantages of Handheld CMMs include small size, lightweightness, and excellent environmental resistance, allowing for convenient measurements anytime, anywhere, on-site. This type of device is beneficial for measuring sizes and complex-shaped objects that are challenging to measure with traditional CMMs with fixed ranges of movement.
While the proficiency of the operator may influence the results with some products, recent advancements have brought about devices that reduce variability through navigational settings and specify measurement locations. The relatively low implementation cost has led to widespread adoption, even in facilities already using bridge-type machines.
- XM Series - KEYENCE
- WM Series - KEYENCE
Choosing a CMMBased on Measurement Method
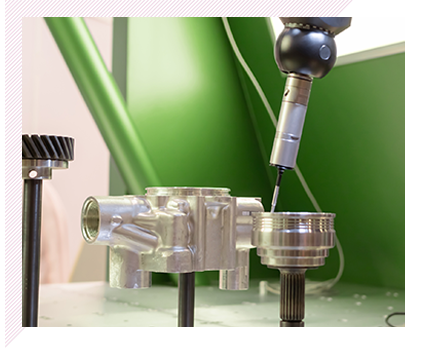
A contact-type CMM refers to a type of machine that uses a probe, known as a stylus, to make contact with the target object for measurement. Contact measurement is common in bridge-type and articulated-arm-type machines, known for their high-precision measurements. This measuring method has been used for a long time, and its attractiveness lies in the stable accuracy it provides.
However, because it involves contact with the target object, it is not highly recommended for measuring small or easily deformable objects.
Here, we introduce the features and specifications of representative contact-type CMMs. If you are considering the introduction of a contact-type CMM, make sure to check this information.
- GLOBAL Touch+ - Hexagon Metrology
- ZEISS DuraMax - Carl Zeiss
- XM Series - KEYENCE
- WM Series - KEYENCE
dummydummydummydummydummydummydummydummydummydummydummydummydummydummydummydummydummydummydummydummydummydummydummydummydummydummydummydummydummydummydummydummydummydummydummydummydummydummydummydummydummydummydummydummydummydummydummydummydummydummydummydummydummydummydummy
Choosing a CMMBased on Operation Method
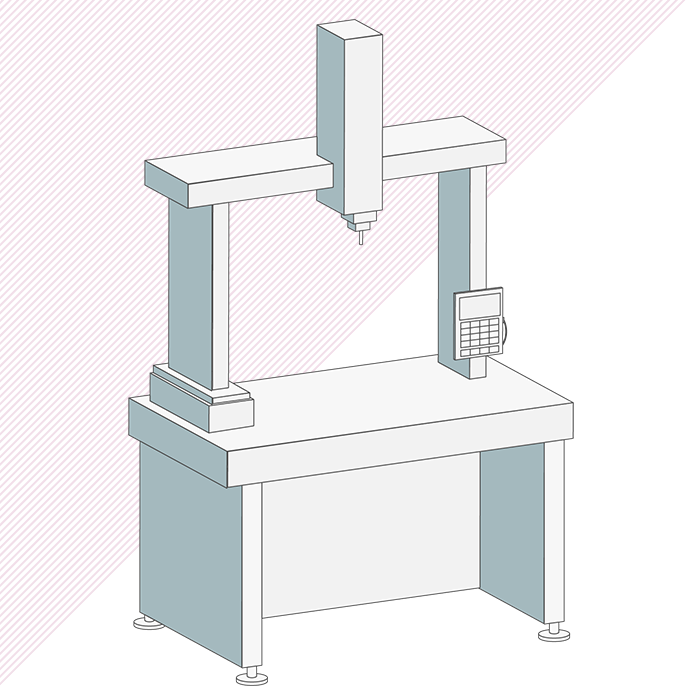
Based on the operation method, CMMs can be divided into "manual-method" and "CNC-method" machines. A manual-method CMM is a machine that is operated by hand, using controllers. The advantage of the manual method is that highly specific measurements can be made by individually checking numerical values. It is suitable for measuring samples with tendencies for warping or contraction, such as resin products, and samples with extremely complex shapes or small gaps, making it suitable for measuring unique prototypes.
However, there are also drawbacks. For example, measurement results are easily influenced by the operator's skills and senses, and repetitive measurements may take some time. When choosing a CMM, it is essential to be aware of these disadvantages.
Here, we introduce the features and specifications of common manual-method CMMs. If you are considering the introduction of a manual-method CMM, be sure to check this information.
- CRYSTA-Plus - Mitutoyo
- ALPHA - Hexagon Metrology

CNC-method machines are capable of carrying out measurements automatically. Movements of the tool head are controlled by a computer.
The advantage of the CNC-method is that it allows for quick and highly accurate measurements by placing the measurement object in a predetermined position and executing the measurement program. It eliminates variations caused by operators and can easily handle complex work shapes and precise measurement items. This contributes to reducing labor and streamlining processes.
However, CNC-method machines generally have a higher initial cost than manual ones. Additionally, programming and test operations are required when using the machine, and setup can be time-consuming and labor-intensive. Therefore, they are not suitable for measuring unique prototypes or handling measurements of various different items.
Here, we introduce the features and specifications of common CNC-method CMMs. If you are considering the introduction of a CNC-method CMM, be sure to check this information.
- CRYSTA-Apex - Mitutoyo
- ZEISS DuraMax - Carl Zeiss
- GLOBAL Touch+ - Hexagon Metrology


